Vintage Lingerie Lesson Scans: Attaching elastic and Lace Trim on Slips

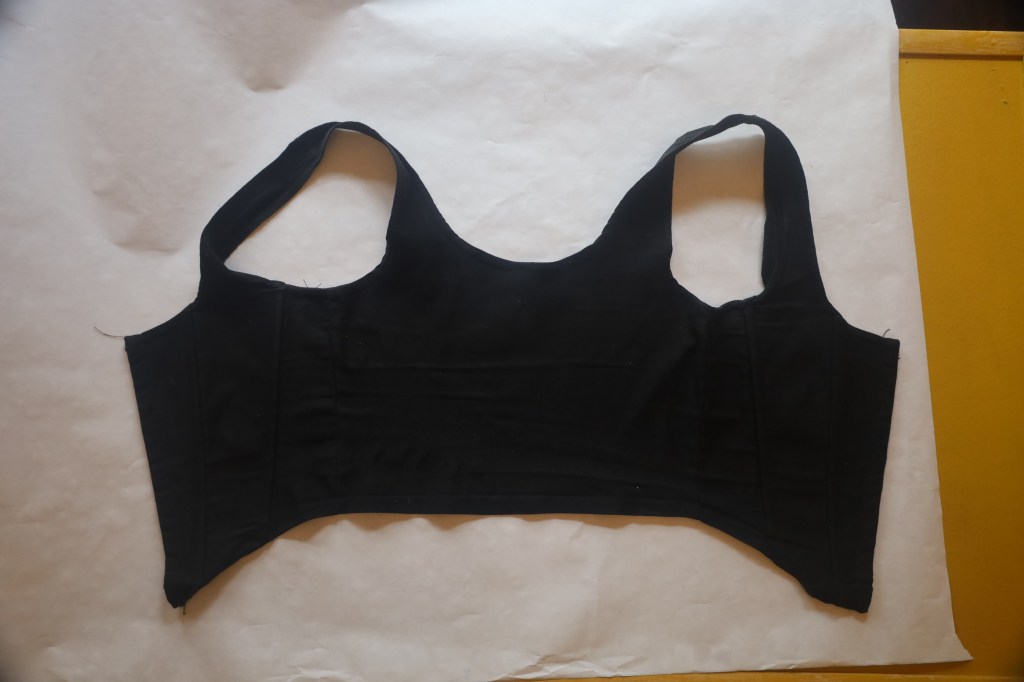
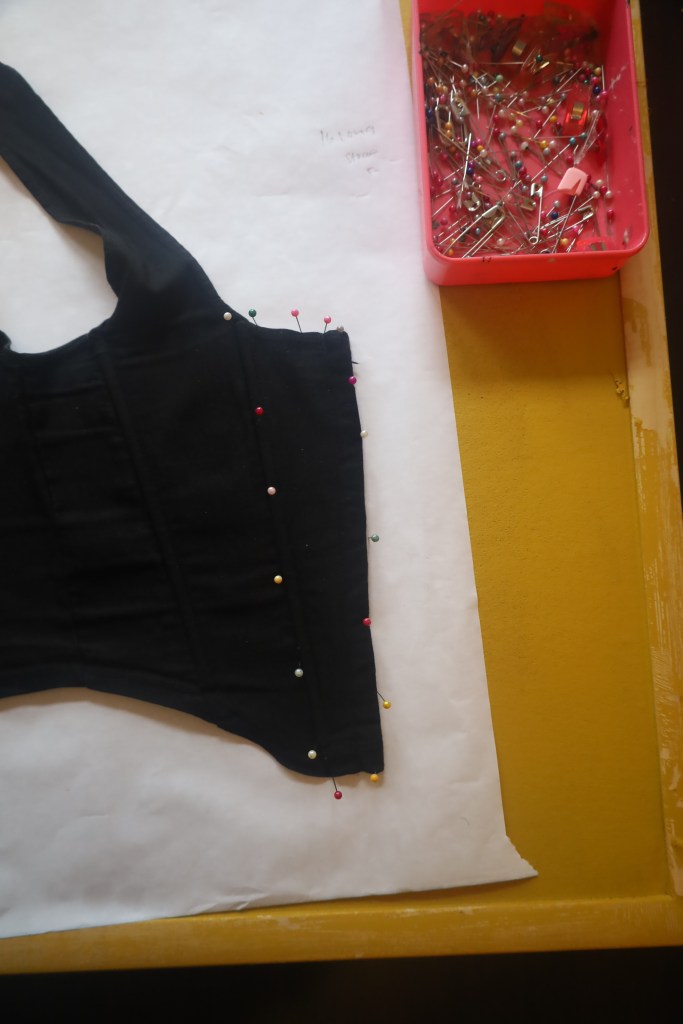
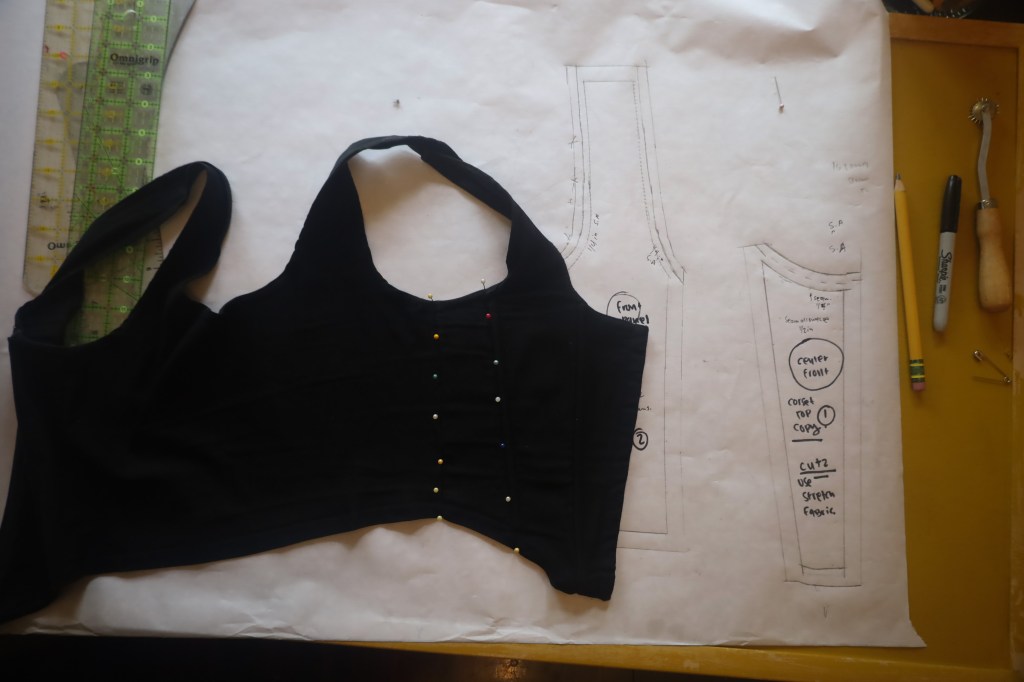
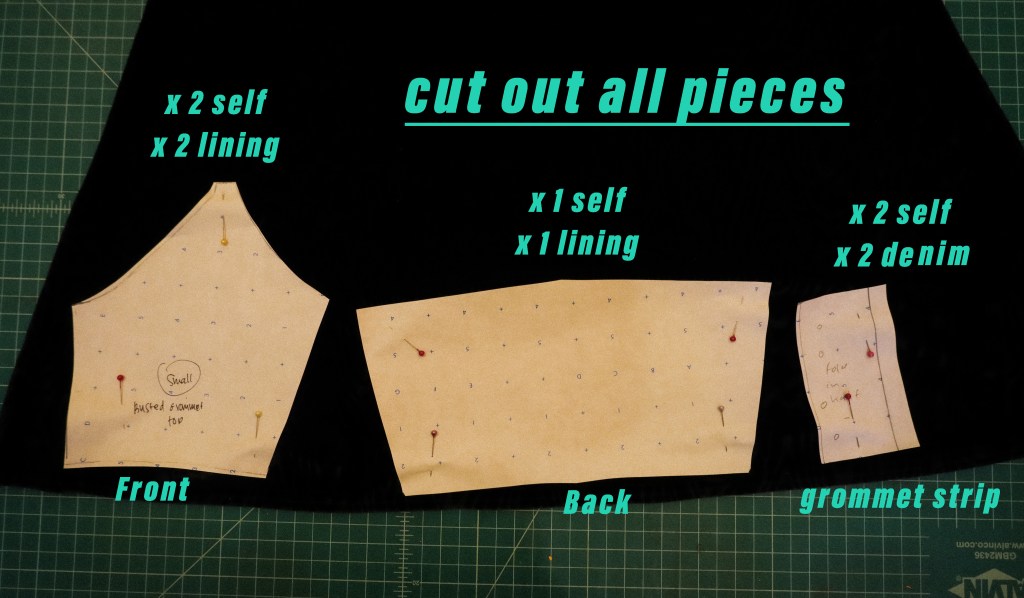
Choosing the Right Lingerie Patterns

For the best results, choose sewing patterns designed for stretch fabrics. While some woven fabric patterns cut on the bias may work, stretch-specific patterns will give you the comfort and fit you want.

Here are some tried-and-true lingerie sewing patterns you can look up:

  • Simplicity: 5549, 8862
  • Butterick: 3434, 4020
  • McCall’s: 7958, 6972
  • Vogue: 716, 1066, 1067
  • Kwik Sew: 1118, 940-1, 717, 718, 719, 1005, 1006
  • Kwik Sew Kids: 724, 725, 220, 723, 238, 239
  • Burda: 1004, 8184

These patterns are beginner-friendly and great starting points for sewing lingerie at home.


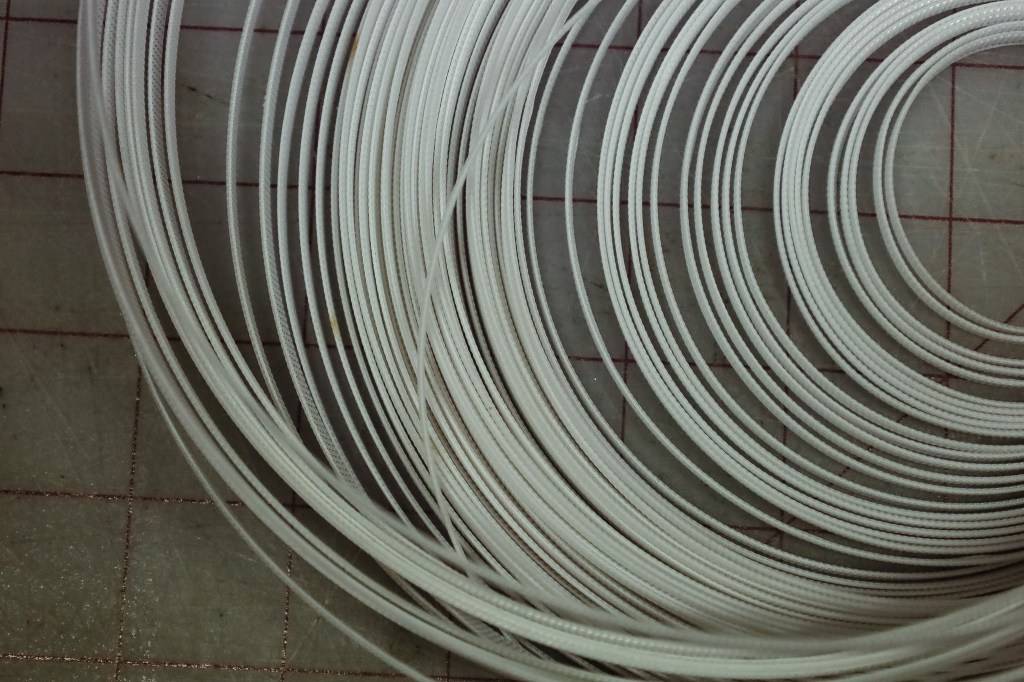
Lingerie Elastic: What You Need to Know

One of the biggest differences between lingerie and regular sewing is the elastic. Lingerie elastic is softer and often comes with a decorative edge.

  • Use ¼-inch elastic for leg openings.
  • Use ½-inch elastic for waistbands.

This small detail gives your handmade lingerie a professional finish.


Must-Have Sewing Notions

Here’s what you’ll need in your lingerie sewing toolkit:

  • Thread: Use fine polyester filament thread (Gutermann or Molnlycke are great choices).
  • Pins: Fine pins are best for delicate fabrics like tricot.
  • Scissors: Tricot can be slippery, so invest in sharp sewing scissors (Gingher scissors are a favorite).
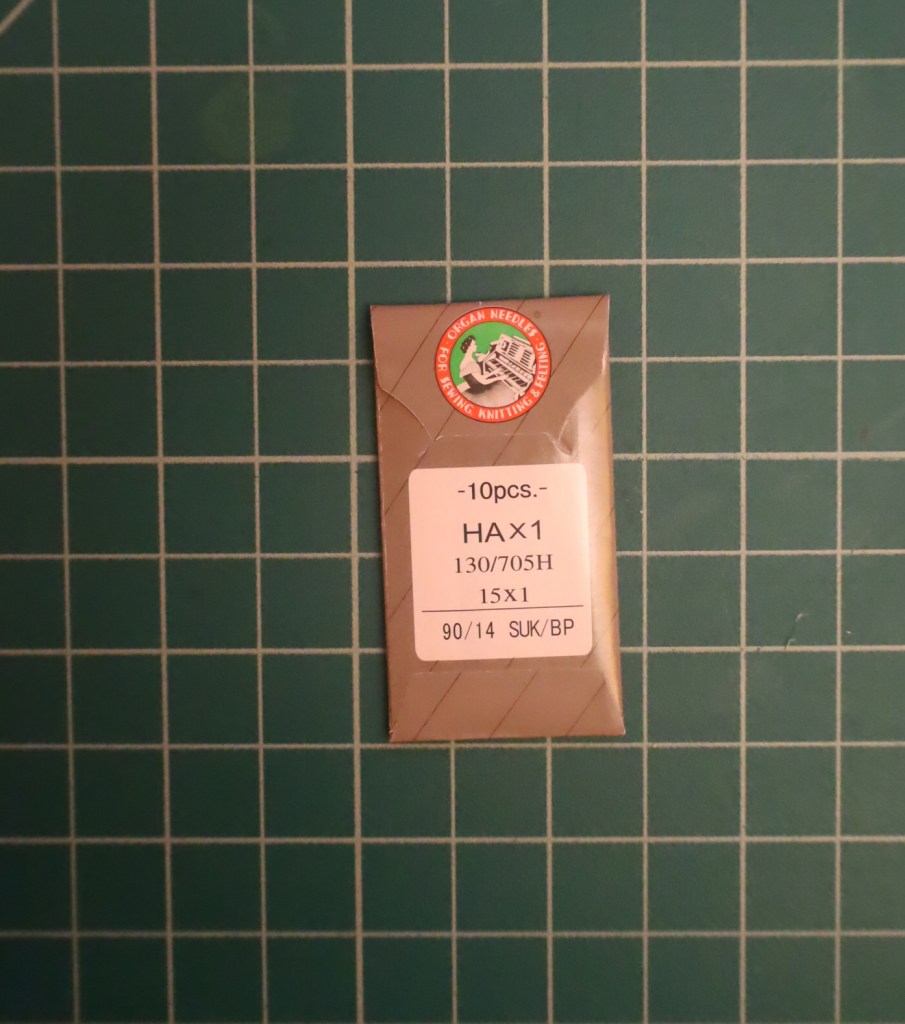
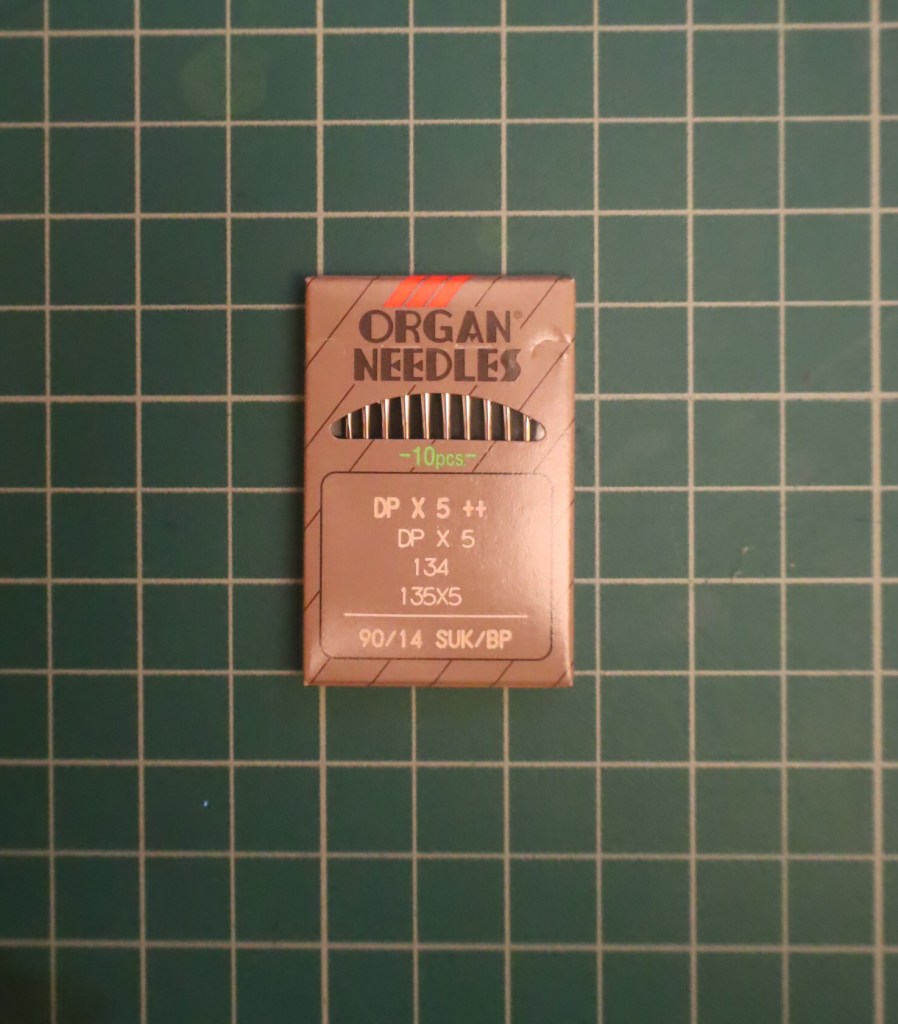
  • Needles: A Schmetz size 70 ballpoint or all-purpose needle works well. For stretchy tricot, a Schmetz blue stretch needle may be needed.

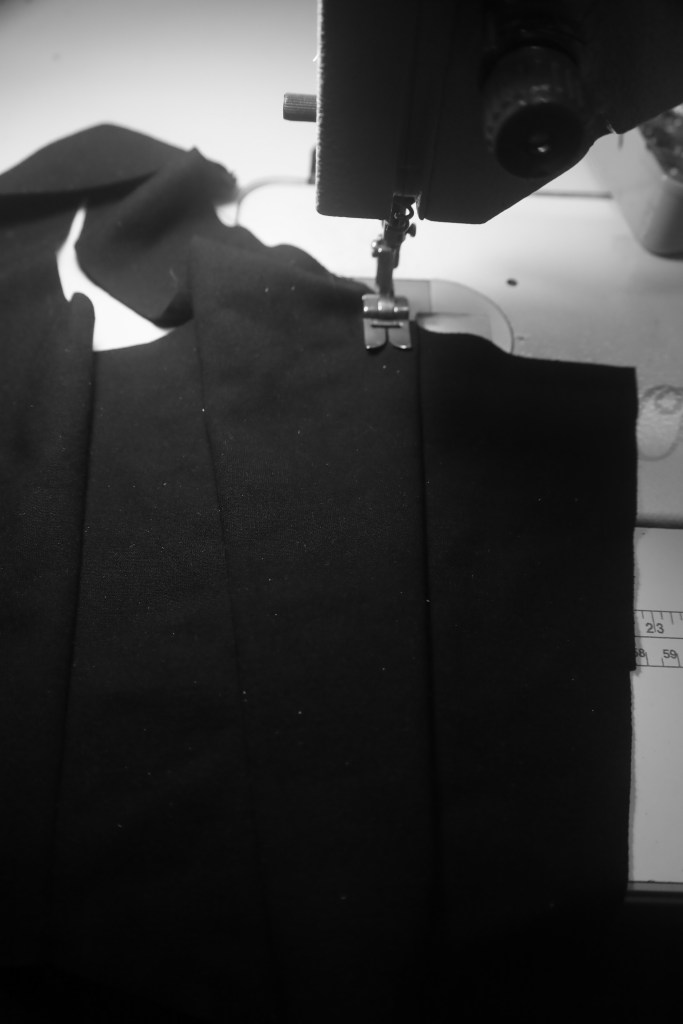
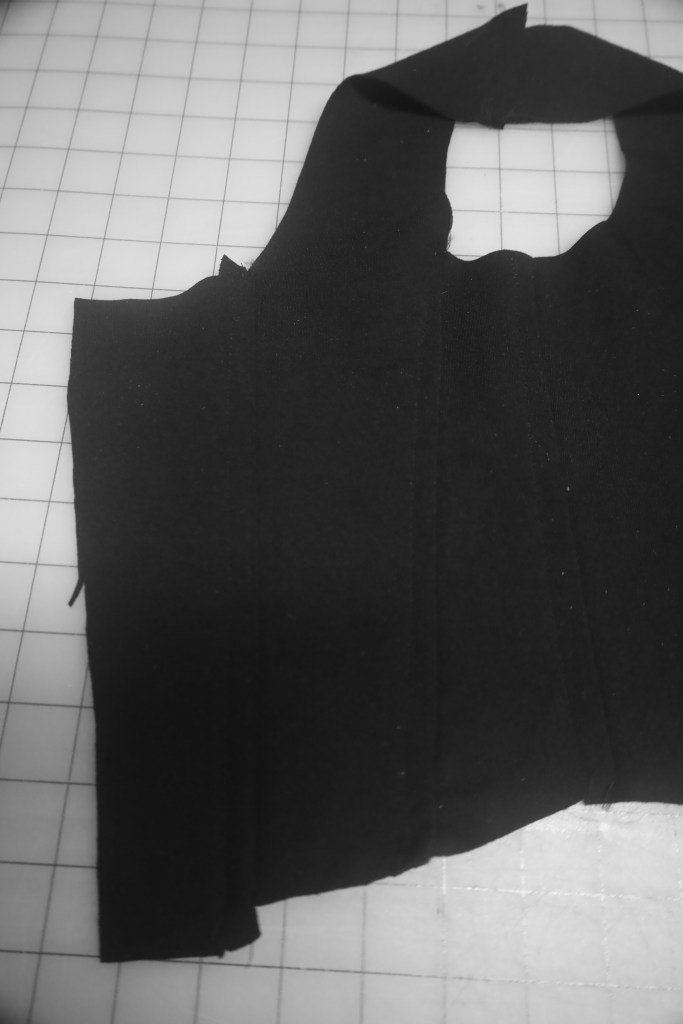
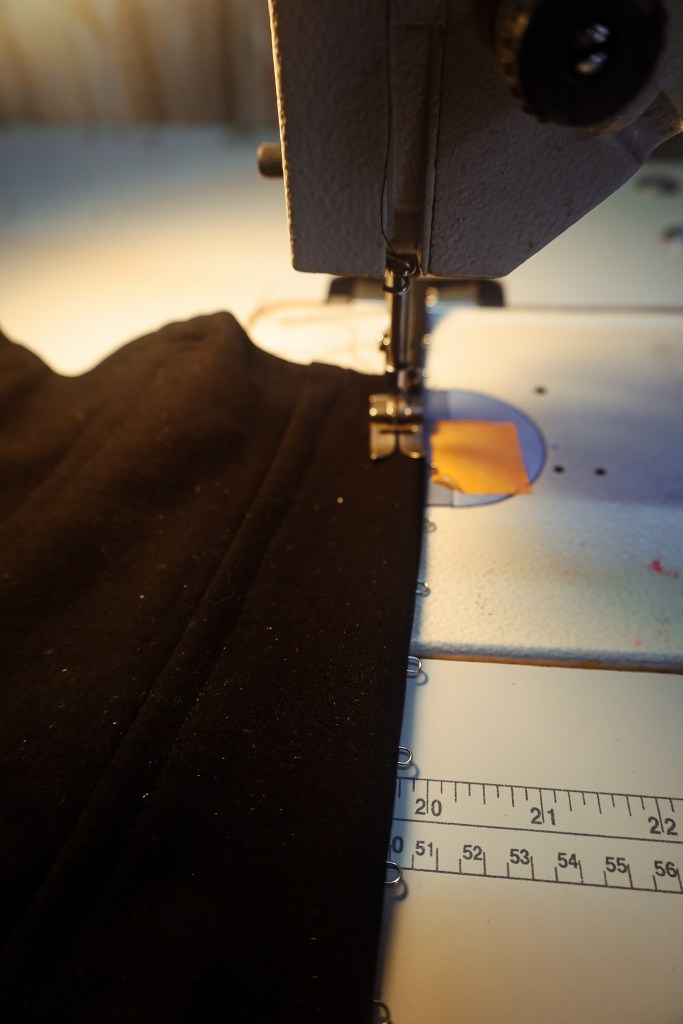
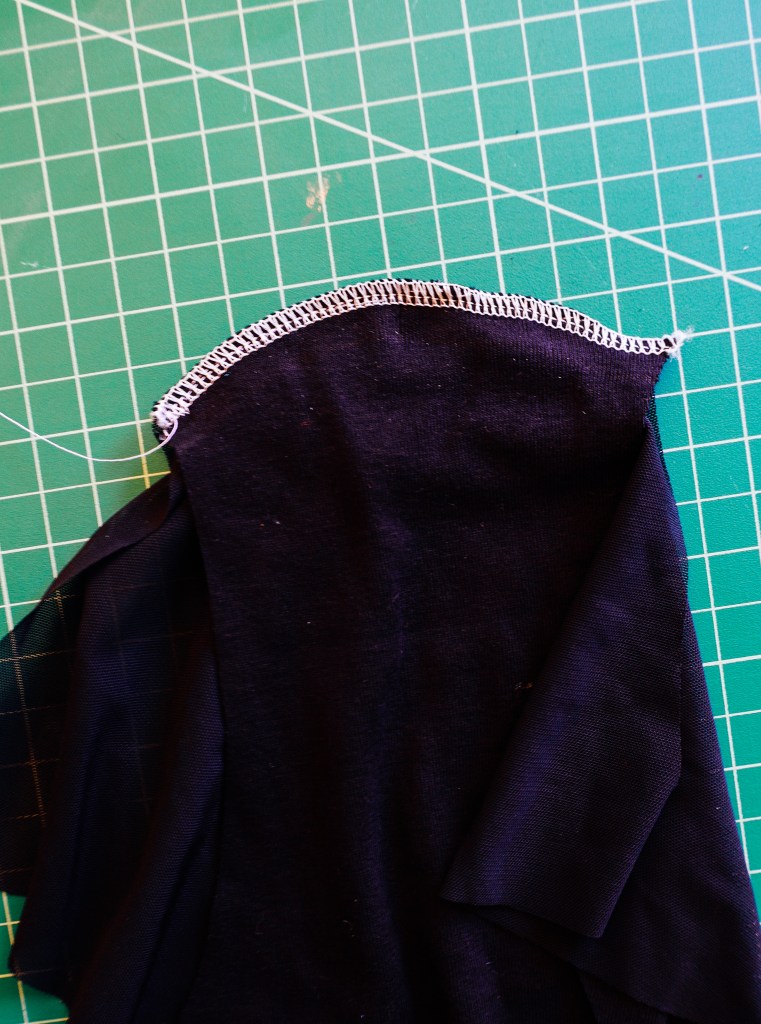
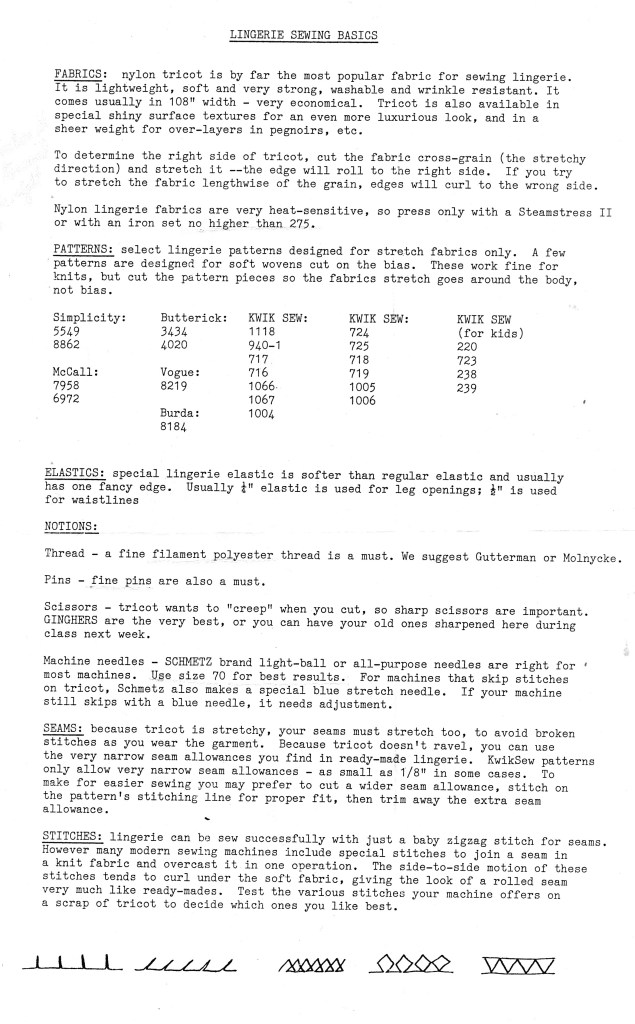
Sewing Lingerie Seams and Stitches

Since lingerie fabrics stretch, your seams need to stretch too. Here’s how to get them right:

  • Seam allowances: Tricot doesn’t fray, so you can use very narrow seam allowances (⅛” is common). For easier sewing, you can stitch with a wider allowance, then trim the excess.
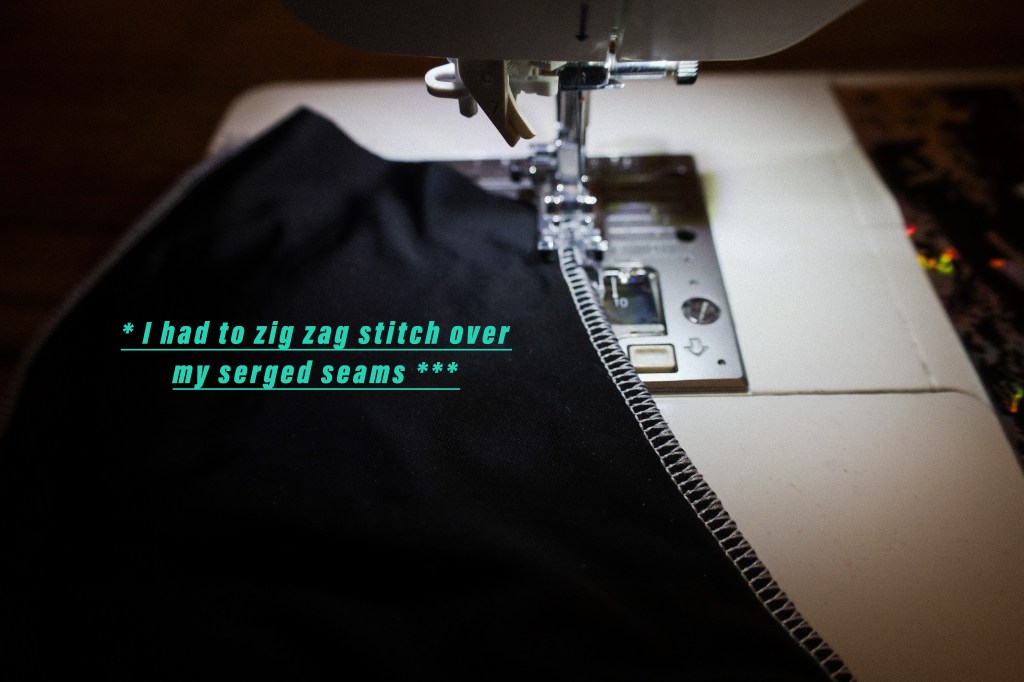
  • Seams: A baby zigzag stitch works great for stretchy seams.
  • Special stitches: Many modern sewing machines include stretch stitches that sew and finish in one step, giving a professional look similar to store-bought lingerie.

Always test your stitch on a scrap of fabric before sewing your garment.


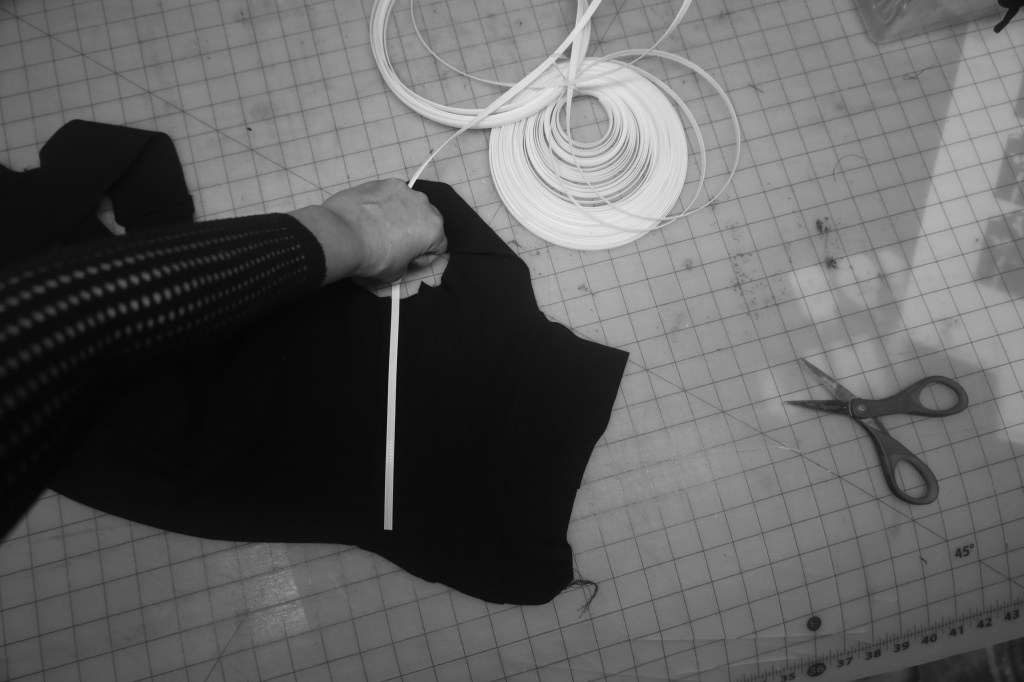
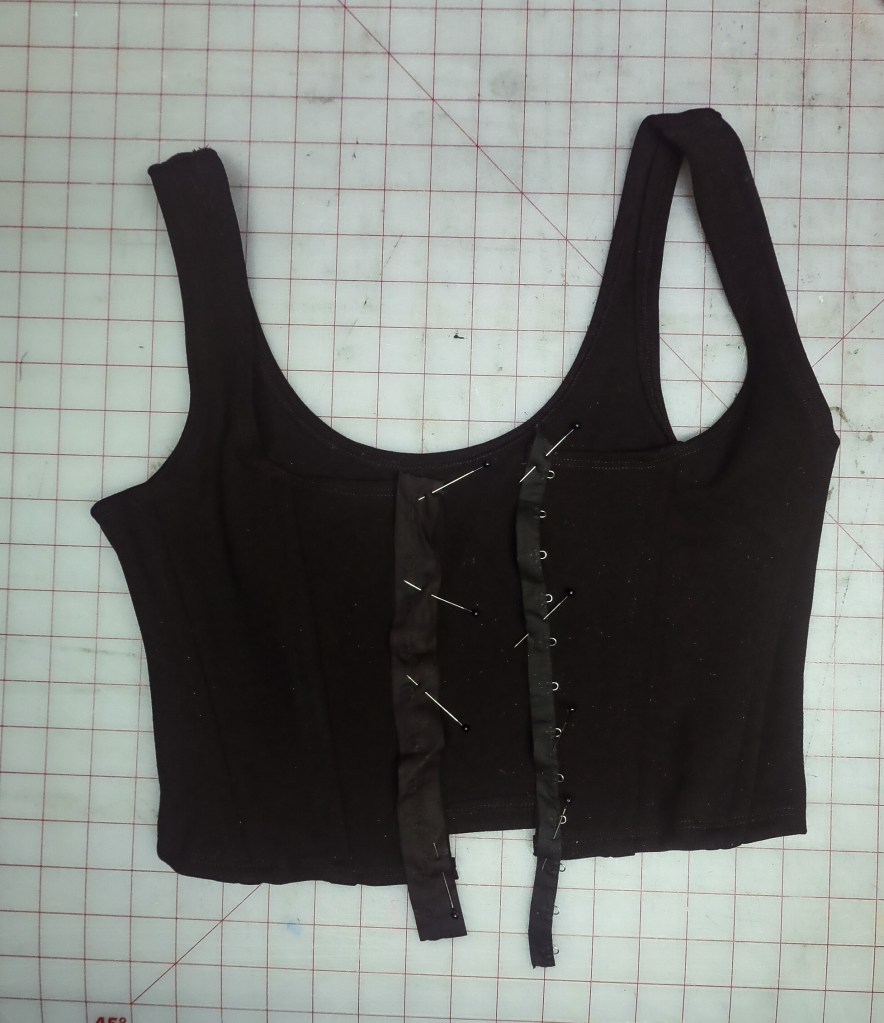
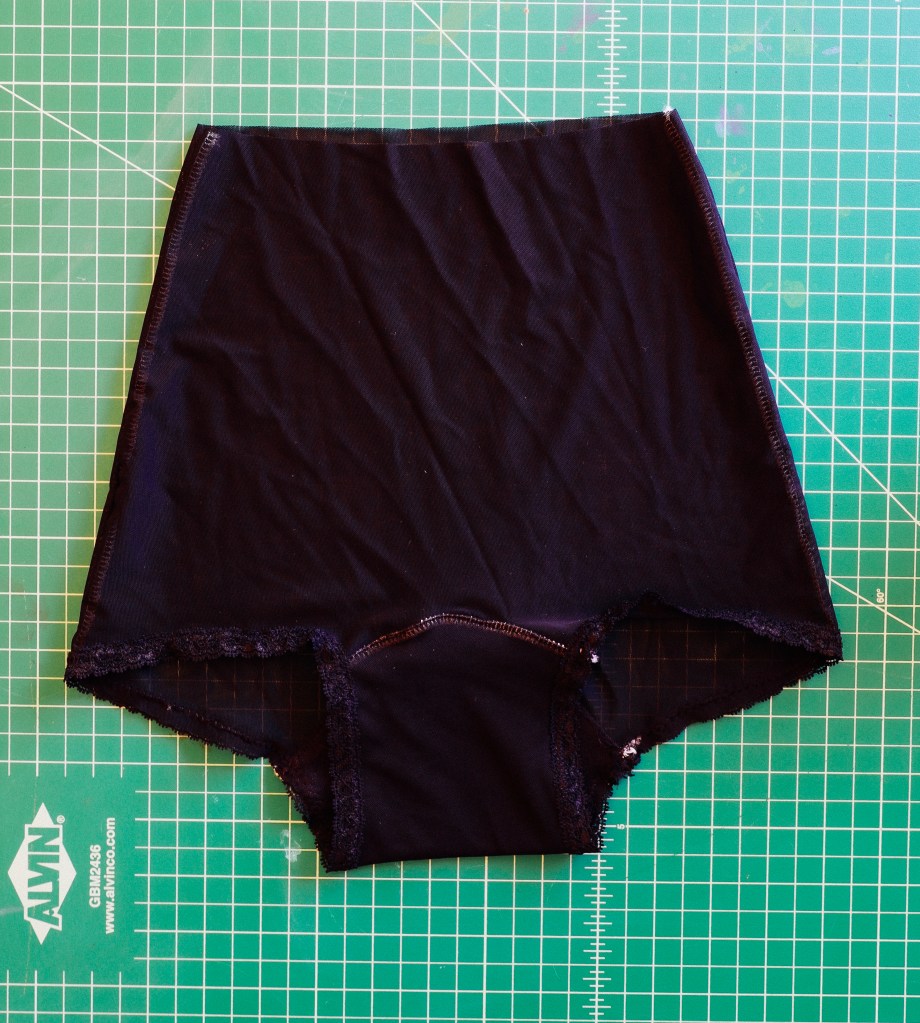
Applying Elastic to Lingerie

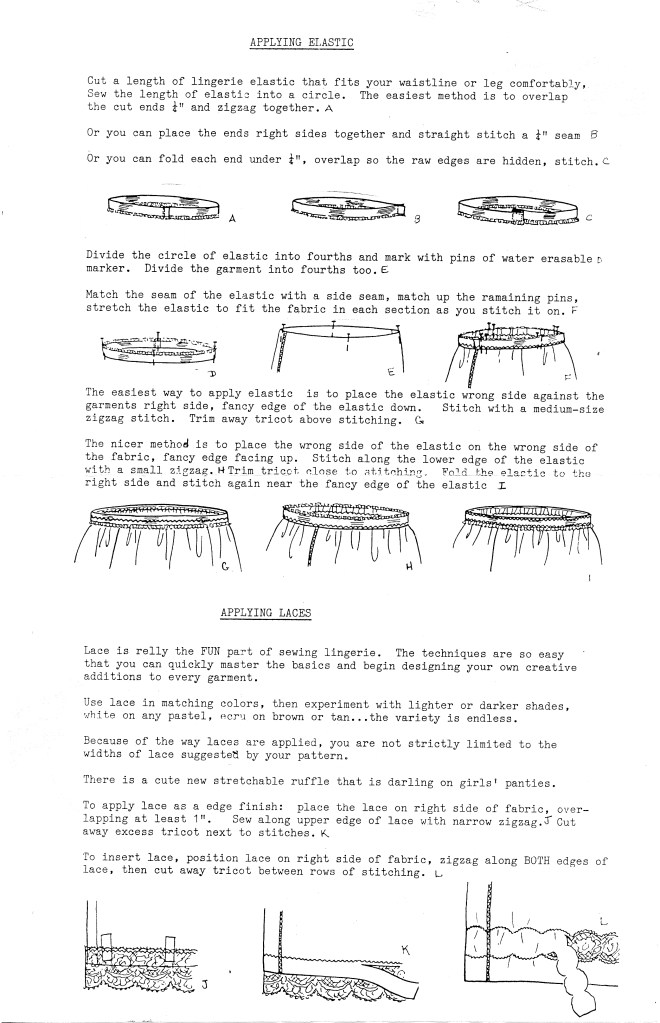
Elastic is essential in lingerie because it helps the garment stretch, fit snugly, and hold its shape. Here’s how to apply it:

Step 1: Join the Elastic into a Circle

Cut a length of lingerie elastic that fits comfortably around your waistline or leg. Then sew the ends together to make a loop. You have three options:

  1. Overlap the ends ½” and stitch with a zigzag (quick & easy).
  2. Right sides together, straight stitch with a ¼” seam.
  3. Fold ends under ¼”, overlap to hide raw edges, and stitch.

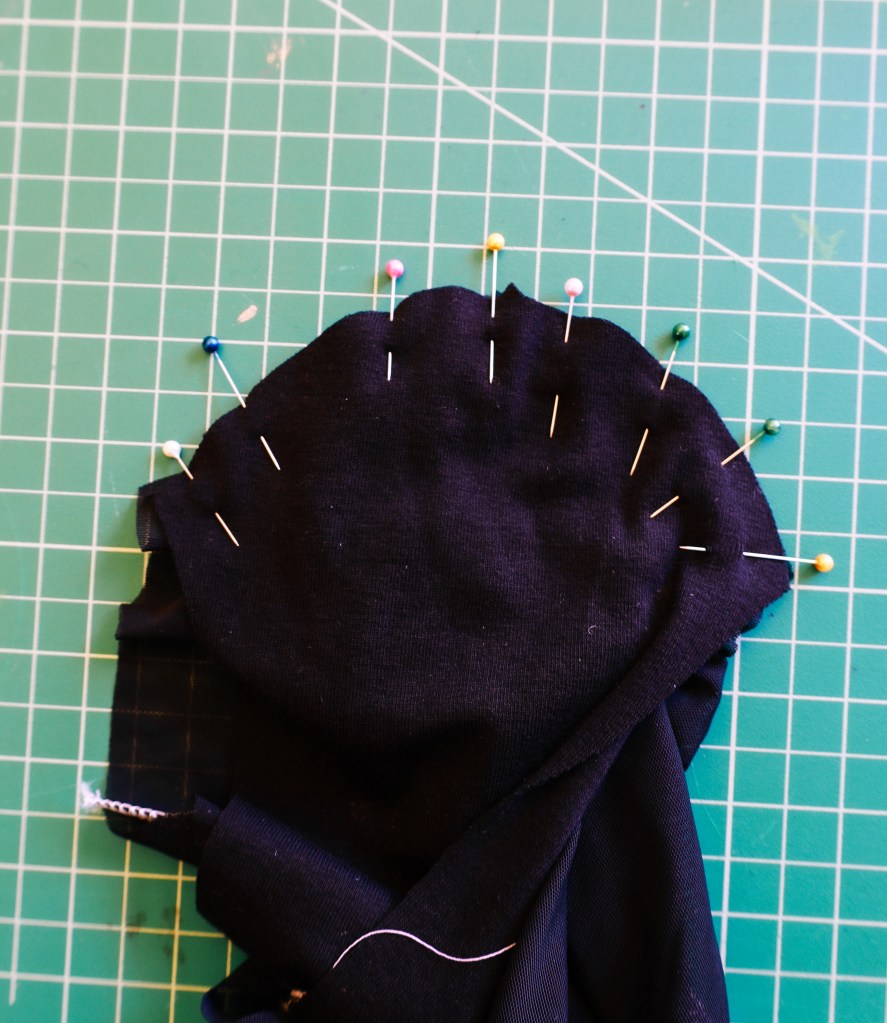
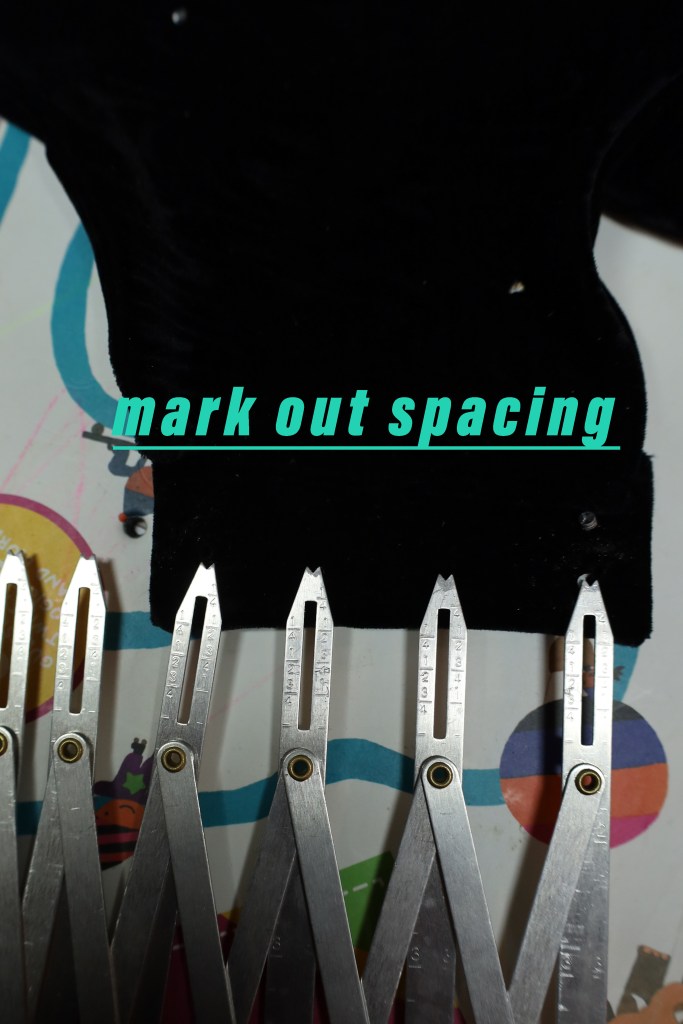
Step 2: Divide Elastic and Garment into Fourths

To evenly stretch the elastic as you sew, mark the elastic into four equal sections with pins (or a fabric marker). Do the same with your garment.

Step 3: Match and Sew

Pin the elastic seam to a garment seam. Match the other pins, then stretch the elastic to fit the fabric section by section as you sew.

Step 4: Stitching the Elastic

You have two main options:

  • Easiest Method: Place the elastic wrong side against the garment’s right side, with the fancy edge facing down. Stitch with a medium zigzag. Trim away extra fabric above the stitching.
  • Nicer Finish: Place the elastic wrong side to the fabric’s wrong side, fancy edge up. Stitch along the lower edge with a small zigzag. Trim close to the stitching, then fold the elastic over to the right side and stitch again near the decorative edge.

This second method creates a neat, professional finish.


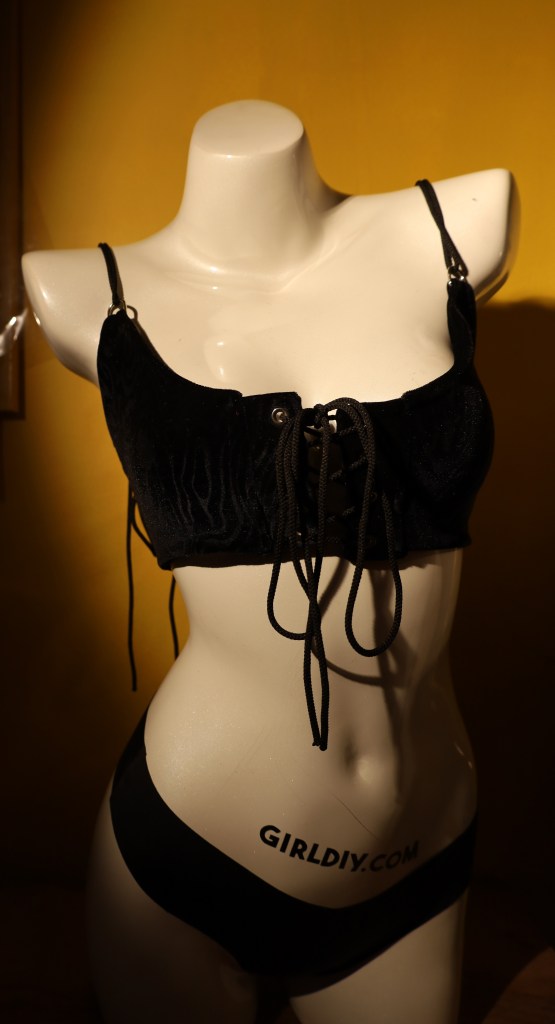
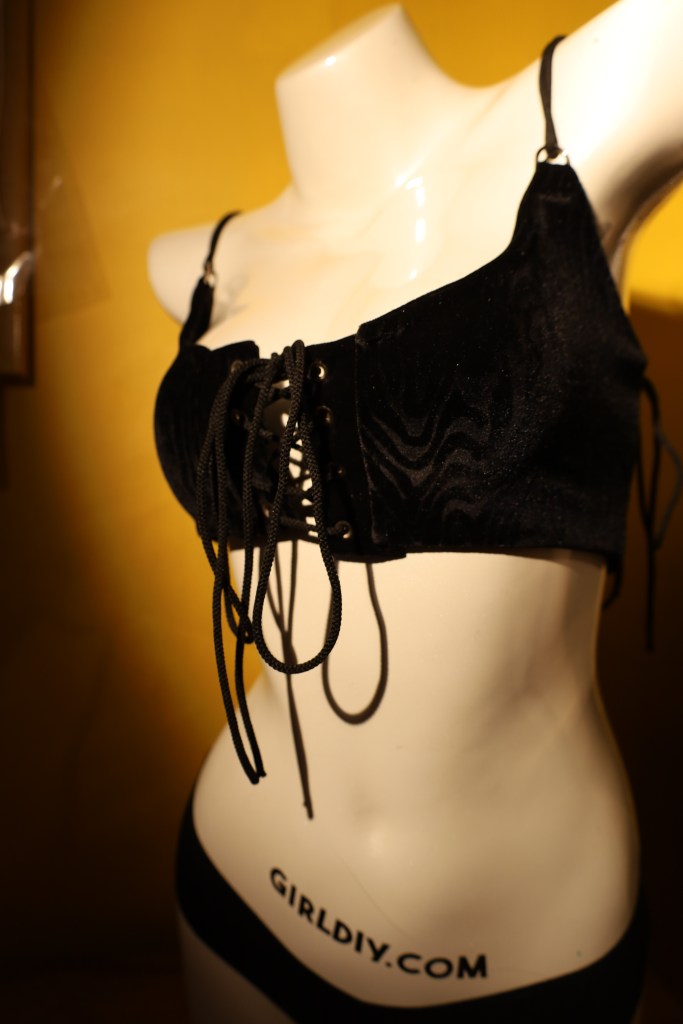
Applying Lace to Lingerie

Lace is where you get to have fun with lingerie sewing! It’s the perfect way to add elegance and a custom touch to any piece.

Tips for Using Lace in Lingerie

  • Match lace colors for a subtle look, or play with contrasts (white lace on pastels, black on brights, ecru on neutrals).
  • You’re not limited to the lace widths suggested by your pattern—experiment freely.
  • Try using stretch lace ruffles for panties or camisoles—they’re charming and comfortable.

Methods for Applying Lace

  1. Edge Finish: Place lace on the garment’s right side, overlapping the fabric edge by at least 1″. Sew along the upper edge with a narrow zigzag. Trim away excess fabric next to the stitches.
  2. Insert Lace (for cut-out or see-through panels): Position lace on the right side of the fabric and zigzag along both edges of the lace. Cut away the fabric behind the lace between your rows of stitching for a delicate, inset effect.

DIY lingerie sewing, sewing lingerie, lingerie sewing patterns, tricot fabric, how to sew lingerie, sewing lingerie for beginners.

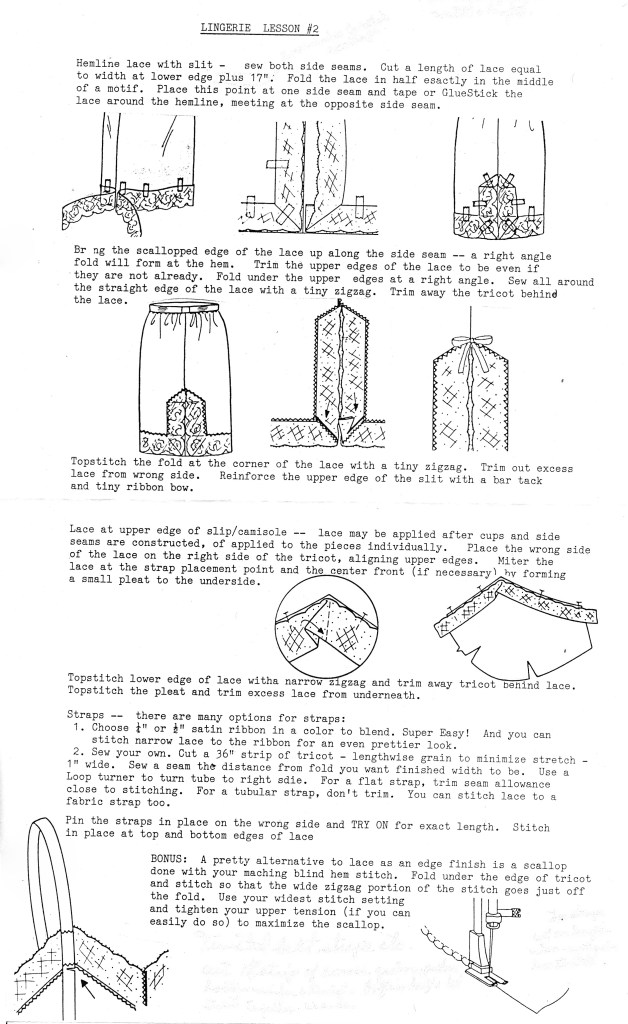
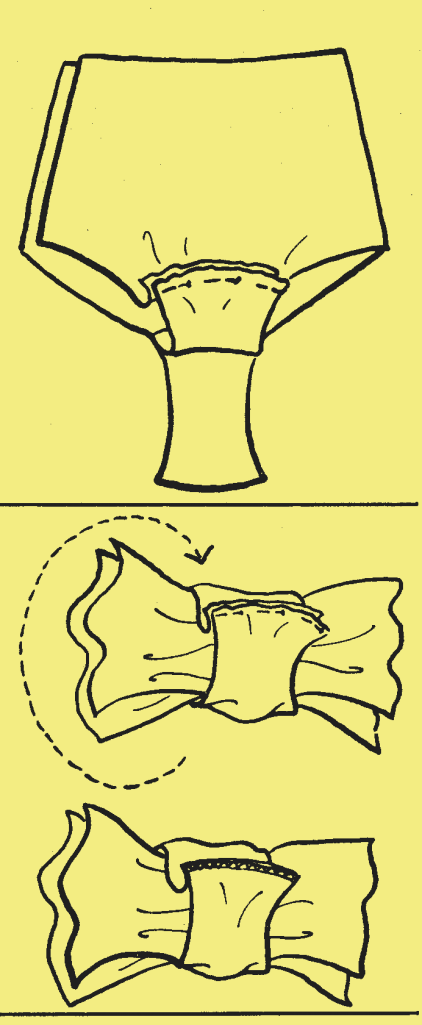
Hemline Lace with a Slit

Adding lace to the hemline of a slip or nightgown instantly gives it a polished, romantic look.

How to sew hemline lace with a slit:

  1. Sew both side seams of the garment.
  2. Cut lace the length of your hem plus 1–2 inches. Fold it exactly in half to find the center.
  3. Pin or tape the lace around the hem, starting at one side seam and ending at the opposite side.
  4. Bring the scalloped edge of the lace up along the slit opening at a right angle. Trim and fold under the upper edges neatly.
  5. Sew all around the lace edge with a tiny zigzag. Trim away extra tricot behind the lace for a smooth finish.
  6. Reinforce the top of the slit with a bar tack, and if you like, finish with a tiny ribbon bow for decoration.

Lace at the Upper Edge of a Slip or Camisole

You can add lace to the top of camisoles or slips either after construction (once the cups and side seams are sewn) or to the pieces individually before assembly.

Steps for applying lace to the upper edge:

  • Place lace on the right side of tricot, aligning the top edges.
  • Miter the lace at the center front and strap placement points. If needed, form a small pleat underneath for a neat fit.
  • Topstitch along the lower lace edge with a narrow zigzag. Trim away tricot from underneath for a sheer lace edge.
  • Topstitch pleats flat for extra reinforcement.
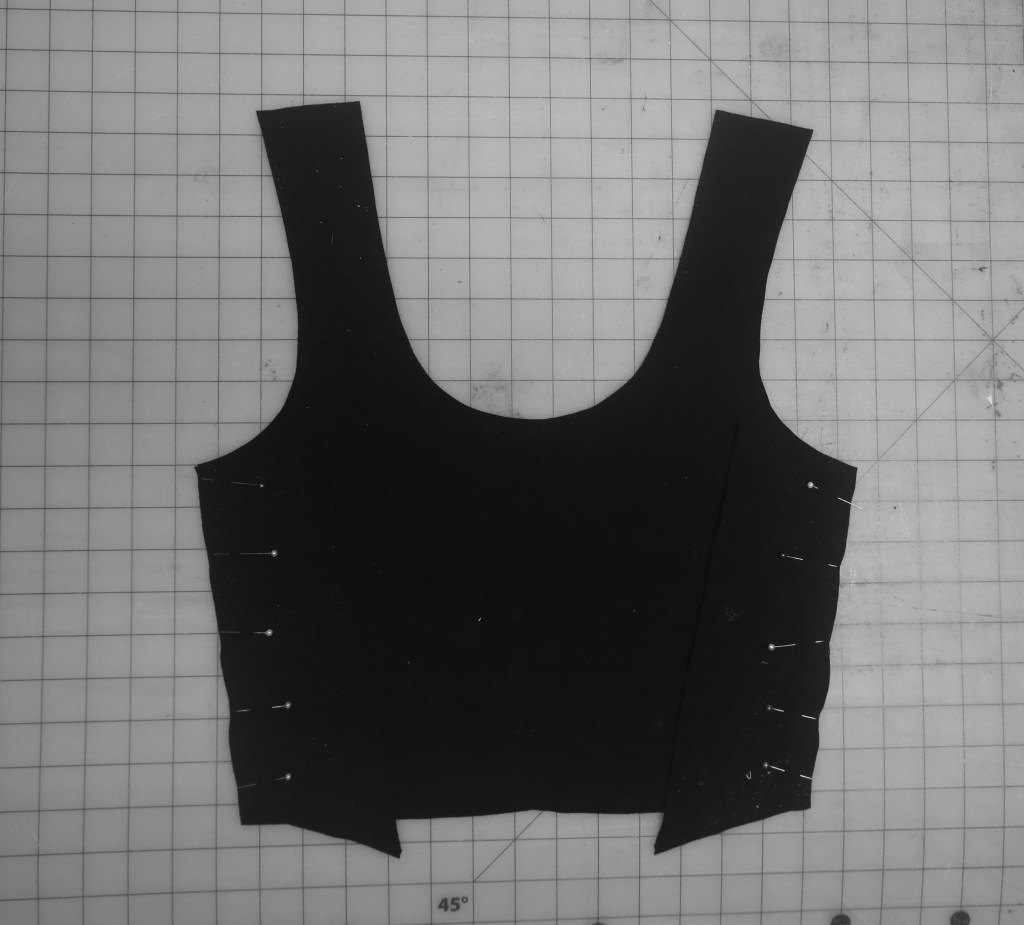
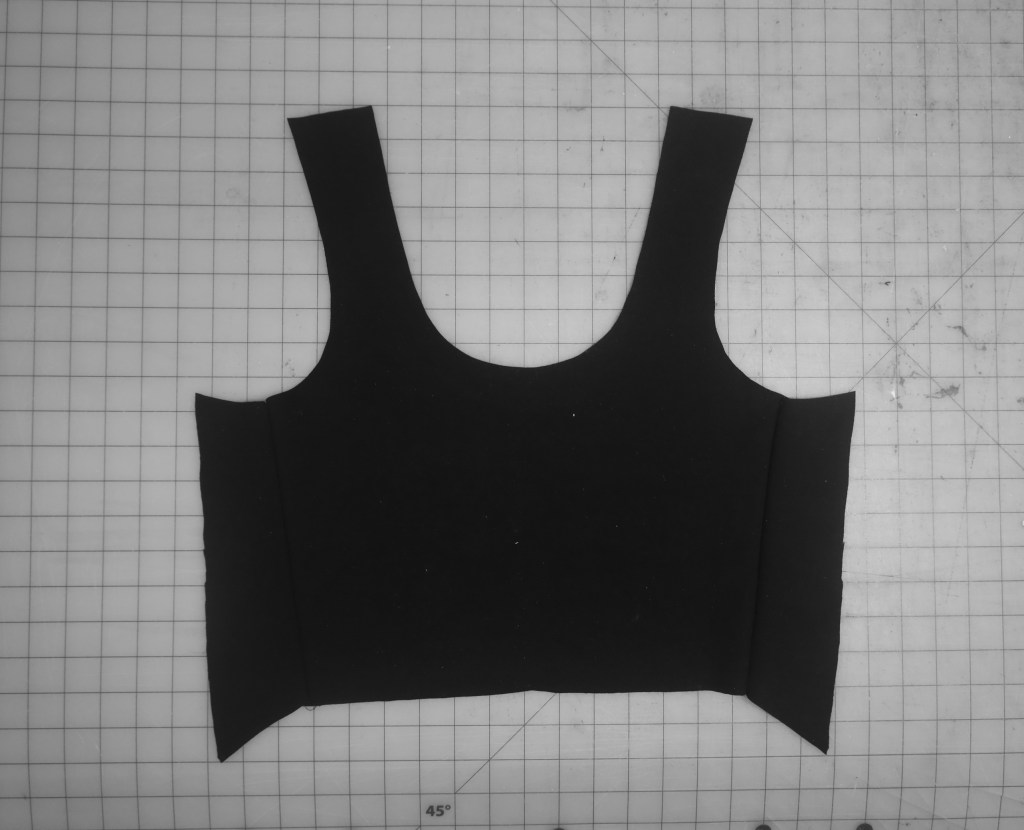
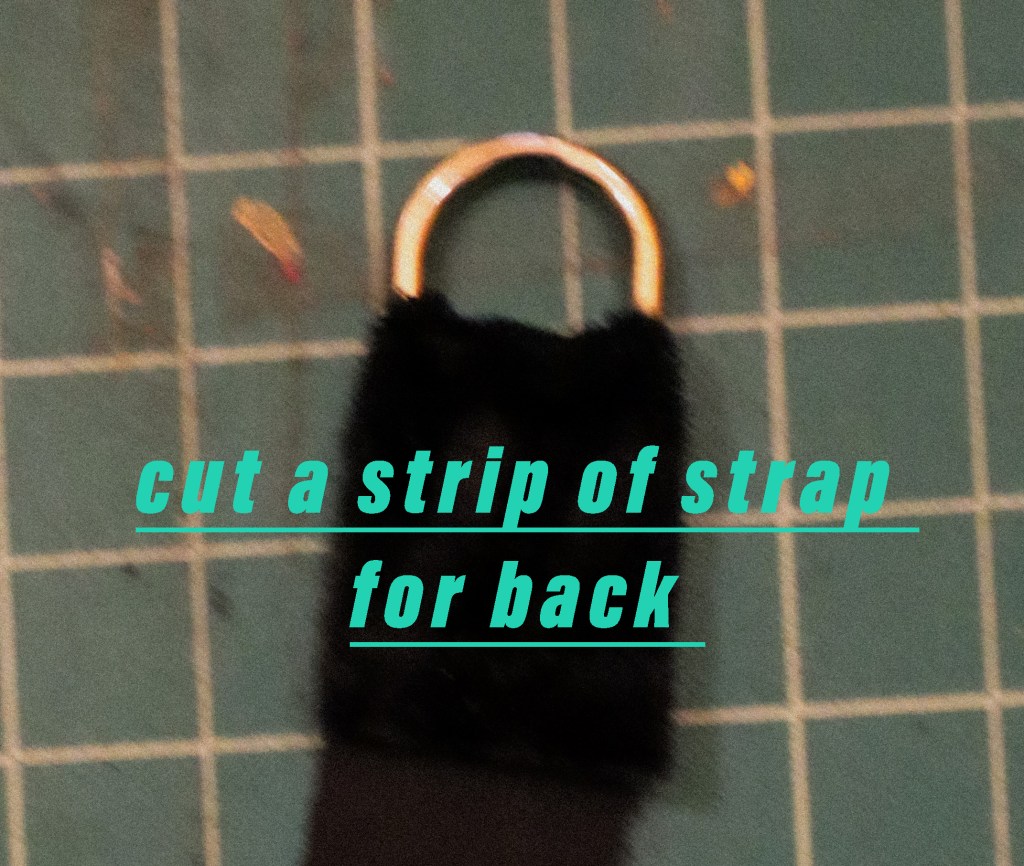
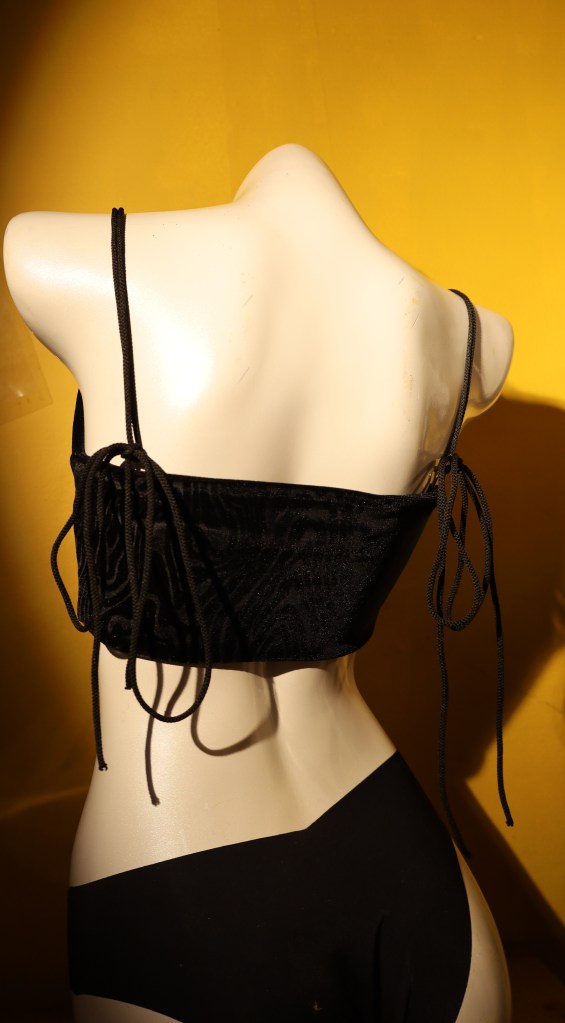
Sewing Straps

Straps are an essential part of lingerie, and you have multiple options depending on the look you want.

Easy Strap Options:

  1. Ribbon Straps: Choose ¼” or ½” satin ribbon in a matching or contrasting color. For added detail, stitch narrow lace along the ribbon edge.
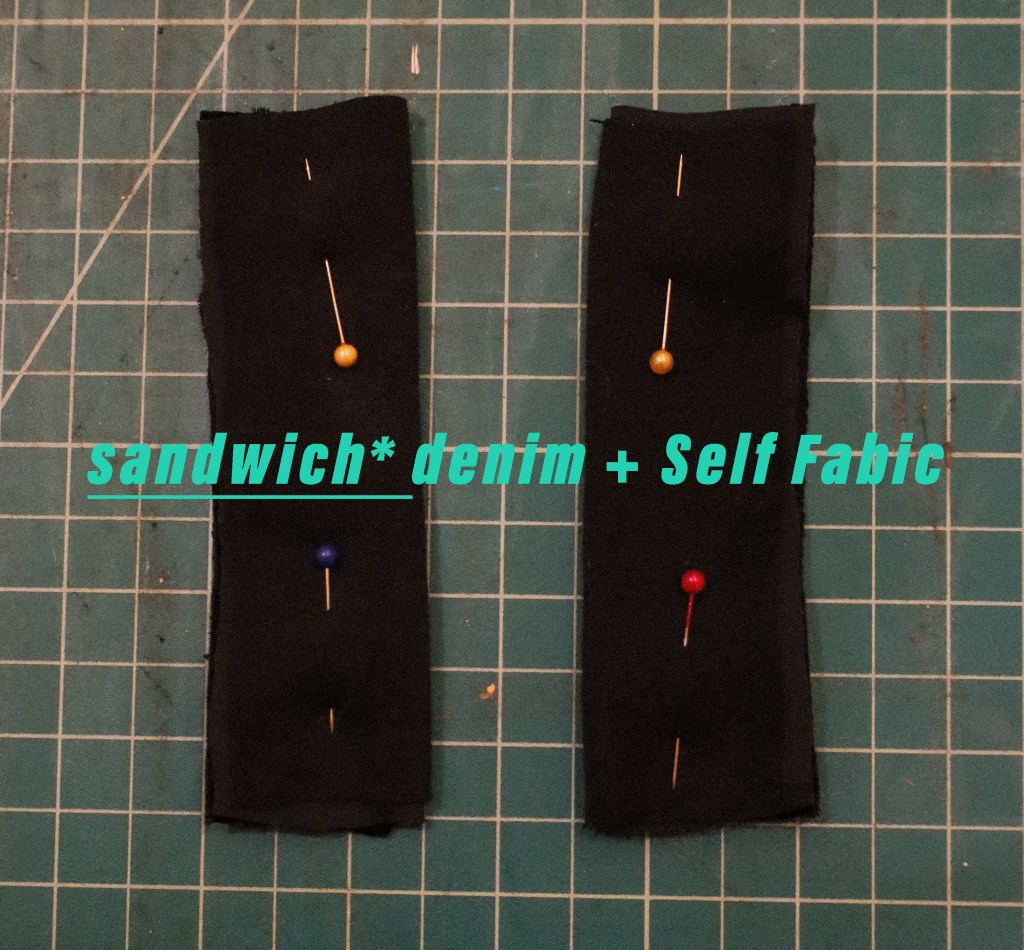
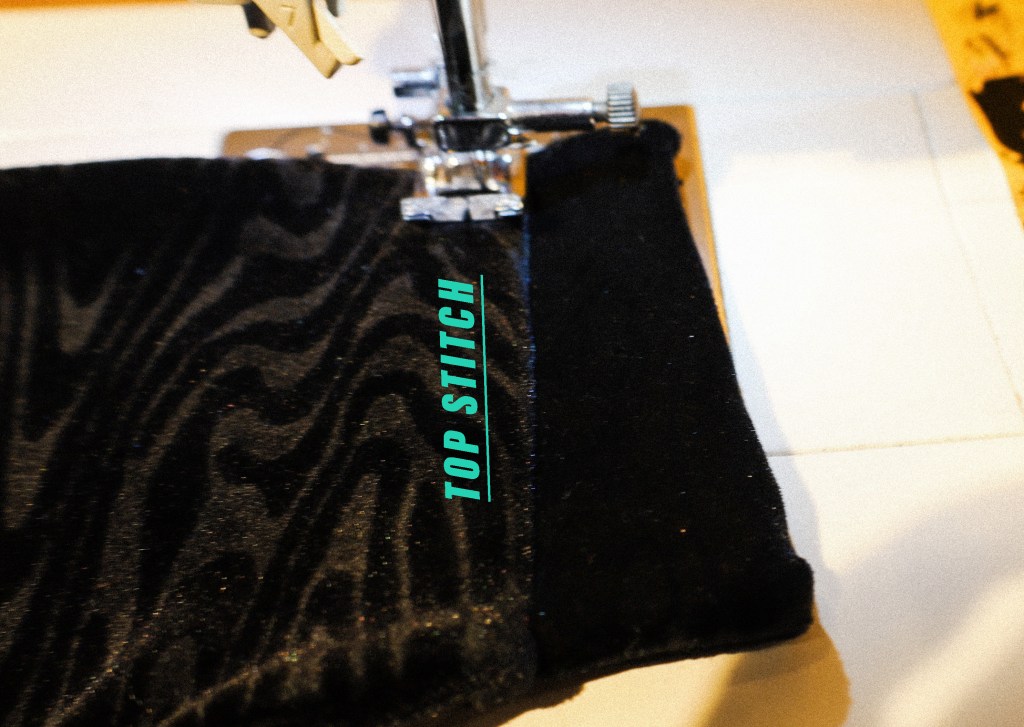
  2. Fabric Straps: Cut a 36” strip of tricot on the lengthwise grain (to reduce stretch). Fold, stitch, and use a loop turner to turn right side out.
    • For flat straps: trim seam allowance close to stitching.
    • For tubular straps: don’t trim; just turn right side out.
    • You can also stitch lace onto fabric straps for a delicate look.

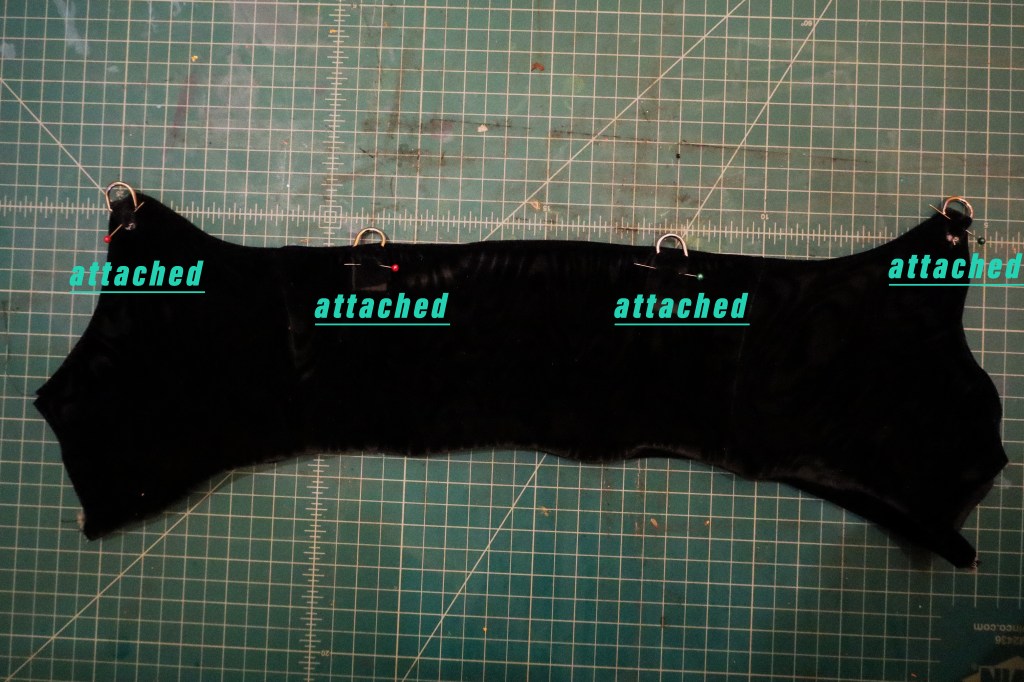
Attaching straps: Pin them to the wrong side of the garment, try on for fit, then stitch securely at the top and bottom edges of the lace.


Bonus: Scallop Edge Finish

Want an alternative to lace? You can create a pretty scalloped hem using your machine’s blind hem stitch:

  1. Fold the tricot edge under.
  2. Stitch so the wide zigzag portion of the stitch just clears the fold.
  3. Use your widest stitch setting and tighten upper tension for maximum scallop effect.

This technique mimics a lace edge without actually using lace!

Upcycled Camera Bag:

I got a camera bag that I wanted to use as a simple everyday bag to inspire me to keep my camera close and minimizing the lounge space to make it easier and more of a habit. So I found a decent looking bag that wasn’t as expensive as some of the nicer ones out there and settled for one much less. But the shape was off I felt like I was carrying around a lunch box on my back and I was determined to fix it up to my liking.

  • So I did sew some of the extra space in the top of the bag to conform a little more to my camera size.
  • I took off the straps and repositioned them in a better layout.
  • I has sewn a patch and changed the front to back and made the back now the front of my bag,

overall , I do like the changes made , feels more like a carryon / mini purse with lots of cushion to keep my camera from getting banged up.

Front : Originally the back of the bag.

Seam ripped inside the seam to reposition new strap placement

New strap placement . Needs to get sewn

Using my heavy duty machine for this . ( Walking Foot )

Before. ( Straps was a crossbag)

Upcycled: Leopard Bag

I found this Gap Leopard Canvas bag and picked it up. Seems to have some more life left to this bag but just needed to get some installations.

  • I added a very long zipper to the top of the bag.
  • Made buckle adjusters to the sides of the bag to be adjusted if the bag needs that extra room.
  • I reused straps some a previous bag to make the handles.
  • I took a tote bag I screen printed and cut it to make a patch pocket with a zipper to keep extra secure.
    • ( I didn’t take any before pictures but here’s some closes up of the adjustments I made)

Added Zipper + Belt Closures using leather

Reused Straps from pervious bag to make the new handles

2nd Chance at life . But made it punk .

Pattern Envelope Upload: Advance 4732 + Hollywood Pattern 1748

Advance 4732; ca. 1947; Housecoat with floor-length skirt. Fitted bodice with squared neck or high neck with “pilgrim” collar. Full-length front snap closure. Long or short sleeves.

Hollywood 1748; ca. 1945; Jacket, Skirt and Blouse. Very short fitted jacket buttons to high neck-line – flat round collar. Long two-piece fitted sleeves. Collarless blouse with cap sleeves. Full gathered skirt finished on shaped waistband.

Making Corset Top + Pattern

( This is the garment I am going to replicate )

I have this corset style top in my closet that I adore and think its is such a cute silhouette that I wanted to recreate using some basic pattern making skills.

The supplies needed :

  • Corkboard
  • pins
  • marking paper
  • pencils + markers
  • rulers + French curve

Step 1 :

I begin by laying out my garment that I am going to copy onto of a cork board and lay down my marking paper .

( Corkboard , Marking Paper , Garment )

Step 2 :

I begin piece by piece. putting pins in the first pattern piece . ( This is the center front)

I pin the major points of the garment and fill in with more pins to get the outline of the first pattern piece.

Step 3 :

I take the pins out and and trace off my pin markings and add my seam allowance . I used 1/2 inches seam allowance.

Then continue for the rest of the the pattern pieces.

Important step!!!

After you trace off your pattern , add seam allowance you are going to have to check your pattern pieces to make sure everything lines up while sewing .

( I didn’t get to capture this process ) But you fold the seam allowance and match It up to the seam line of the next making sure that everything looks good before you cut into your pattern . I did have to change some seam lines during the process so you will have to take your time with that .


Sewing the garment

Step 1 :

Cut out all pattern pieces. I used a heavy weight knit fabric

Step 2 :

Pin Center front to pattern piece 2 . Using a 1/2 seam allowance. Straight stitch .

I have woolly nylon for my bobbin thread , this way my stitches won’t break .

Make sure you use the right size sewing needle! This is for domestic sewing machine.

This is for industrial zig zag machine I used my consew cn2053-r

I pin and sew side front to back piece .

Step 4:

Now Pin and sew size seam and shoulder seam.

Step 5 :

Create your channels . Will be adding boning to my garment so I am sewing a wide enough Channel to put my boning through. I used my sewing foot as a guide . and sew over my seam allowance pushing it over to one size and sewing a straight stitch .

Do this for the rest of the seams

Step 6 :

I didn’t get to record this but I did finish up one edge of the hem using my cover stitch sewing machine.

I am using Rigilene Boning

Measure and cut your boning leaving about 3/4 inch shorter than the seam length that way it doesn’t get caught in your hem .

Step 7:

Finish up your hems. I use 1/4 inch seam allowance . I used my coverstitch sewing machine.

Step 8 :

Now we are gonna add the Hook and eye Tape

Adding in hook and eye take is like adding in a zipper .

More in-depth YouTube search ( https://www.youtube.com/results?sp=mAEB&search_query=adding+hook+and+eye+tape )

FINISHED!

I wore this top out for my night shift gig at a metal show in downtown, LA. I layered it on top of a mesh stripy bodysuit and slim tight pants + Fanny Pack 🙂

Sewing 1970s Panties

I got around to sewing Kwik Sew 240 girdle style panties. The pattern features a full fit with an extra large gusset that seems to just hug everything in place. I could not be happier with the results to this pattern .

For this sewing tutorial I used a silky lightweight power mesh fabric that has a 4 way stretch.

Esty Search : https://www.etsy.com/search?q=lightweight+powernmesh+fabric&ref=search_bar


This is the pattern back sizing chart. Remember this is vintage sizing so you may have to size up or resize your pattern to fit your body .

Also note that the amount of stretch will / can affect the fit of your finished garment.

For instance : if you are using a fabric with a lot of stretch you may have to size down . verses if you use a fabric with less stretch you will have to size up a few sizes to accommodate to the pattern .


Step 1:

This Pattern uses 3 pattern pieces , Front x back x gusset ( cut lining + Self )


Step 2 :

‘sandwich; together gusset piece right sides together with center front panties in the middle. Pin along the curve. this step will take a lot of patience and practice .

Serge together .

Step 3 :

Pin the side seams and serge

Step 4 :

Attach the other side of the gusset in the same way ,

Step 5 :

It’s coming along . Turn right side out . You are next going to finish up with lingerie elastic.

You can buy the digital pattern on my etsy shop for 80 cents : Click Link to redirect

Grommet Busted Top : Pattern+Sewing

I created this top inspired by a top I already owned and this very simple can be sewn up in about an hour ( Depending on your experience )

I used up the scraps from my previous sewing projects since this little top requires very little fabric.

Supples Needed:


S E W I N G :

-Cut out all pieces : front – back – grommet strip

-Use a piece of scrap denim for interfacing for grommet stip. Will help support your grommets in stretchy fabric and will help from falling out .

-Pin and sew front to back x do the same for the lining

-Fold the grommet strip. Layer the self fabric with the denim lining (wrong side facing) Will be turned sides together after sewn

– Serge the sides and top for grommet strip ( see the white thread in photo )

-Pin Right sides together

-Serge the top and bottom edges of the top leaving the center front and strap handles open .

-*** I had to go over my overlock stitches with a zig zag stitch since I didn’t adjust my serger for the stretch fabric and was pulling out stitches ***

-Turn Right side out

-Use d Rings for strap holder . I used 1/2 inch d rings .

-I cut a 1/2 inch wide scrap fabric for the back . ( Sorry for the blurry photo )

-Pin in Place and sew

-Pin the grommet strip and sew right sides together

-Turn to right side and top stitch to secure the thick seams.

-I added my label . But this is how it should look now. Getting ready to add the grommets

-This is the tools for my grommets . I then will measure out the spacings and install them in .

-Add the straps and you’re done ! I used a corded shoe lace


another way to use your thermal printer . . .

I used my zebra lp 2844 to print out flyers to add to my orders to direct people to my website .I buy the rolls in bulk and each one printed costs about 10 cents to print. This is such a great and affordable way to print out full page graphics without spending too much at a print shop .

I created a 100% black and white flyer measuring 4 x 6 inches to than be printed using my shipping label to sick onto my packaging to let people know I have this site here.

Creating A Pattern : Mock Collar Sleeveless Top

I found this mock collar sleeveless top at the thrift store and I love the simple shape of the top . It was made out of wool as well and I knew I wanted more. So I measured up the garment to make a simple pattern from the existing garment.

Specialitly tools I used to create pattern :

  • Pattern paper / dot paper : // alternative : Can use Kraft paper or newsprint
  • Rulers , Hip curve , French Curve
  • Rotary Cutter ( I have one just for cutting paper )
  • Markers, pencil

Measuring it up :

I measured the major points: Across, length , neck band measurement.

Taking Notes of finished garments

+ added seam allowance measurements :

Here is my chicken scratch writing :

I created a pattern using the measurements I took down as well as traced off the rough outline of the finished garment for a little assistance :

After I finished I used my curve rulers to finalize the lines :

I folded my paper in half and cut the pattern out since it is gonna be symetical

I did sew up the top and this is what I got !