
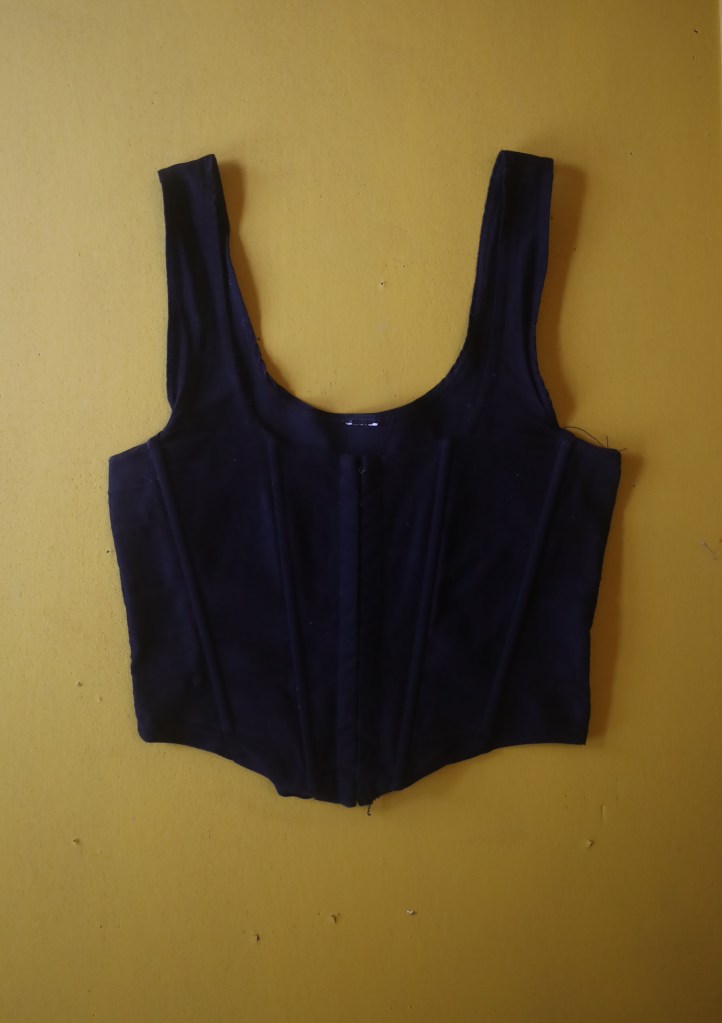
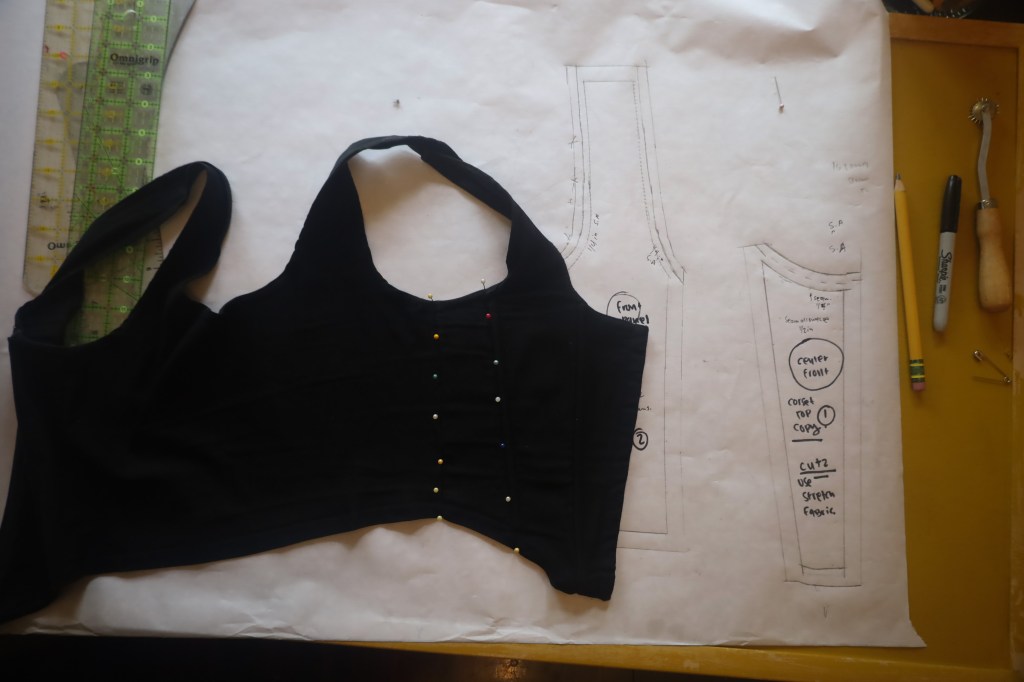
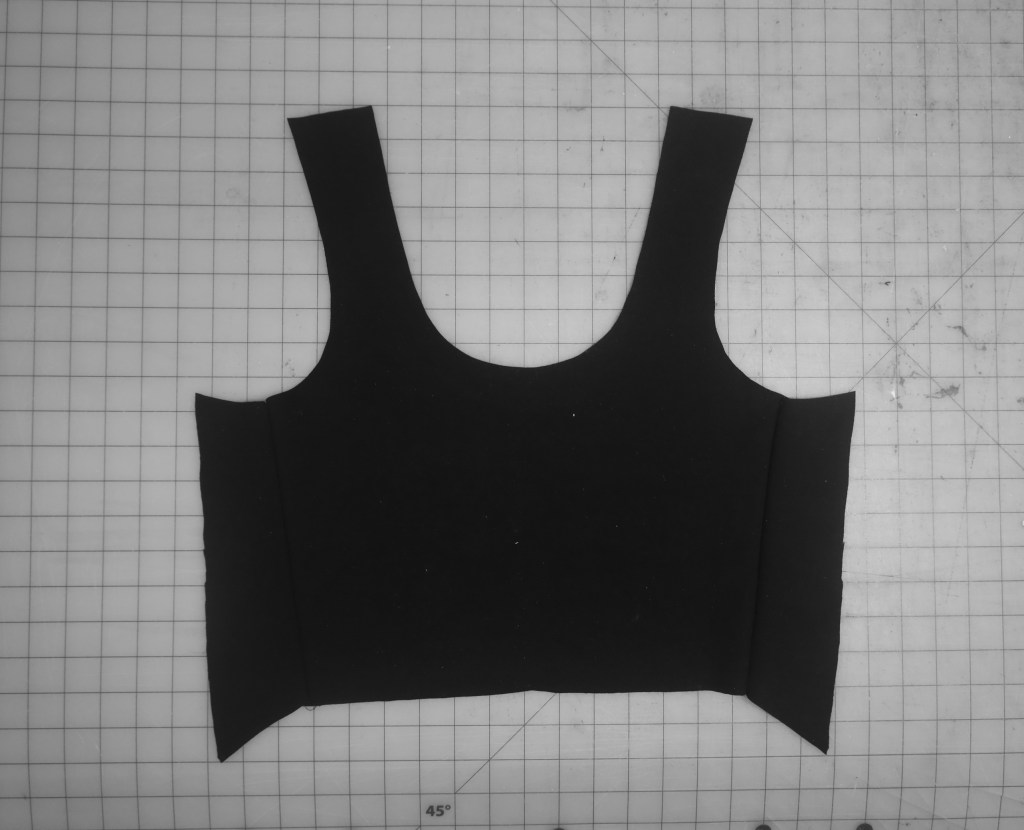
( This is the garment I am going to replicate )
I have this corset style top in my closet that I adore and think its is such a cute silhouette that I wanted to recreate using some basic pattern making skills.
The supplies needed :
- Corkboard
- pins
- marking paper
- pencils + markers
- rulers + French curve
Step 1 :
I begin by laying out my garment that I am going to copy onto of a cork board and lay down my marking paper .
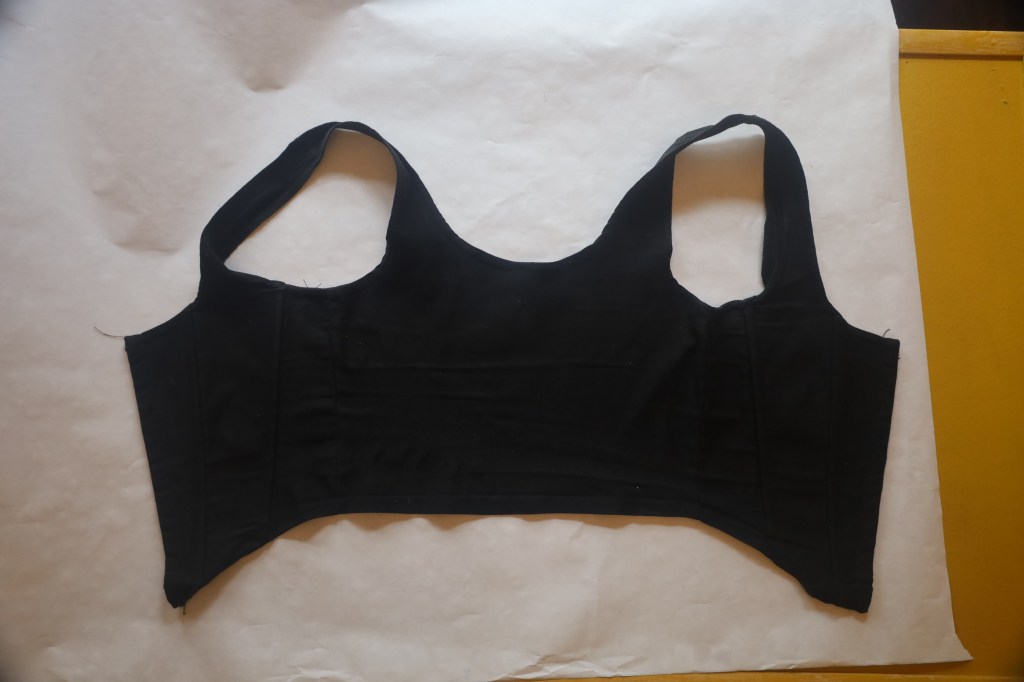
( Corkboard , Marking Paper , Garment )
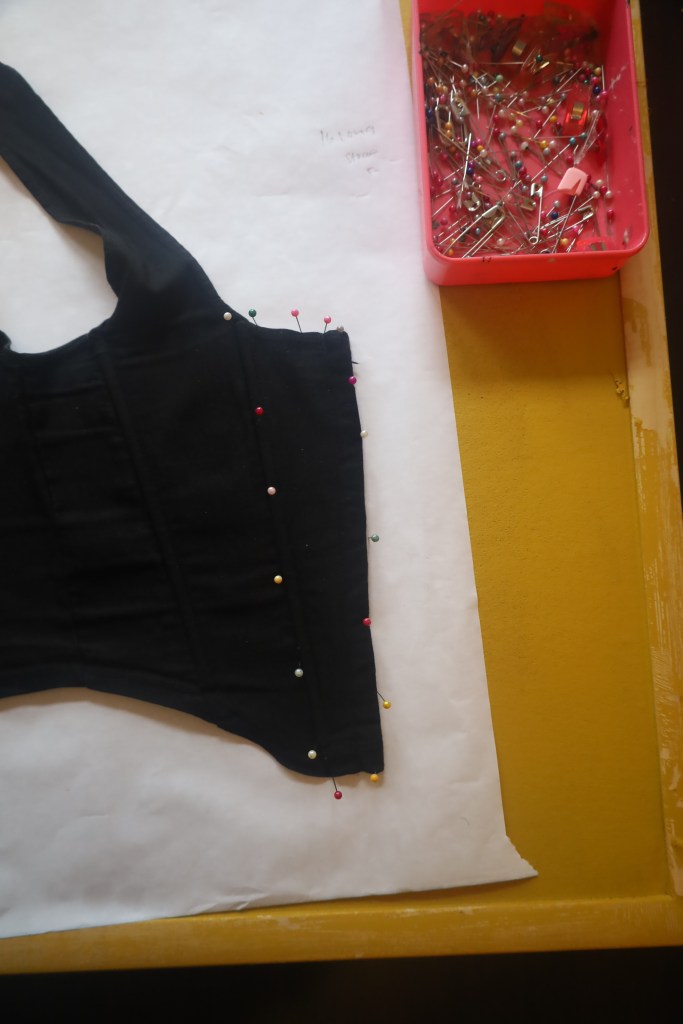
Step 2 :
I begin piece by piece. putting pins in the first pattern piece . ( This is the center front)
I pin the major points of the garment and fill in with more pins to get the outline of the first pattern piece.
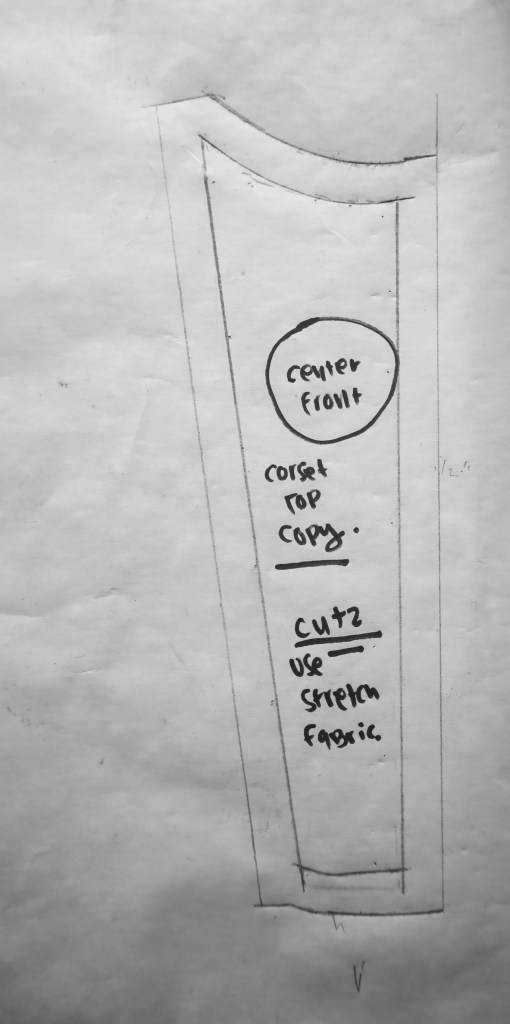
Step 3 :
I take the pins out and and trace off my pin markings and add my seam allowance . I used 1/2 inches seam allowance.
Then continue for the rest of the the pattern pieces.

Important step!!!
After you trace off your pattern , add seam allowance you are going to have to check your pattern pieces to make sure everything lines up while sewing .
( I didn’t get to capture this process ) But you fold the seam allowance and match It up to the seam line of the next making sure that everything looks good before you cut into your pattern . I did have to change some seam lines during the process so you will have to take your time with that .
Sewing the garment
Step 1 :
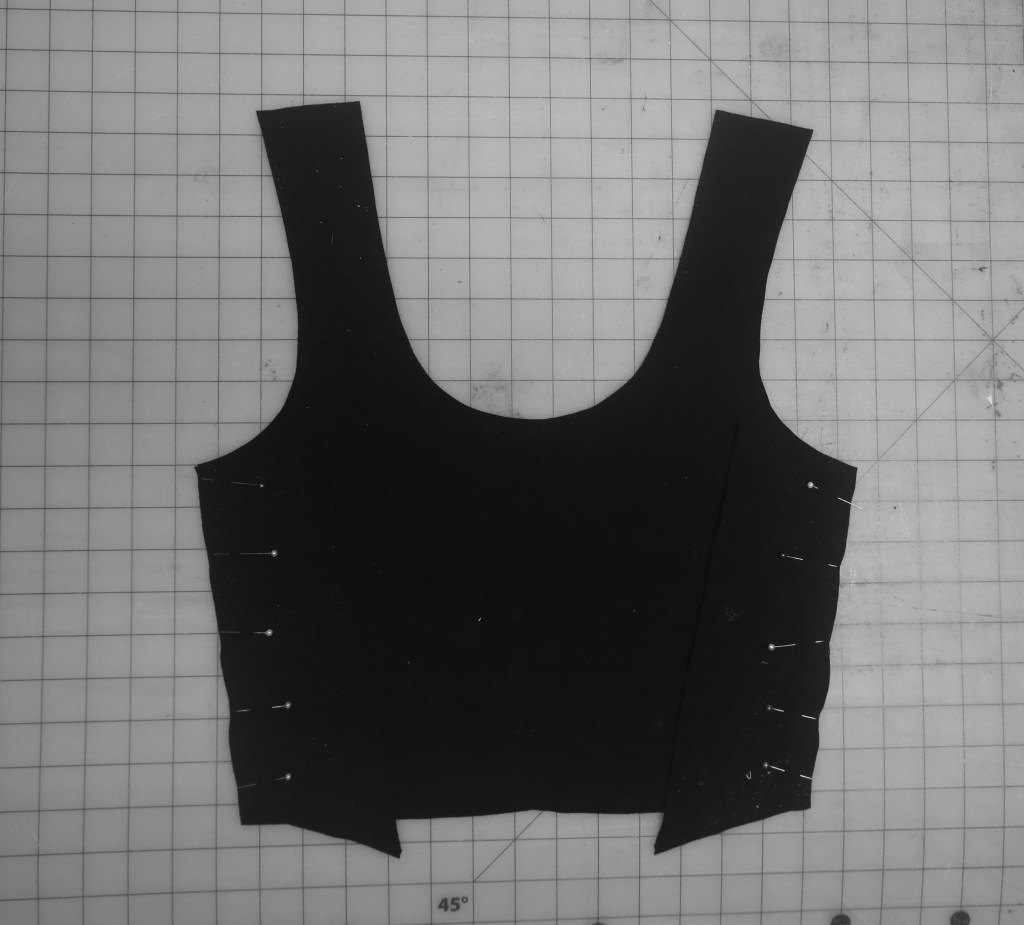
Cut out all pattern pieces. I used a heavy weight knit fabric


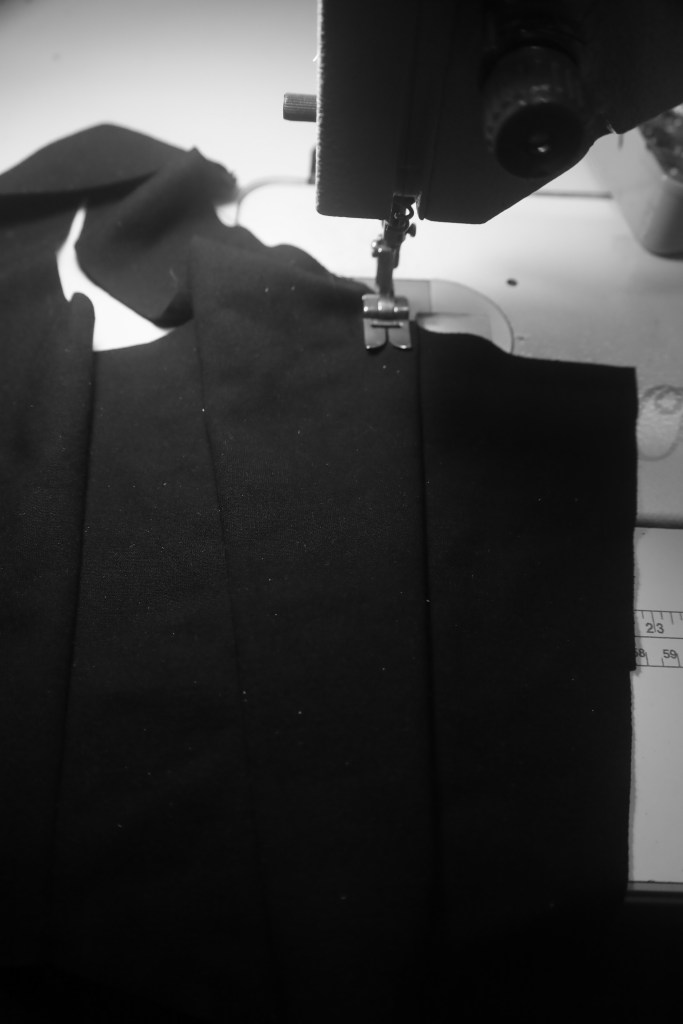
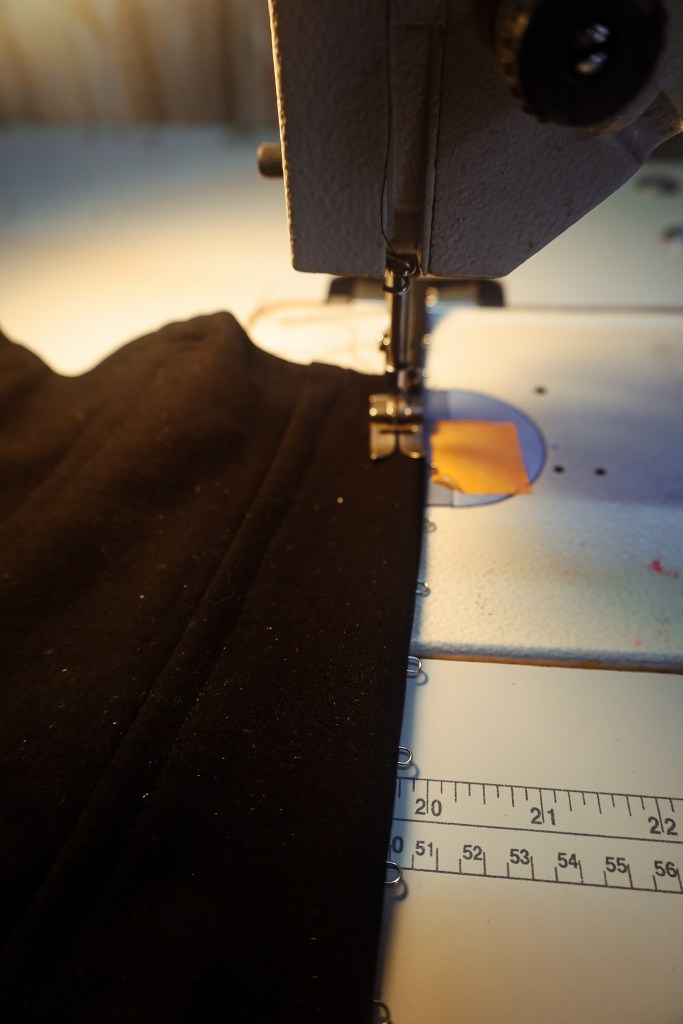
Step 2 :
Pin Center front to pattern piece 2 . Using a 1/2 seam allowance. Straight stitch .
I have woolly nylon for my bobbin thread , this way my stitches won’t break .


Make sure you use the right size sewing needle! This is for domestic sewing machine.
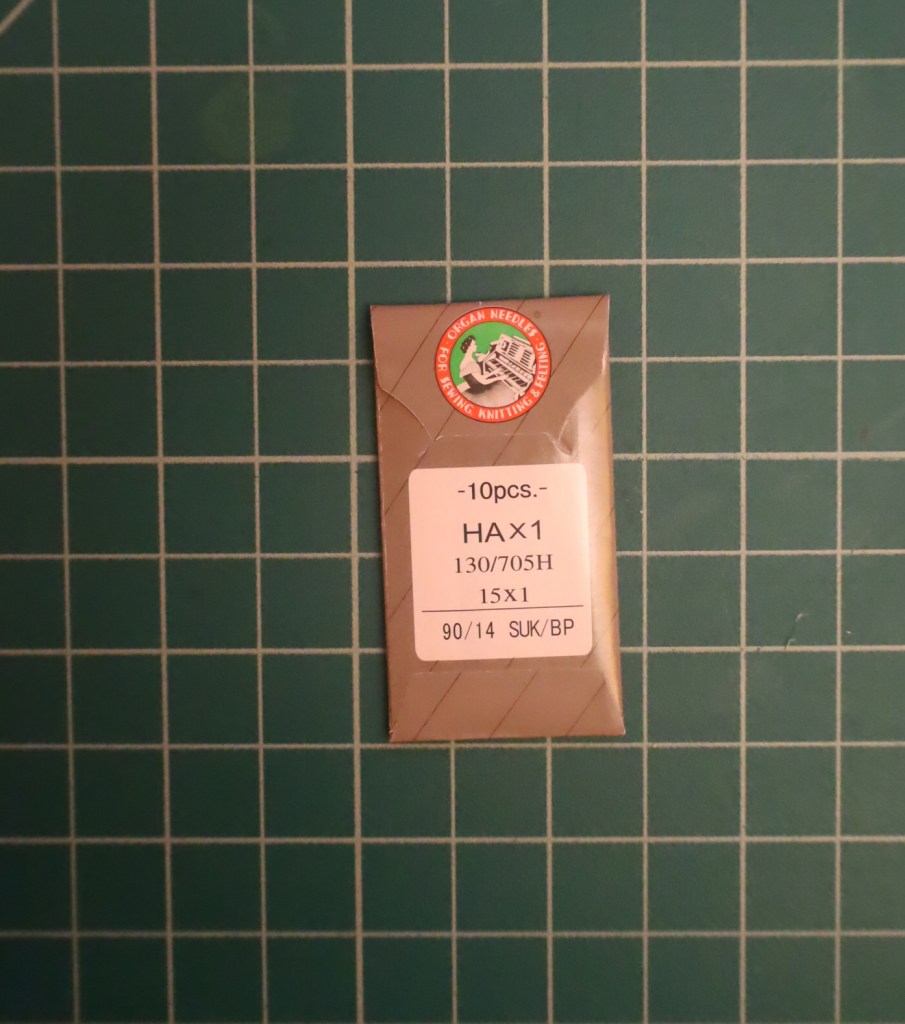
( For home sewing machine needle type)
This is for industrial zig zag machine I used my consew cn2053-r


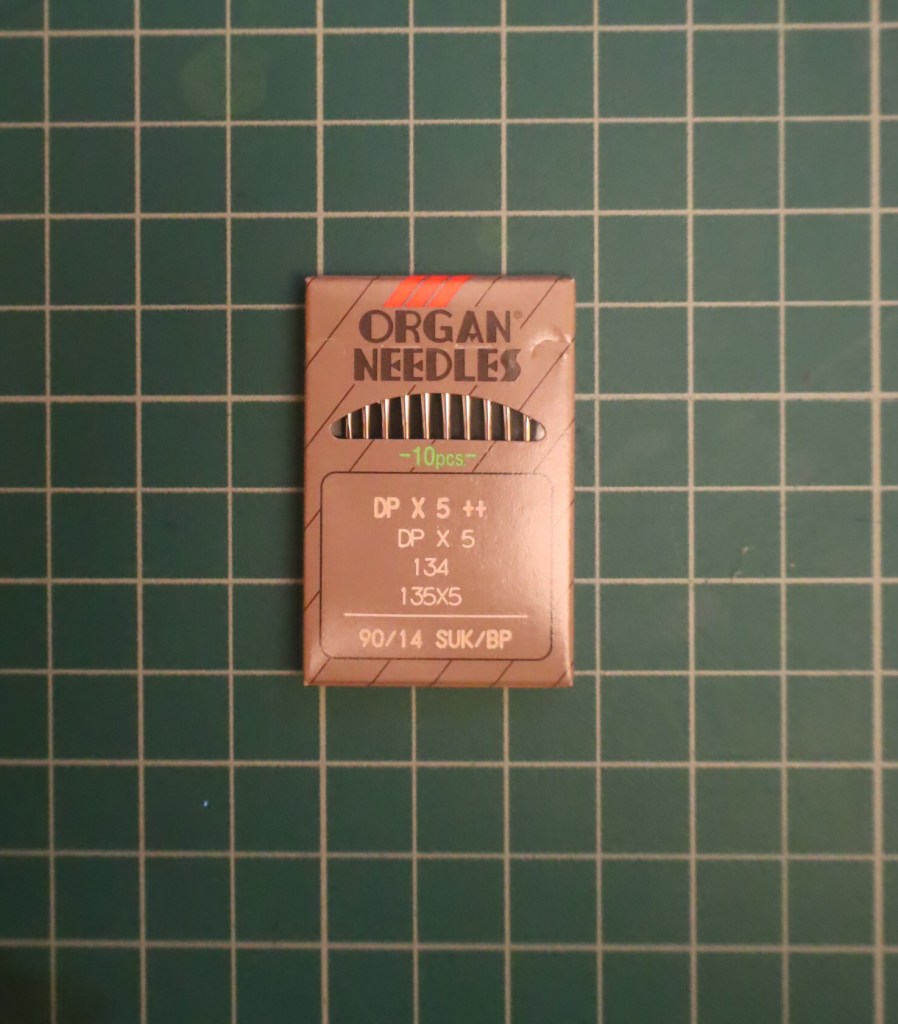
( Needle for Consew industrial sewing machine )
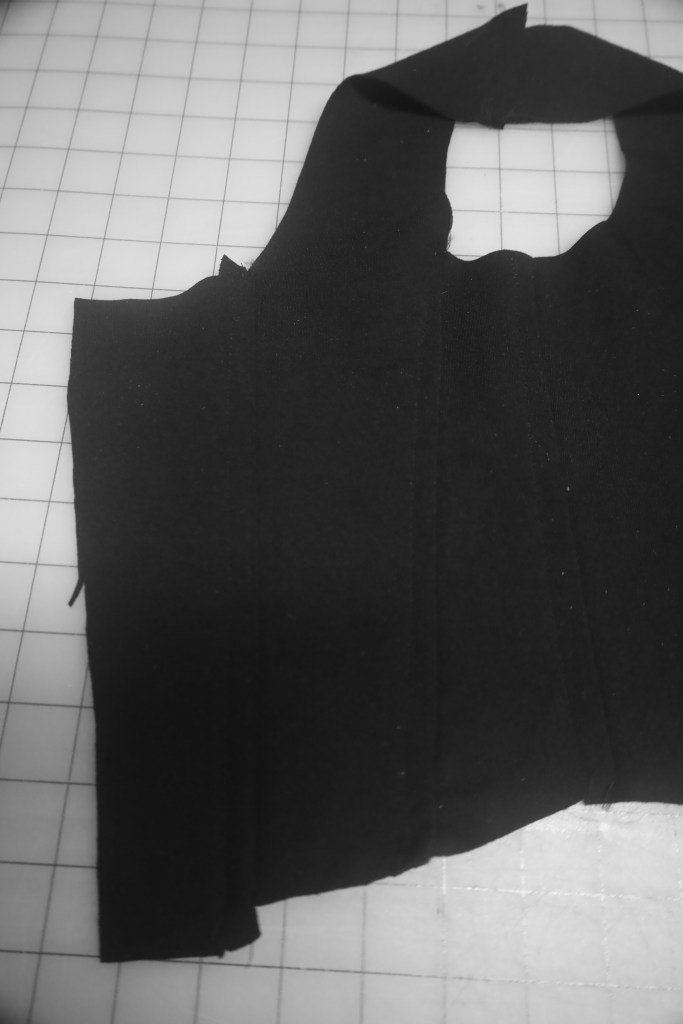
Step 3:
I pin and sew side front to back piece .
Step 4:
Now Pin and sew size seam and shoulder seam.

Step 5 :
Create your channels . Will be adding boning to my garment so I am sewing a wide enough Channel to put my boning through. I used my sewing foot as a guide . and sew over my seam allowance pushing it over to one size and sewing a straight stitch .
Do this for the rest of the seams
Step 6 :
I didn’t get to record this but I did finish up one edge of the hem using my cover stitch sewing machine.
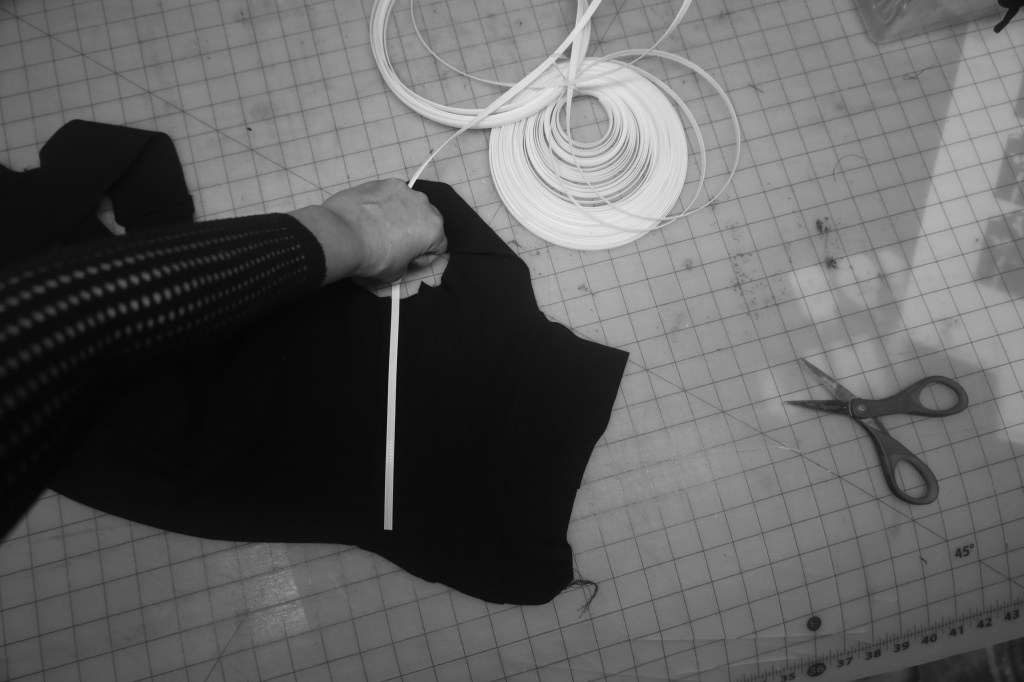
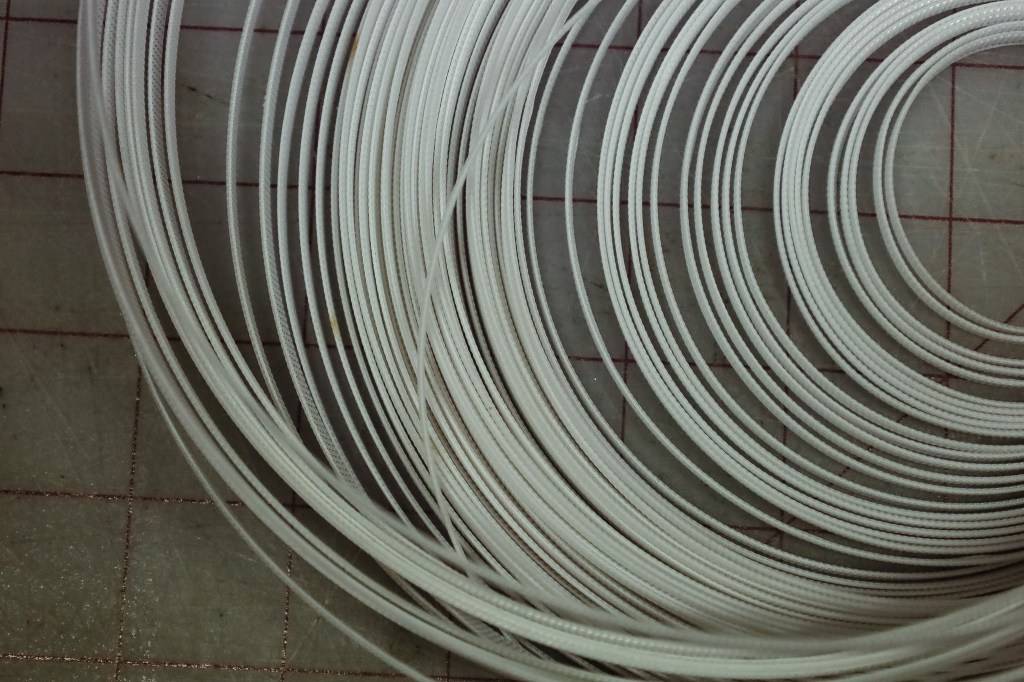
I am using Rigilene Boning
Measure and cut your boning leaving about 3/4 inch shorter than the seam length that way it doesn’t get caught in your hem .
Step 7:
Finish up your hems. I use 1/4 inch seam allowance . I used my coverstitch sewing machine.

Step 8 :
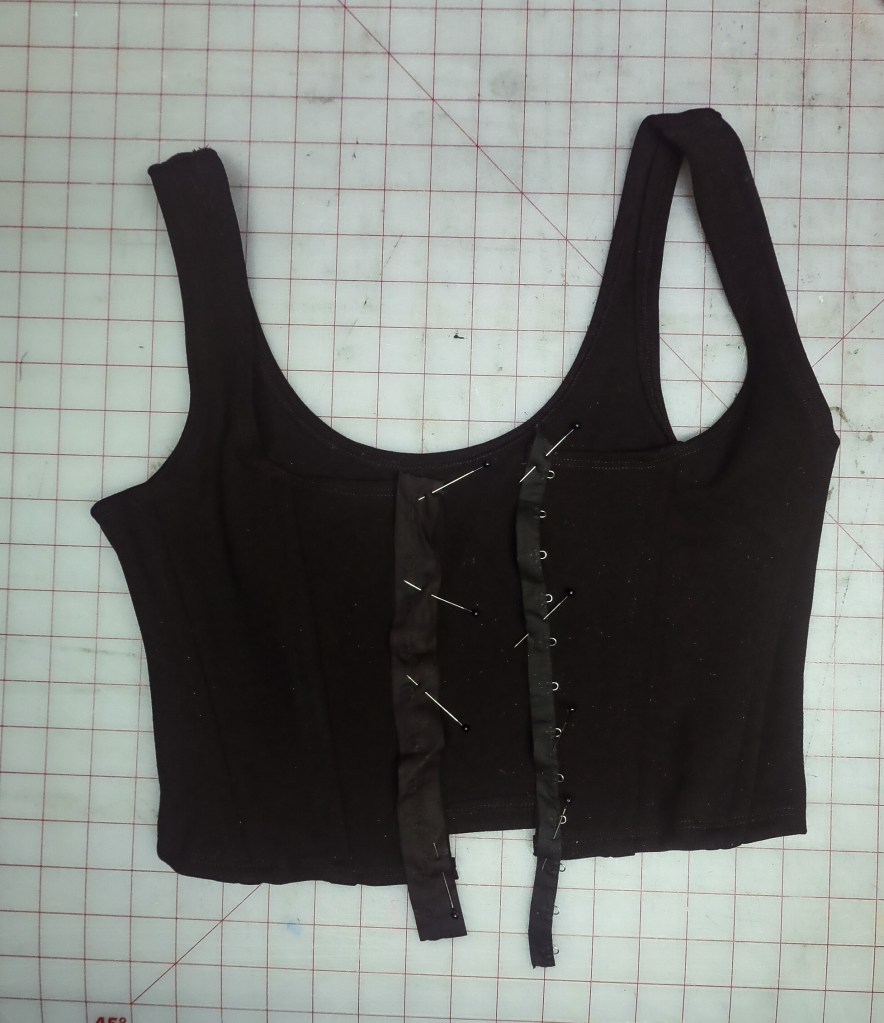
Now we are gonna add the Hook and eye Tape
Adding in hook and eye take is like adding in a zipper .
More in-depth YouTube search ( https://www.youtube.com/results?sp=mAEB&search_query=adding+hook+and+eye+tape )


FINISHED!
I wore this top out for my night shift gig at a metal show in downtown, LA. I layered it on top of a mesh stripy bodysuit and slim tight pants + Fanny Pack 🙂


