Sewing 70s Basic Slip

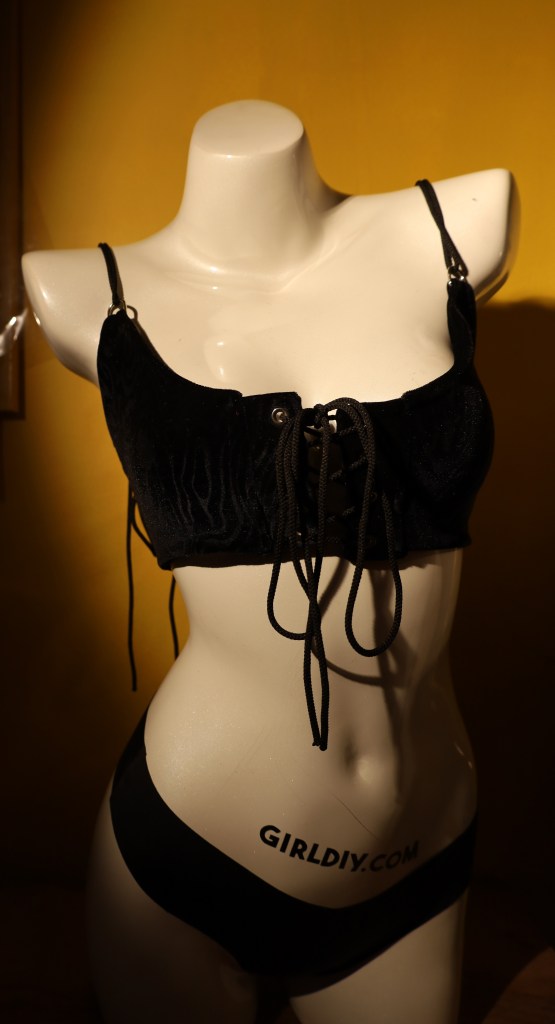
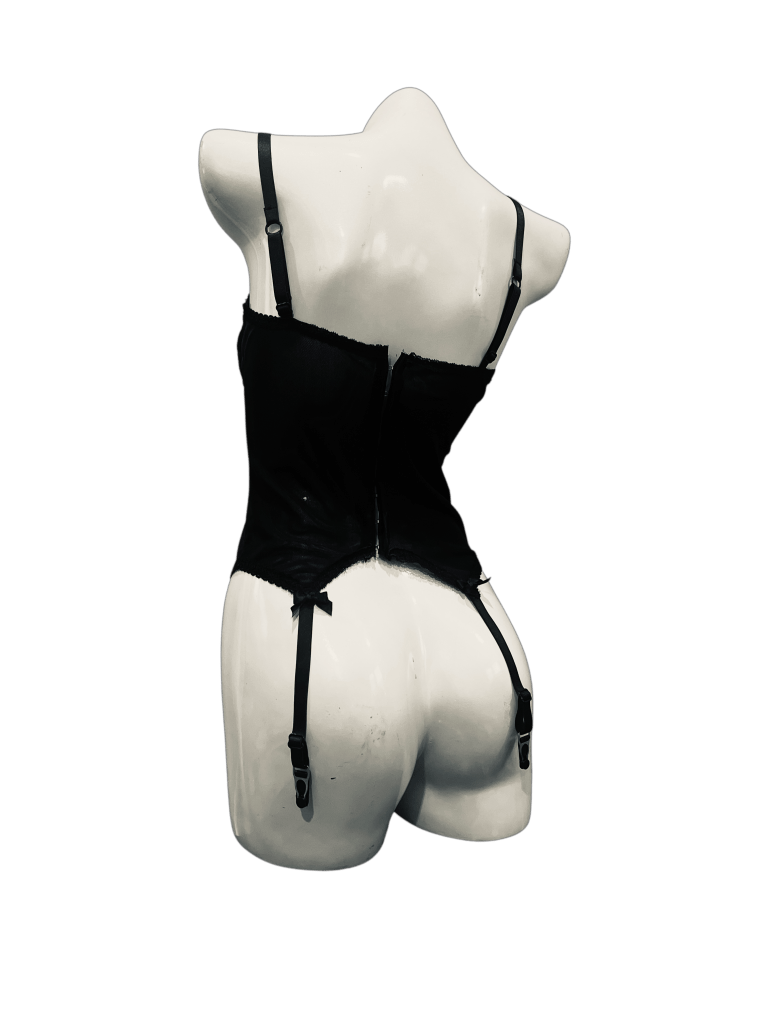
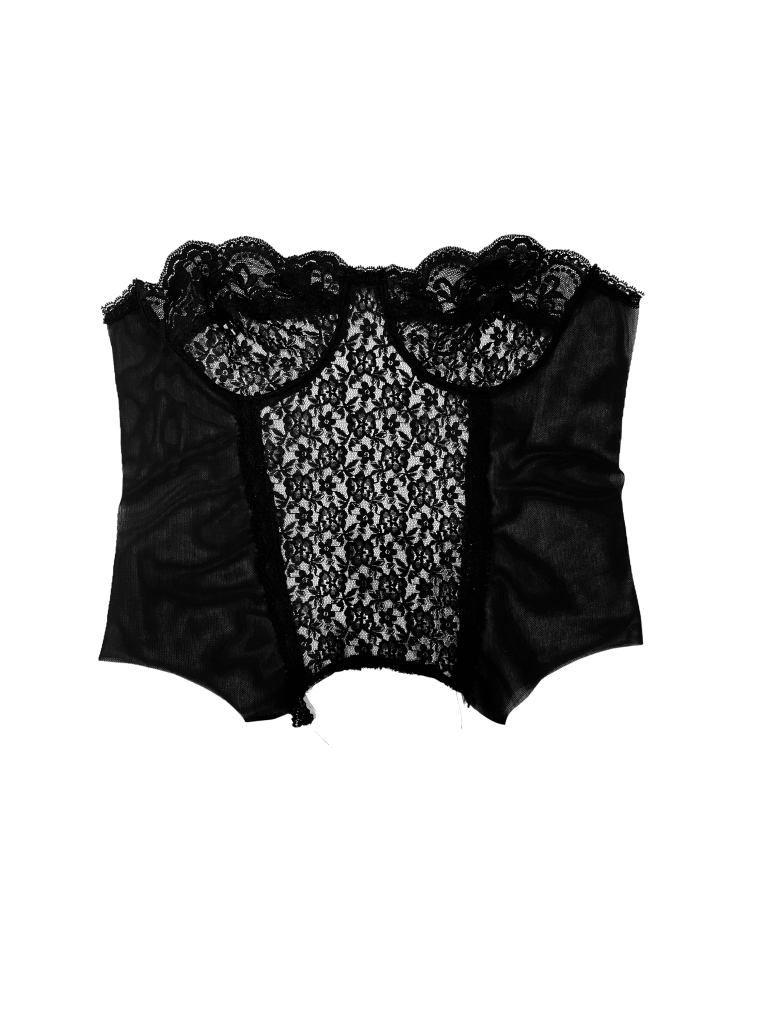
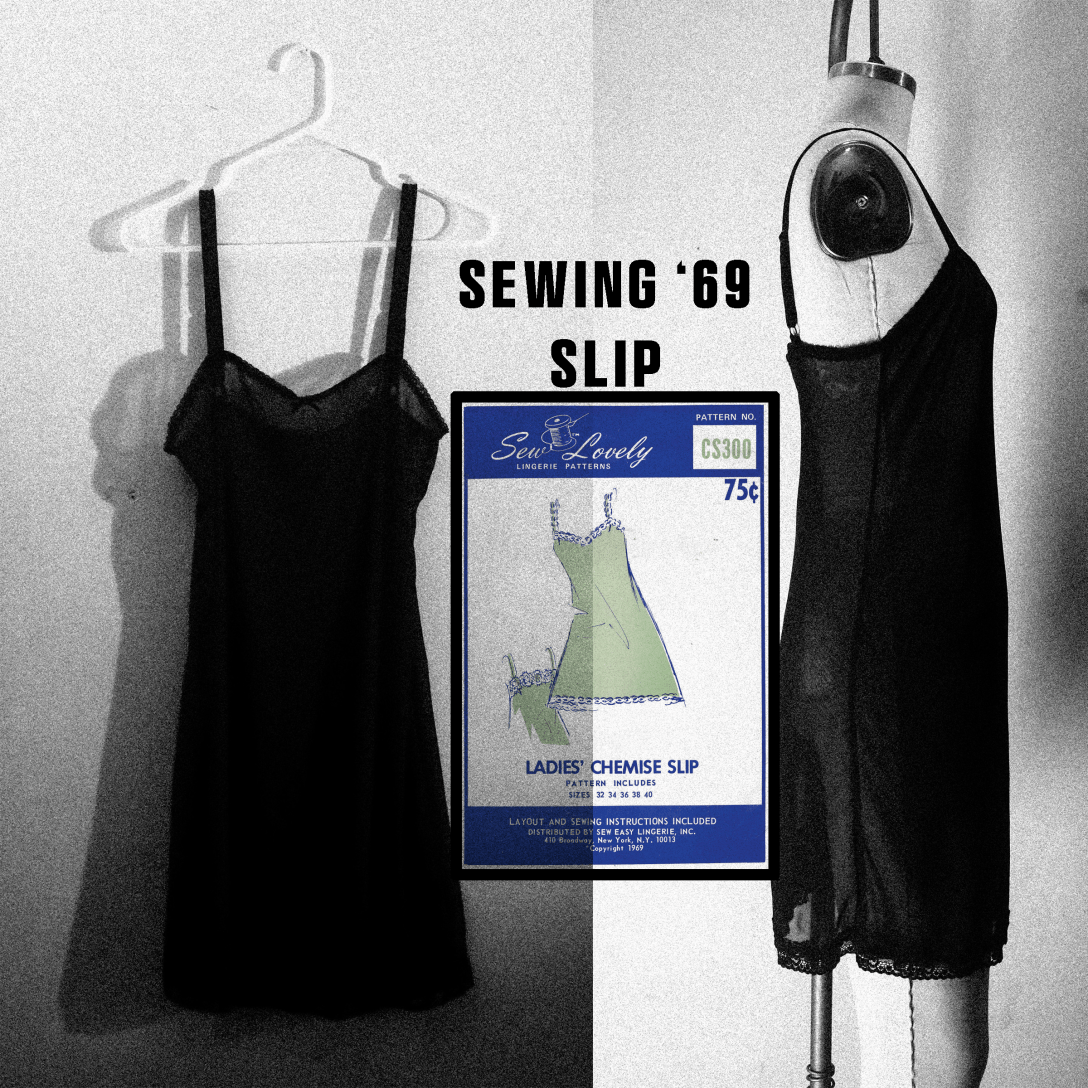
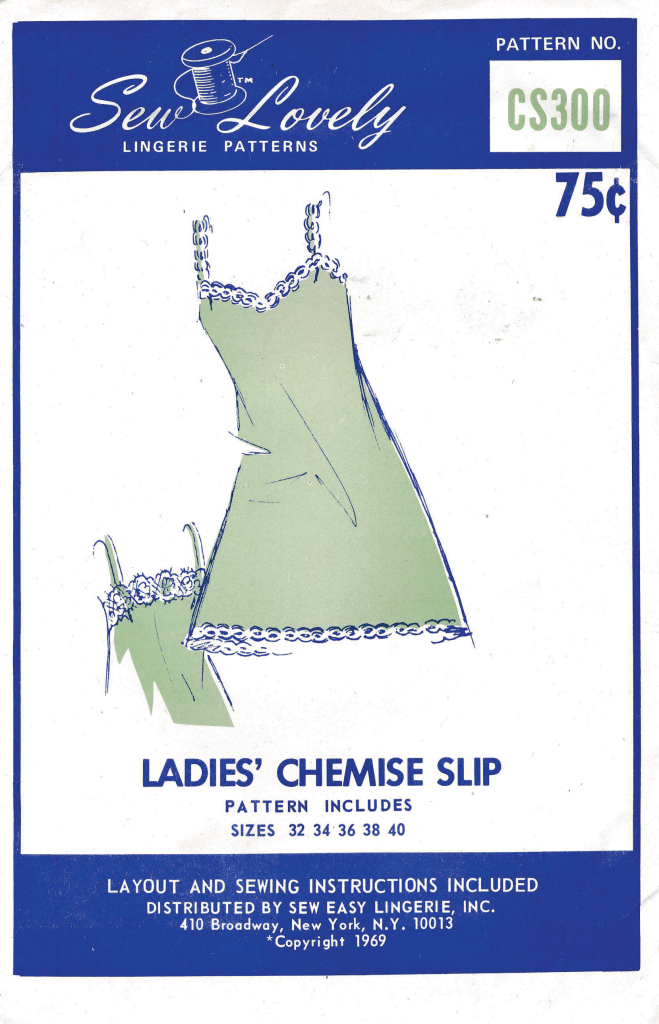
I sewed up this pattern from 1969 using basic and modern sewing techniques.

The pattern is only really made up of 2 darts and serging up side seams and finish of the hems and attached straps.

This pattern can be completed in about and hour or 2 depending on experience level.

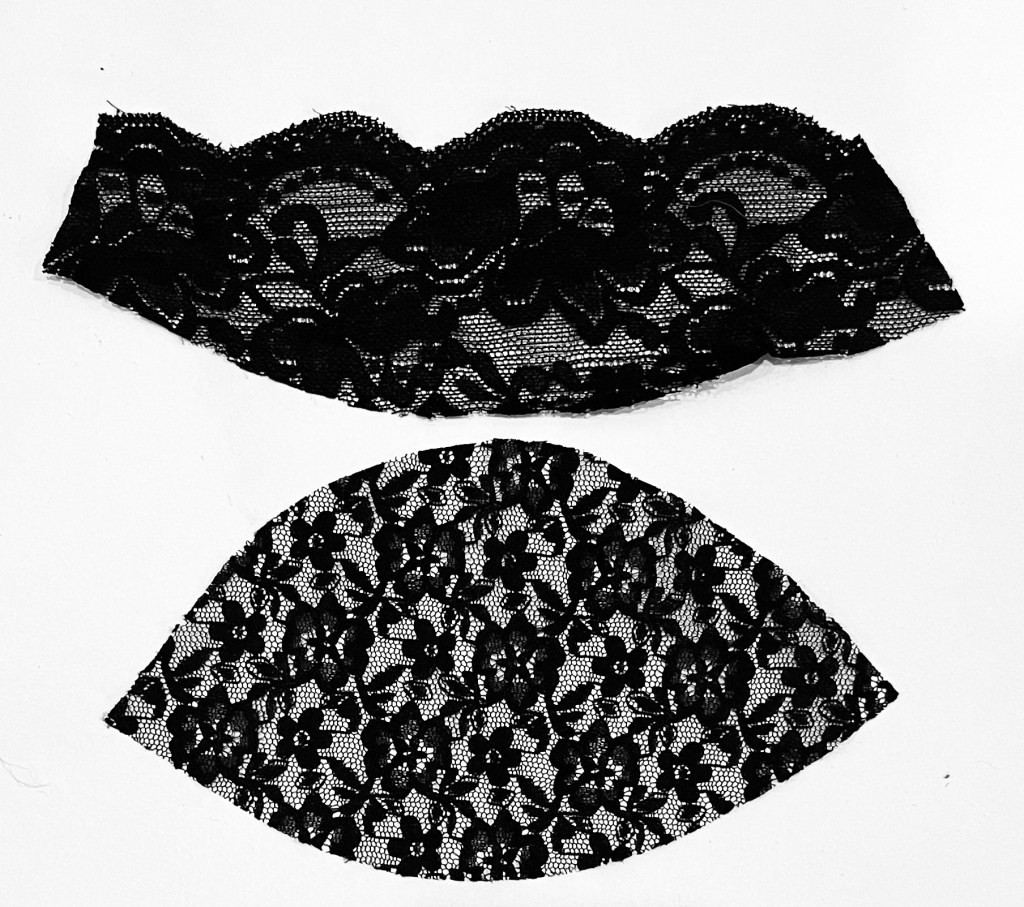
I used a very lightweight sheer mesh black nylon mesh found in most athletic and lingerie fabric specialties shop. For Example

Fabric Used : Nylon Tricot Power Mesh
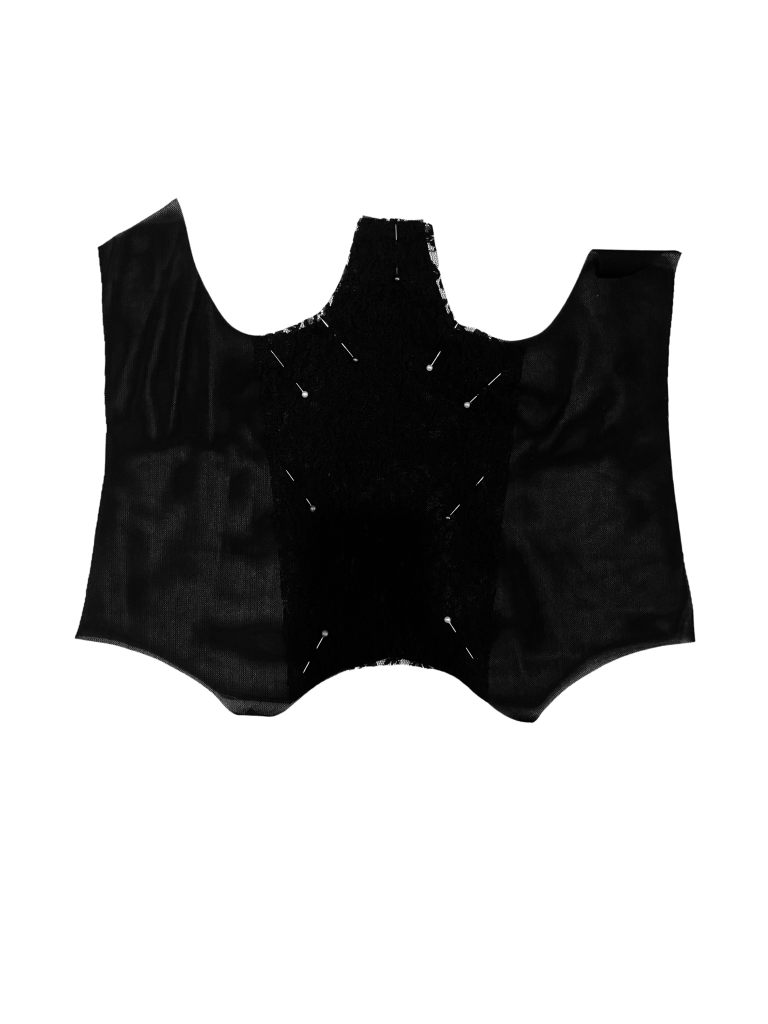

Step 1 :

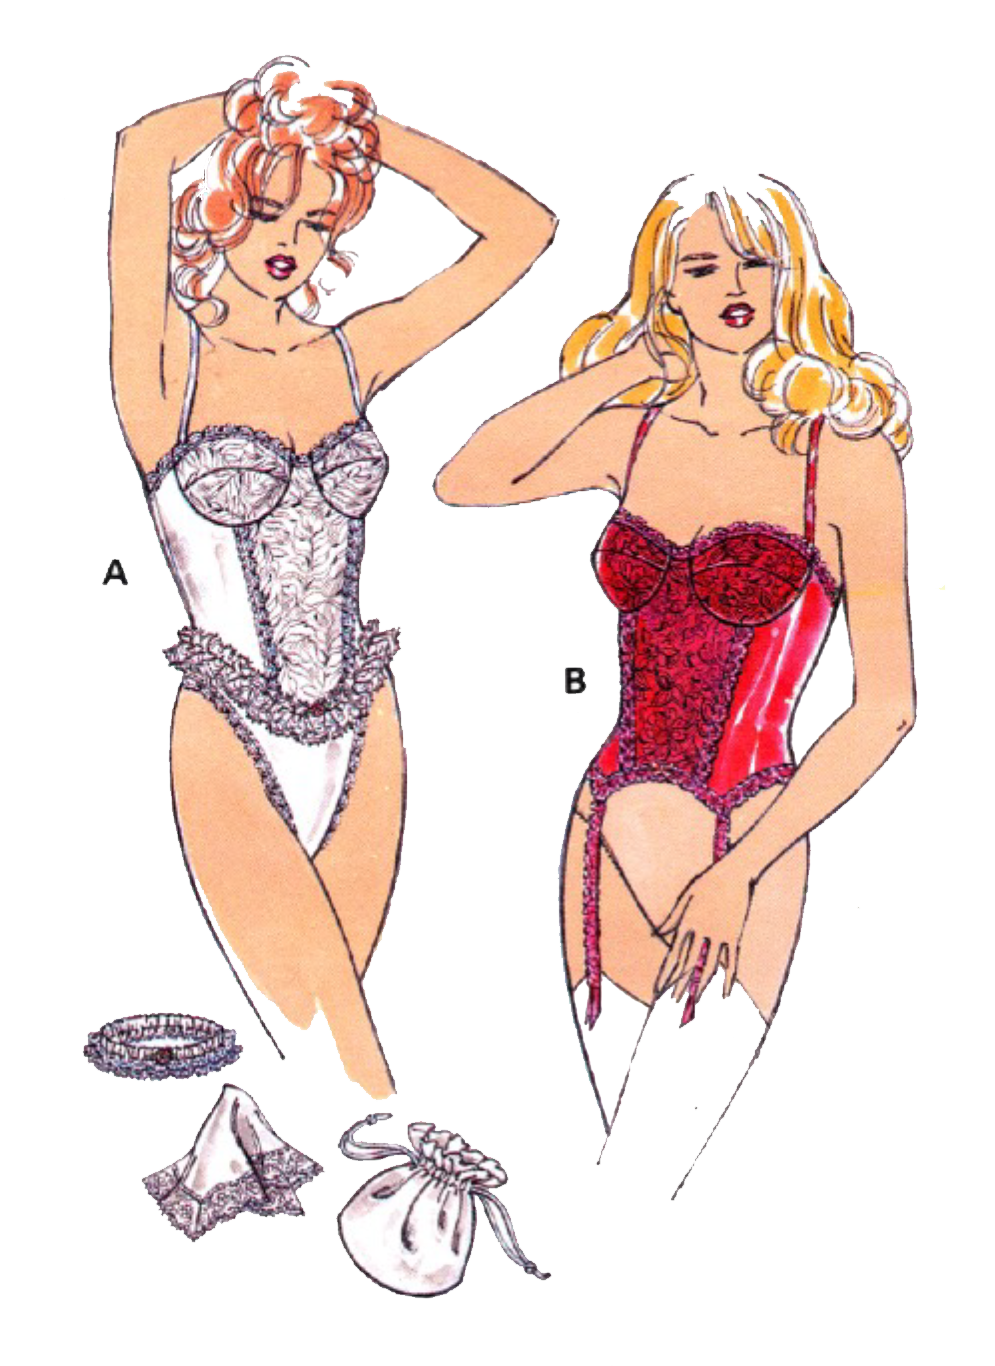
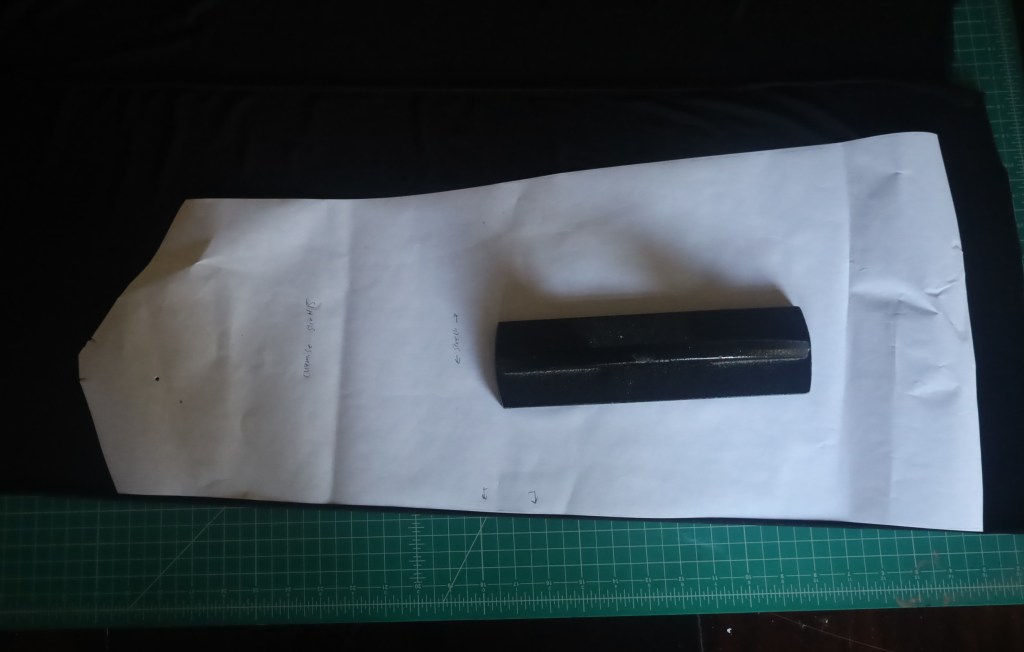
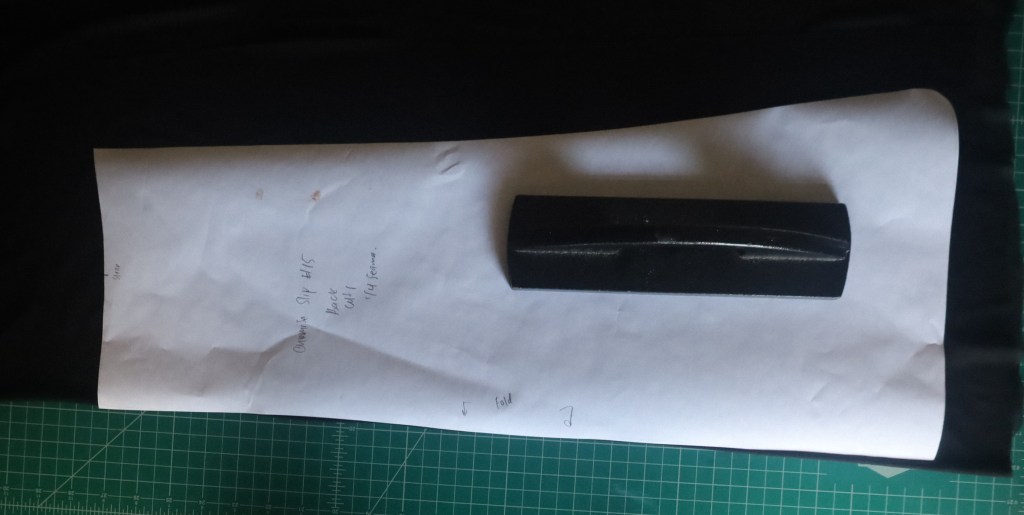
I traced off pattern from original , preserving the pattern and making my one replication .

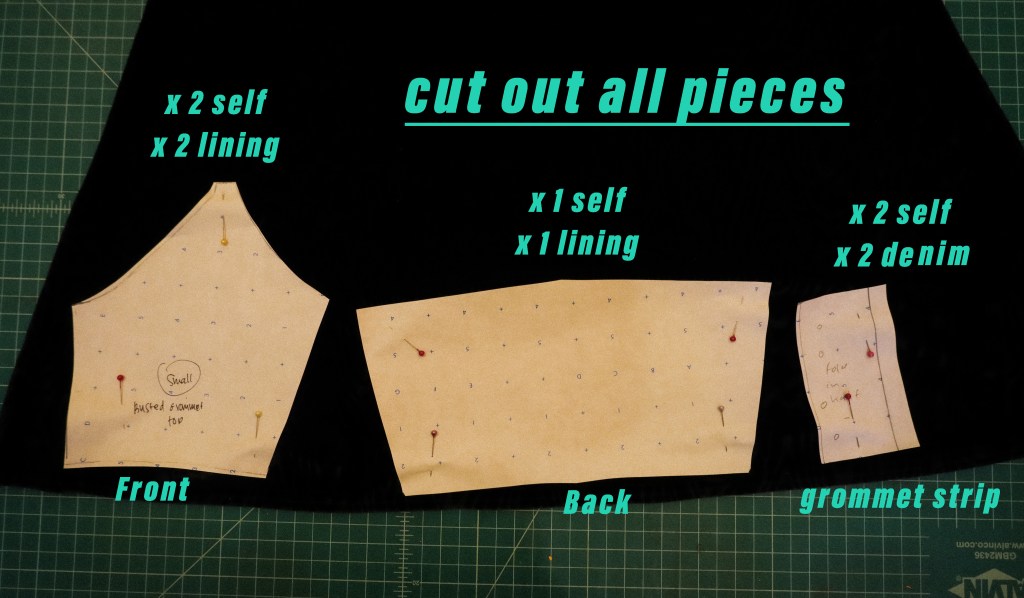
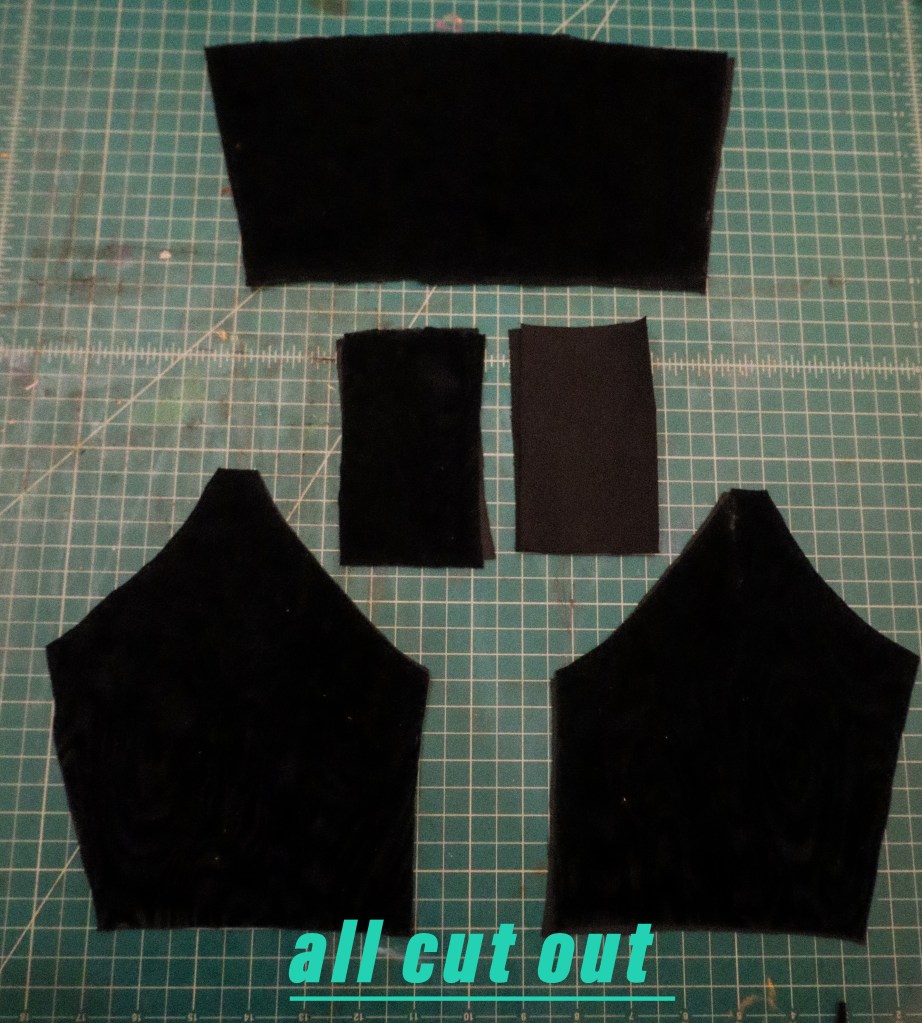
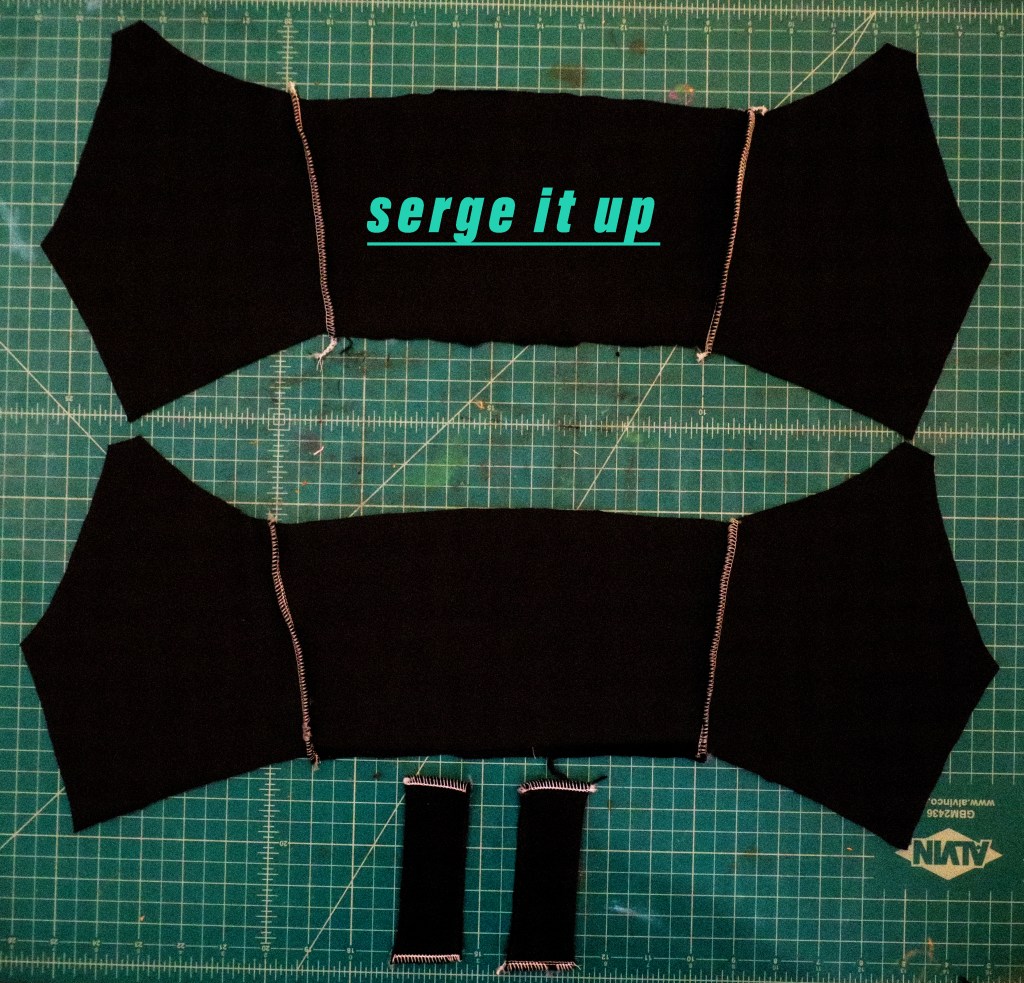
  • Cut out the 2 pattern pieces: Front + Back

Step 2 :

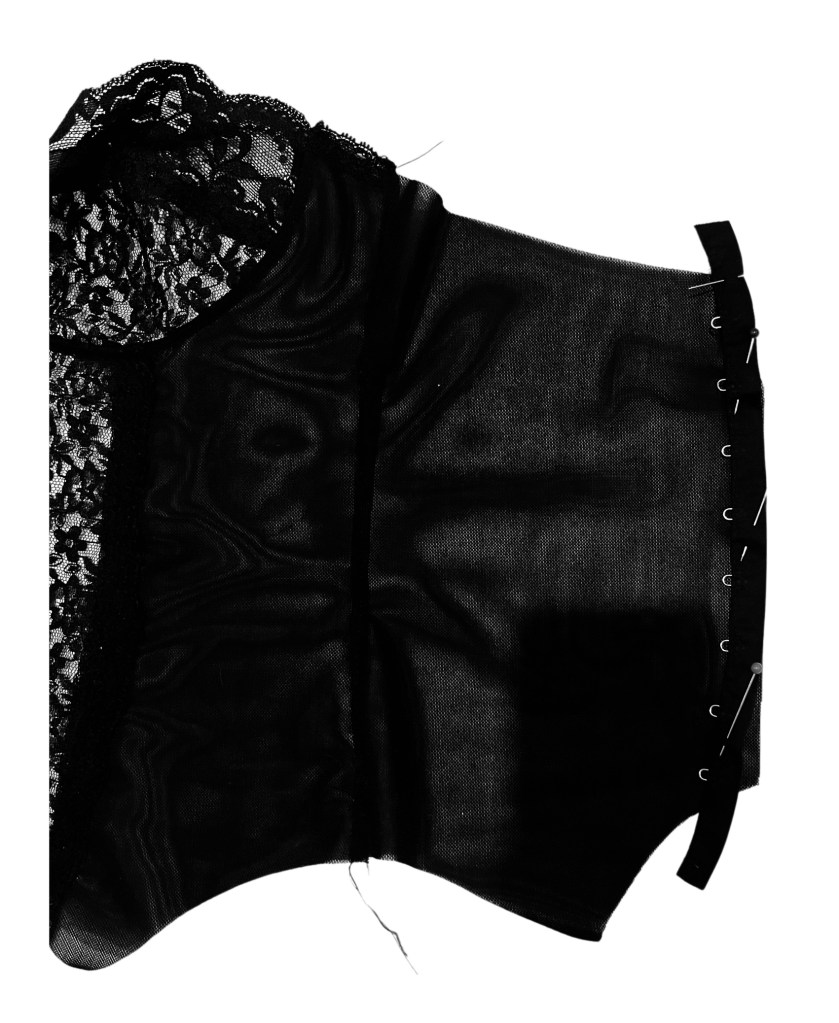
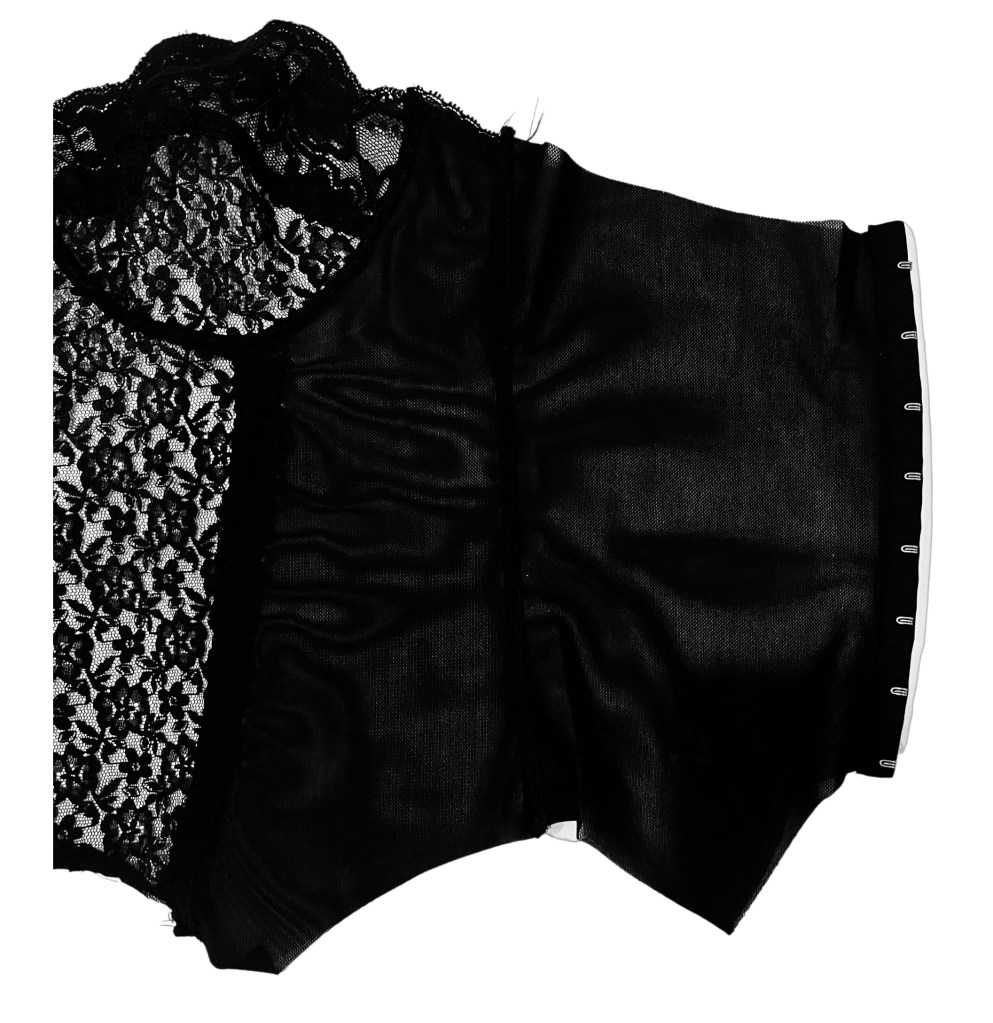
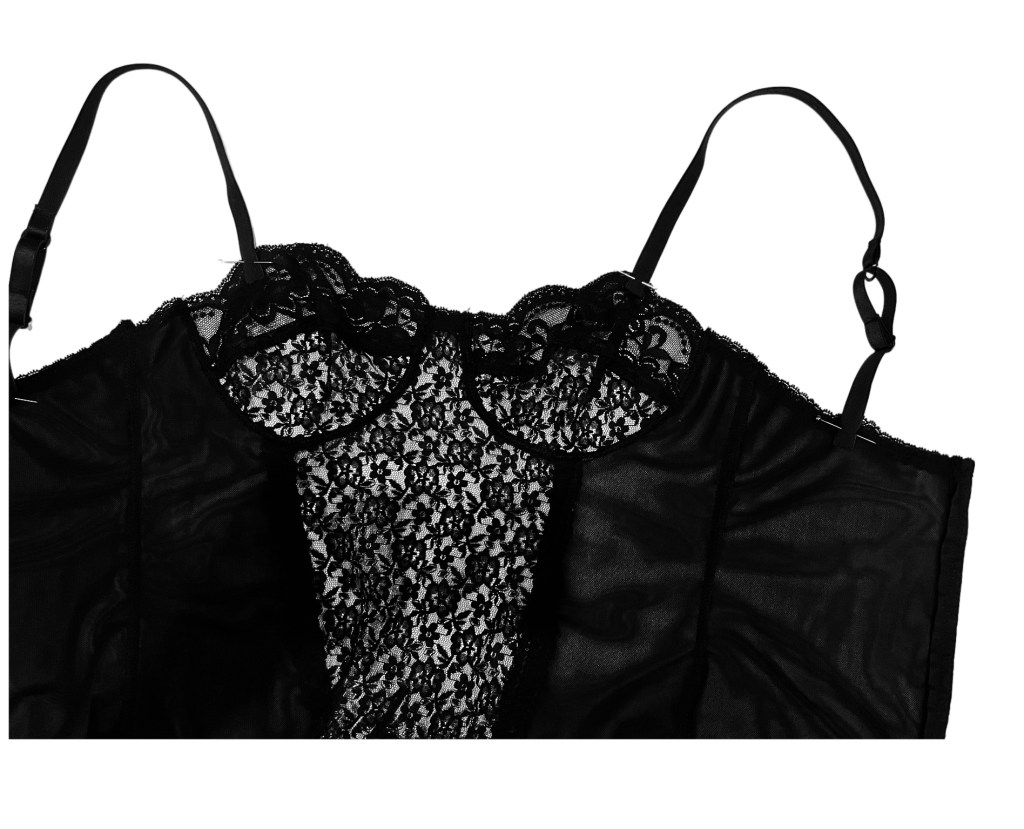
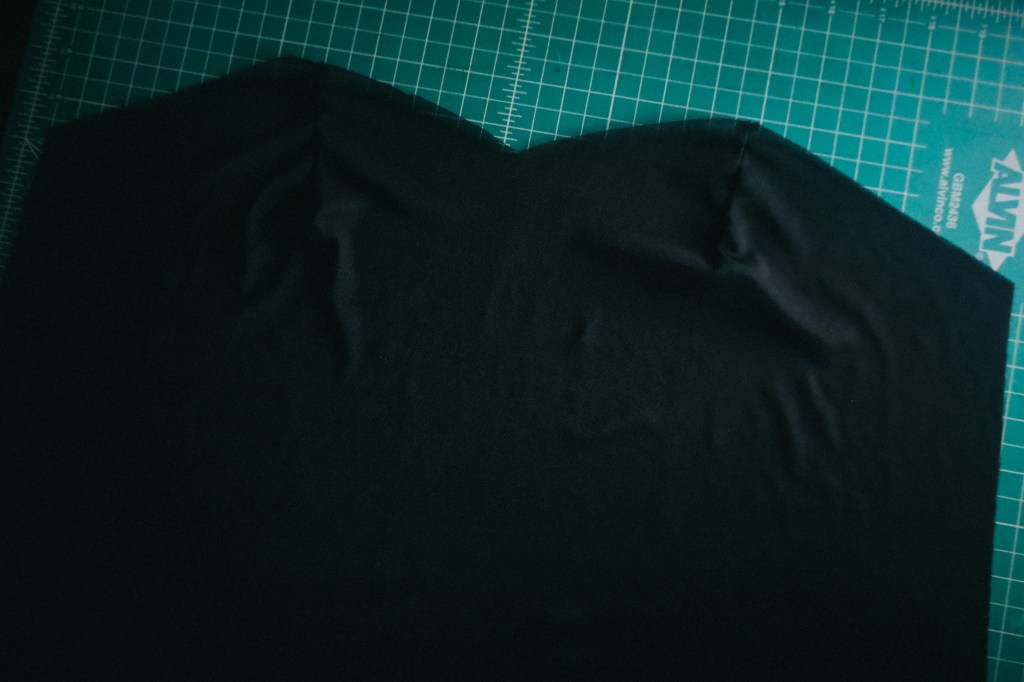
Sew up the 2 darts .

Pin and mark a line or place a tape to make and sew at top of slip .
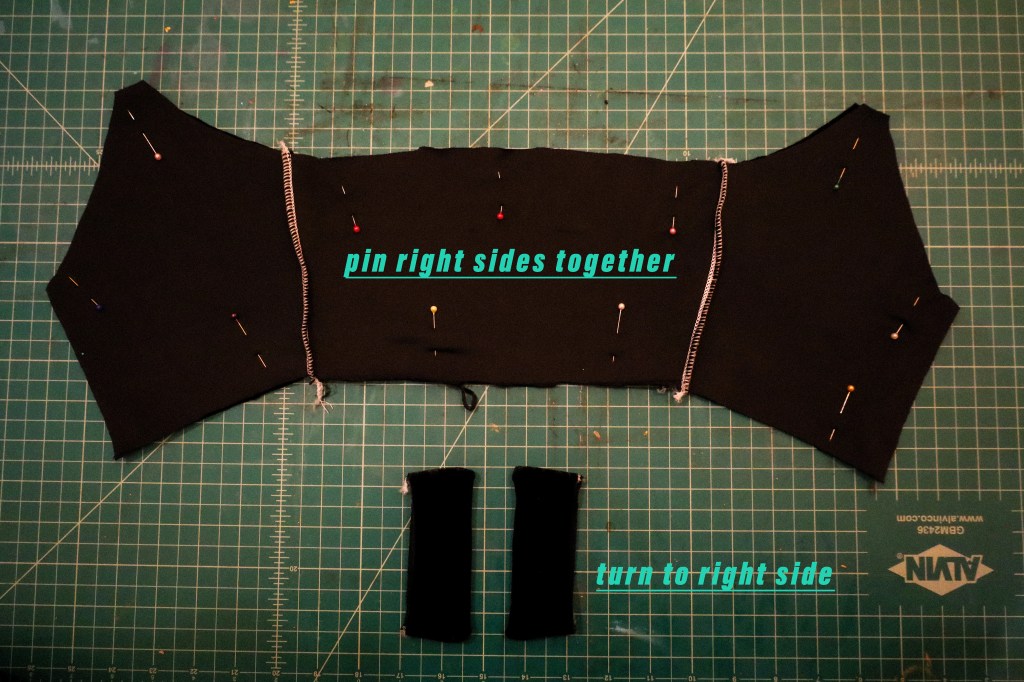
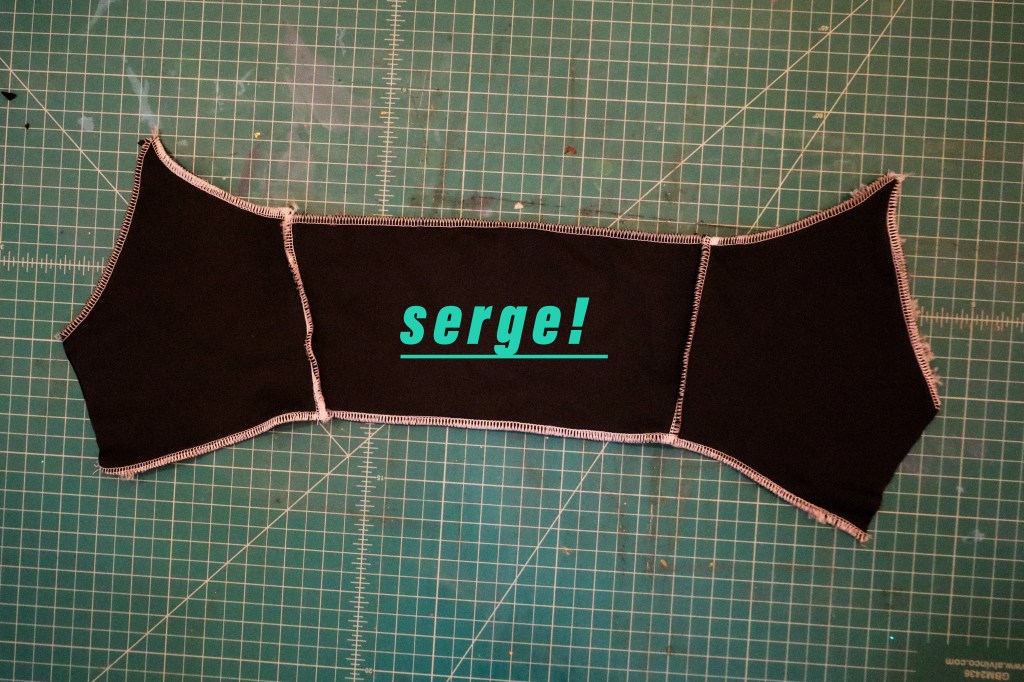
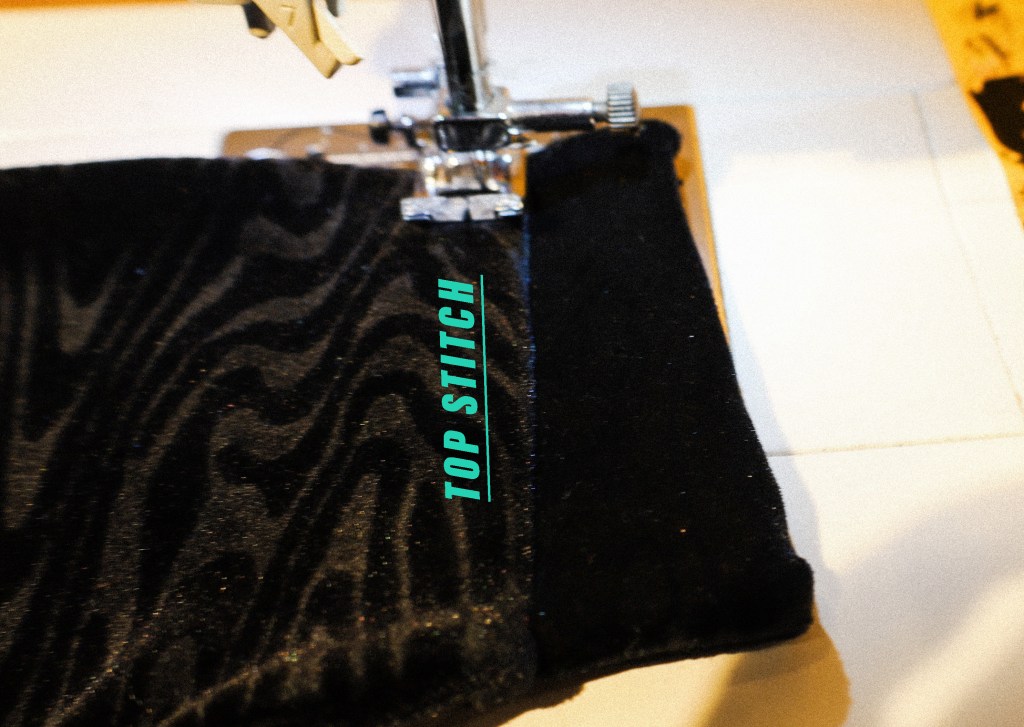
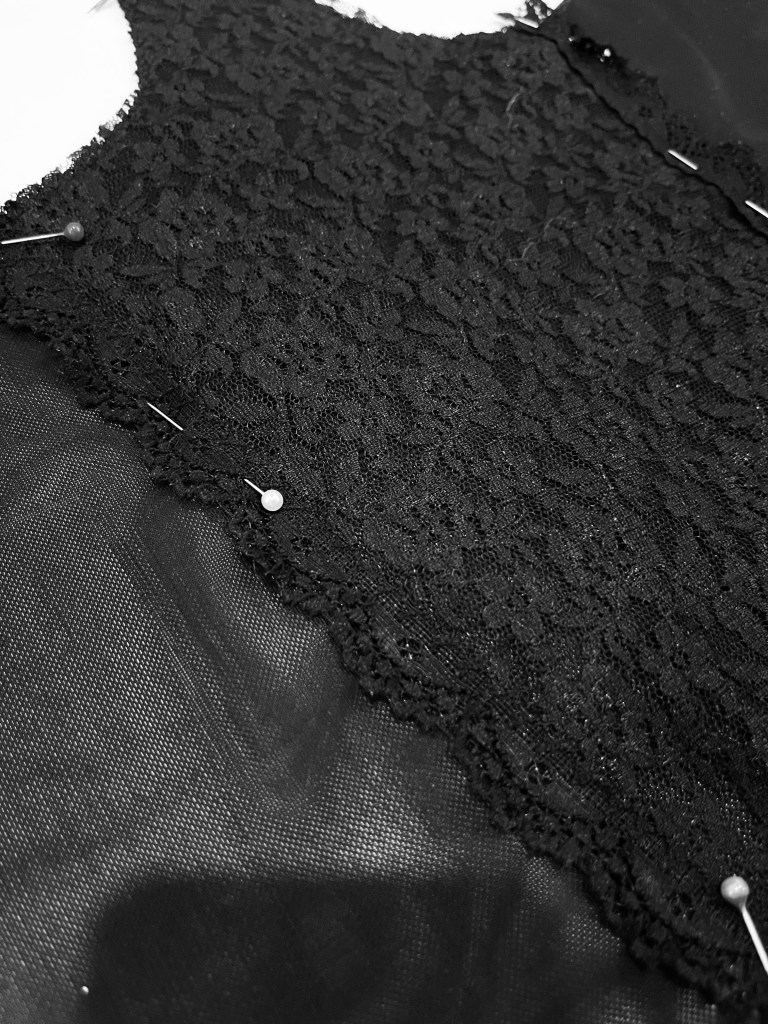
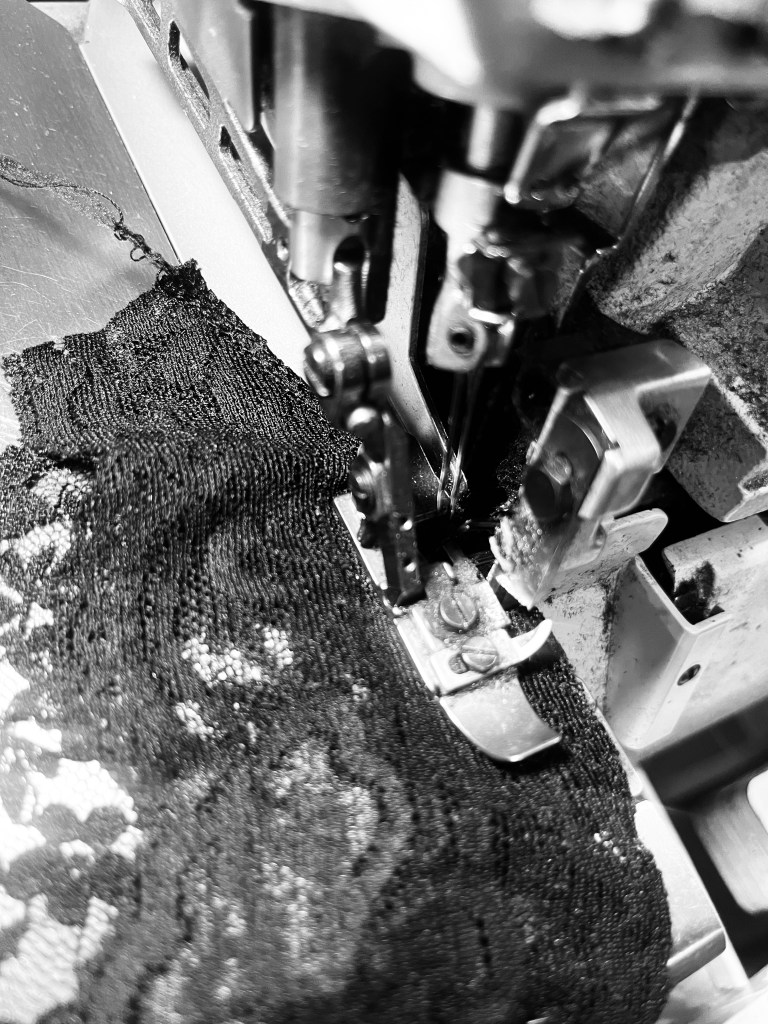
Step 3 :

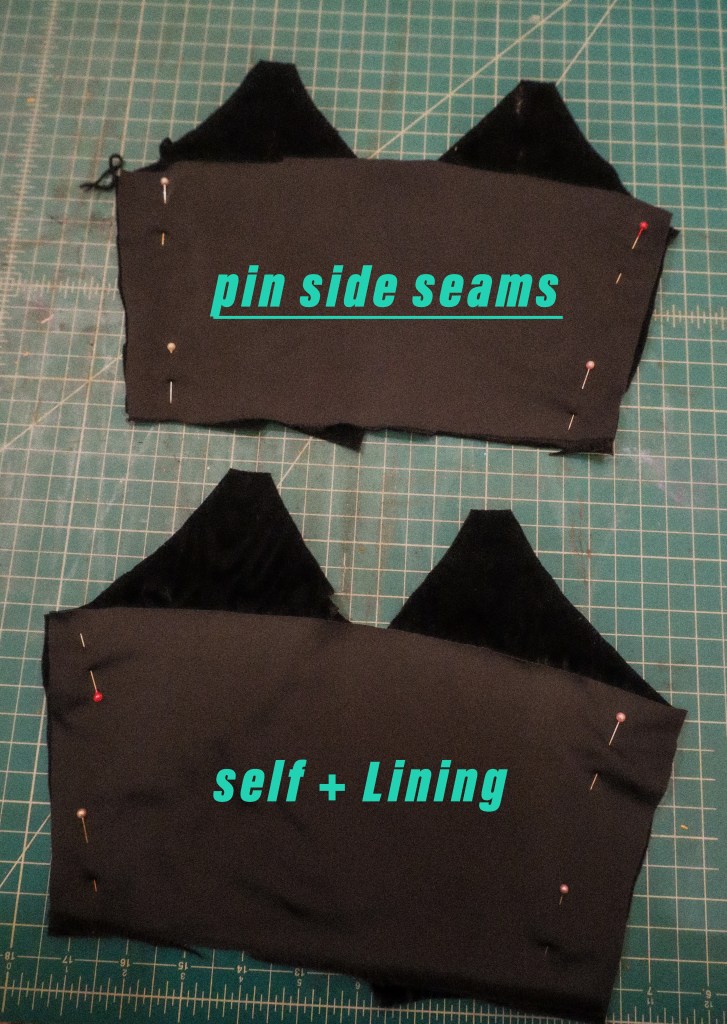
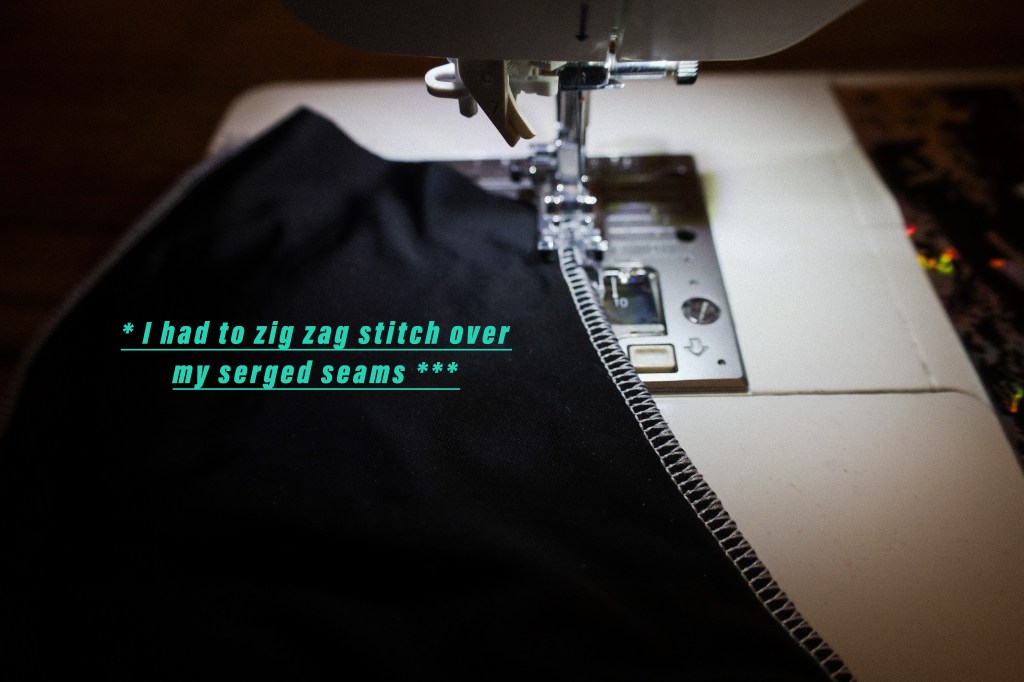
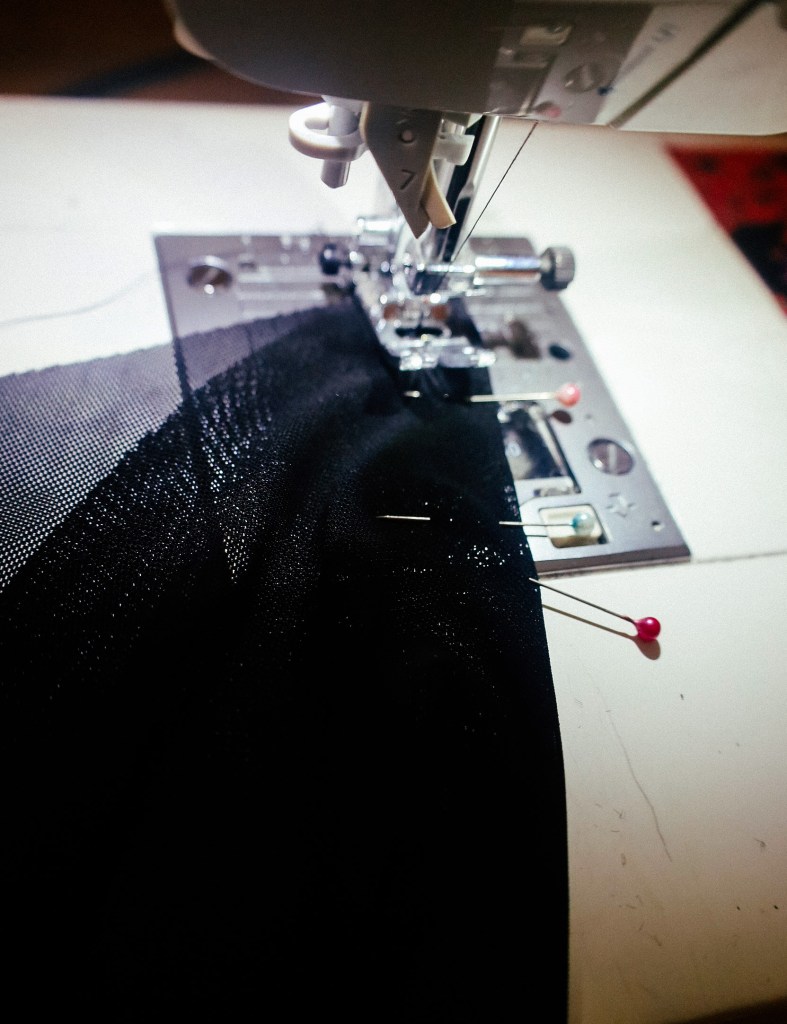
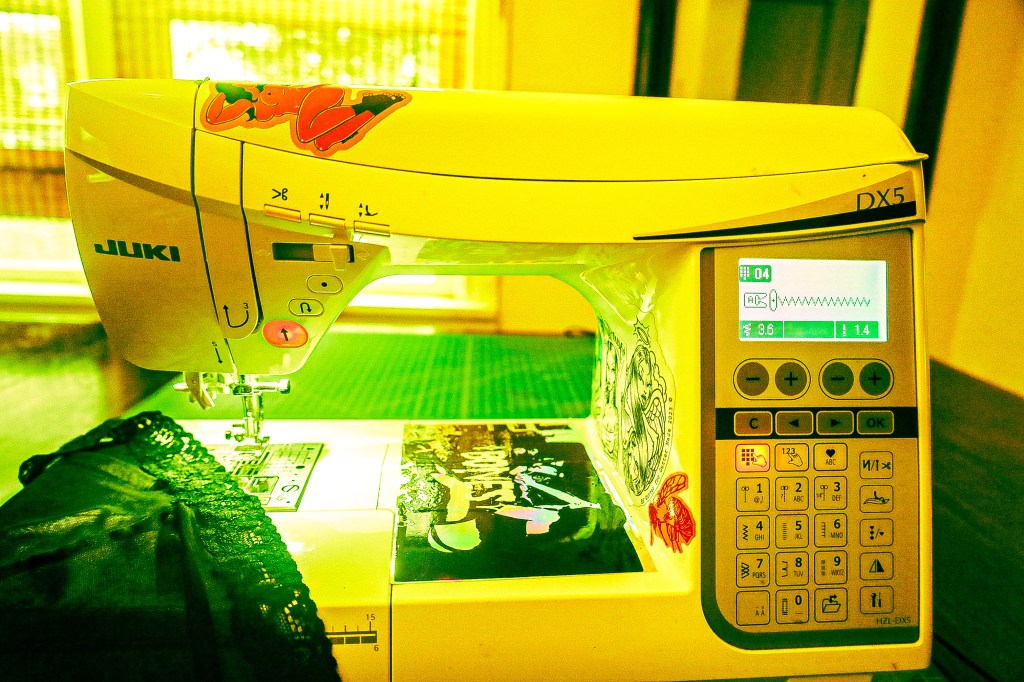
Pin and Serge Sides front and back pieces together . If you have a home sewing machine you may need to zig zag stitch or use a stitch that can handle your fabric stretch .


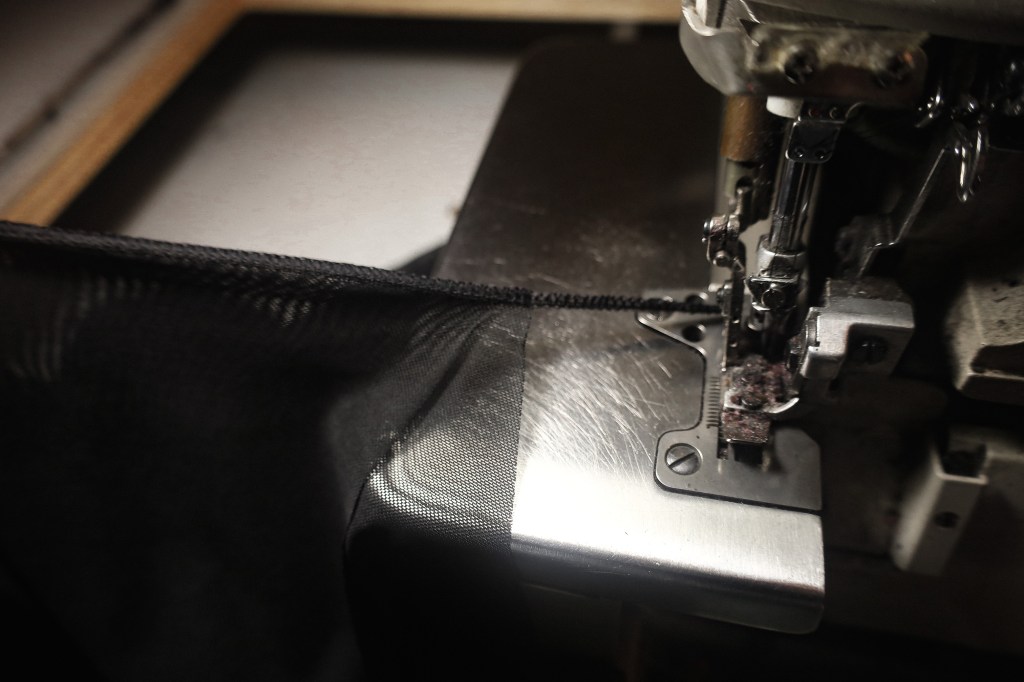
Tip : I use wooly nylon on my serger to help give my seams more elasticity in which to handle my stretchy fabric .
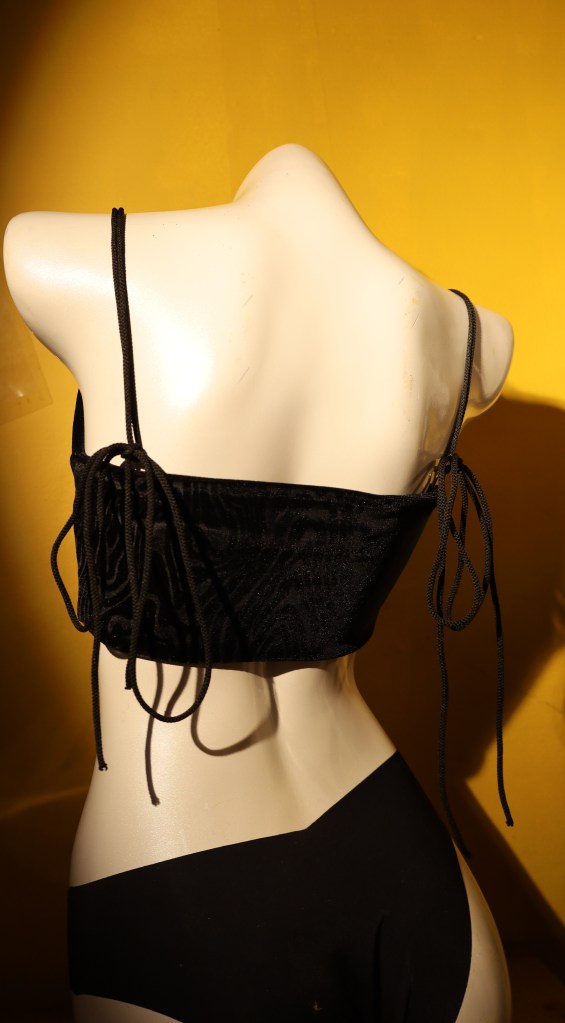
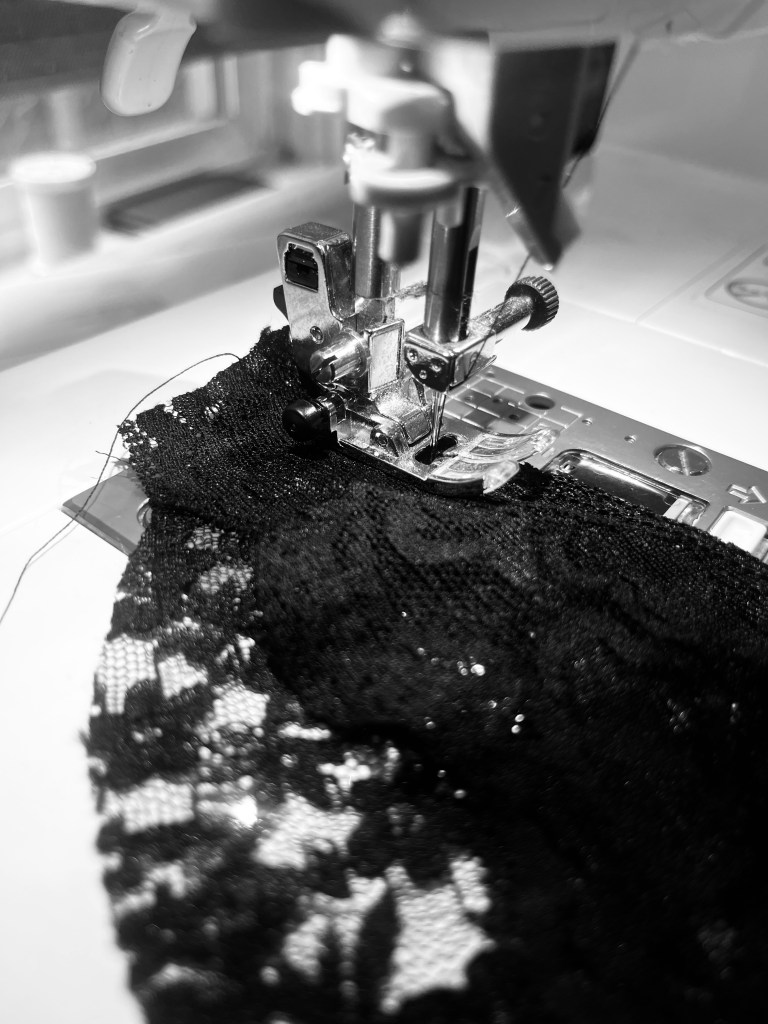

Step 4 :

I used my coverstitch machine to help me sew on the elastic on my top and bottom edges of my slip .
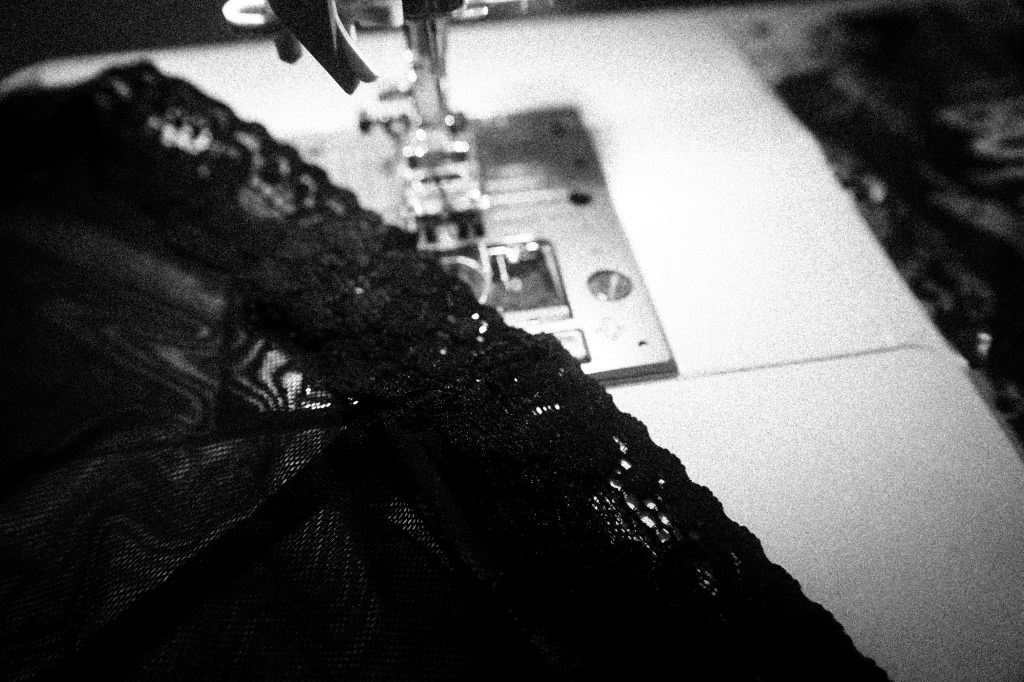
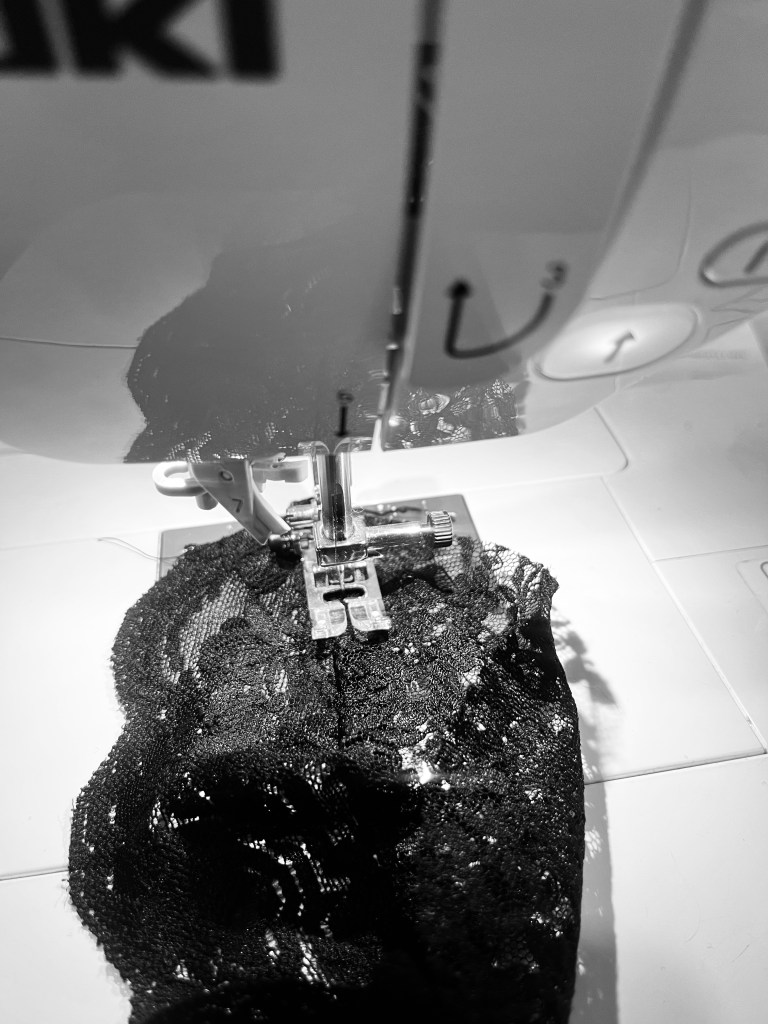
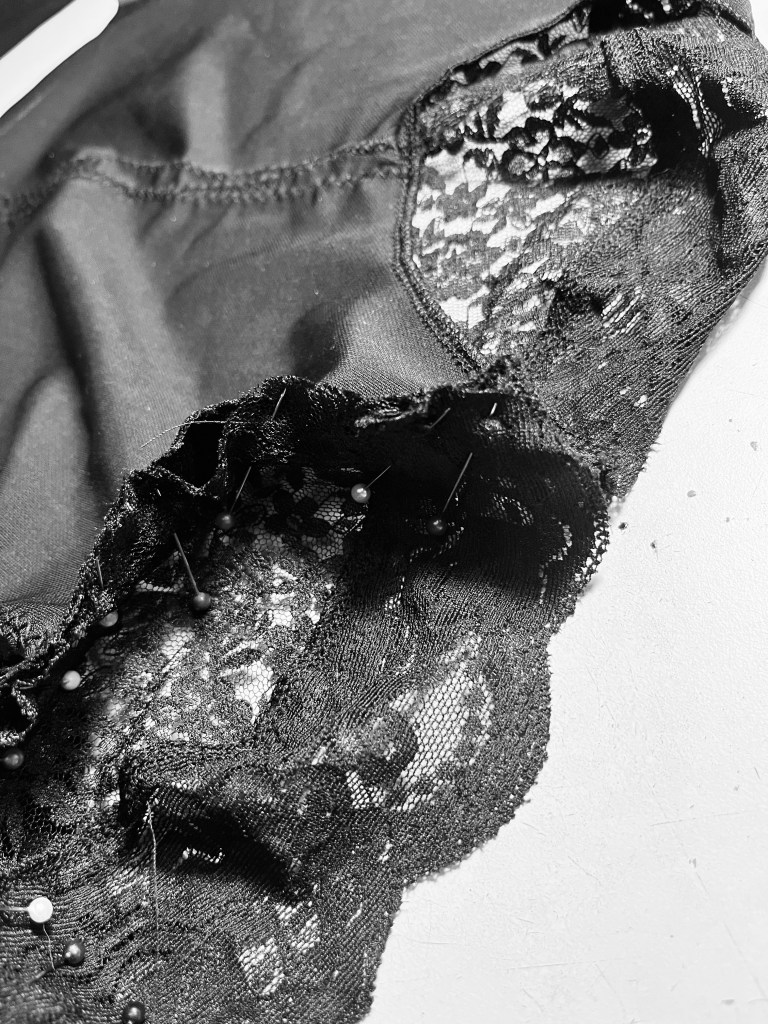
Step 5 :

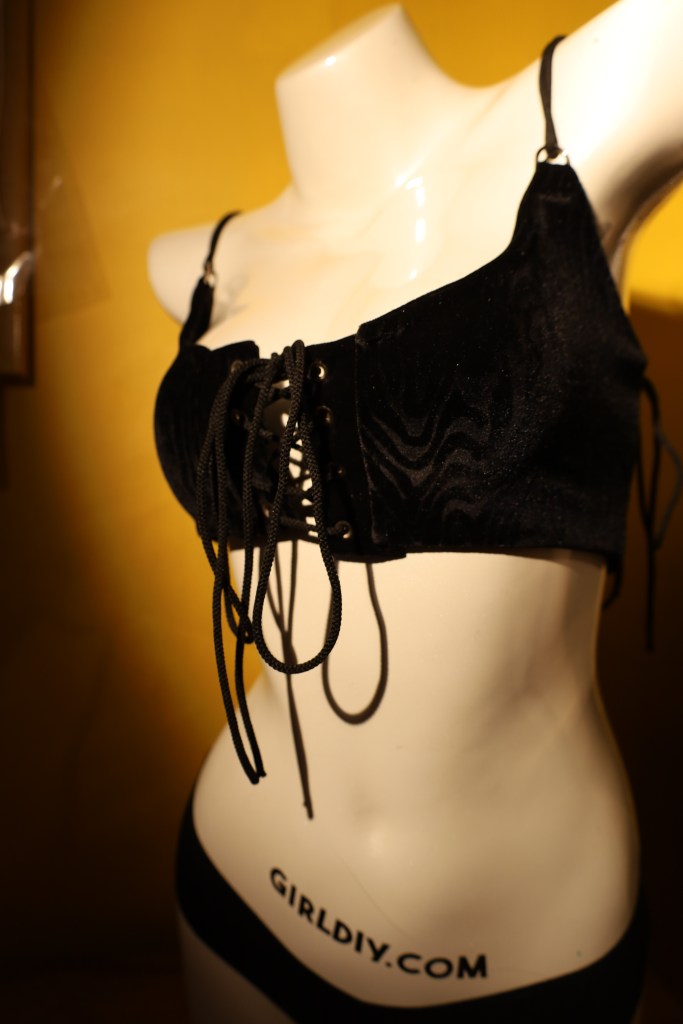
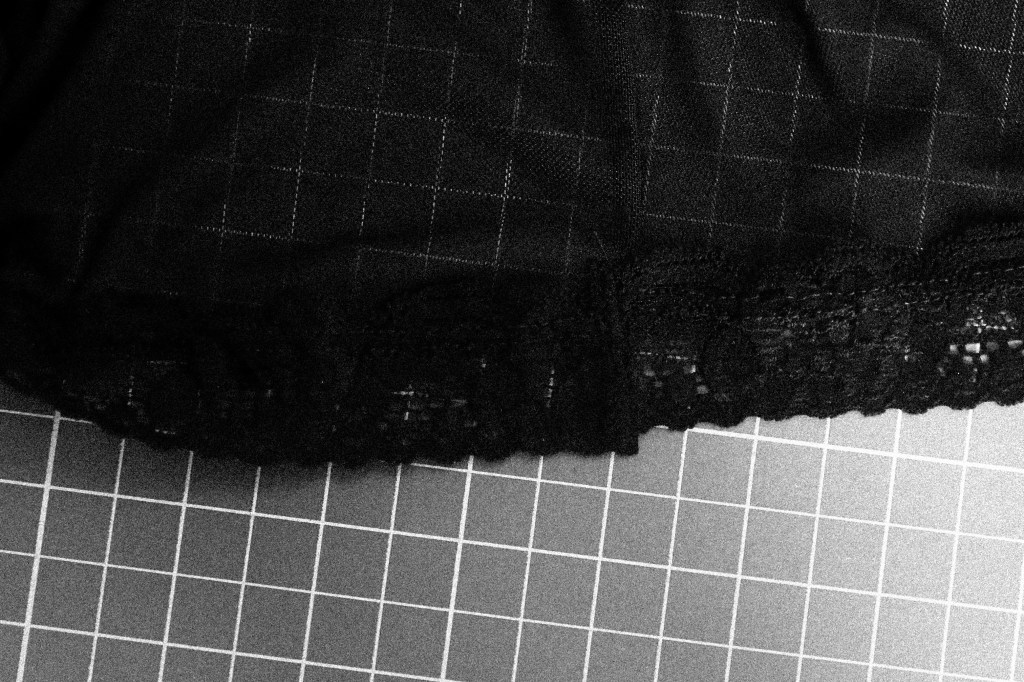
Zig Zag stitch the joining lace finishing making a nice seam .
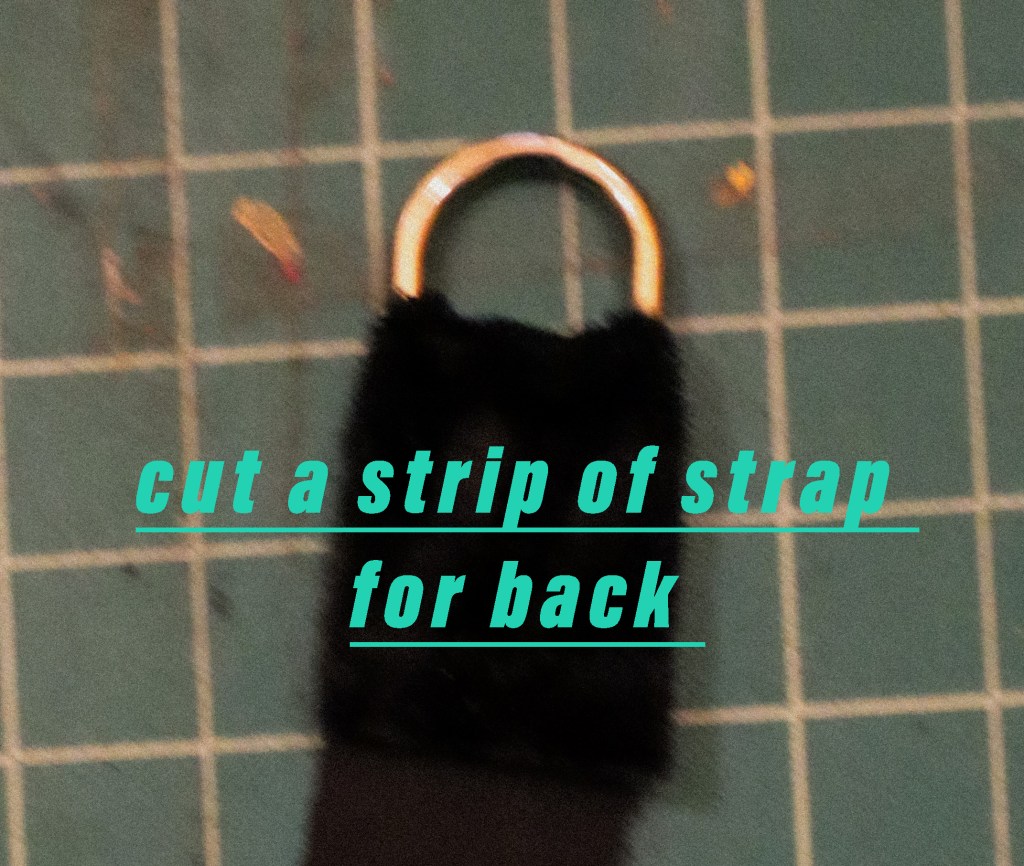
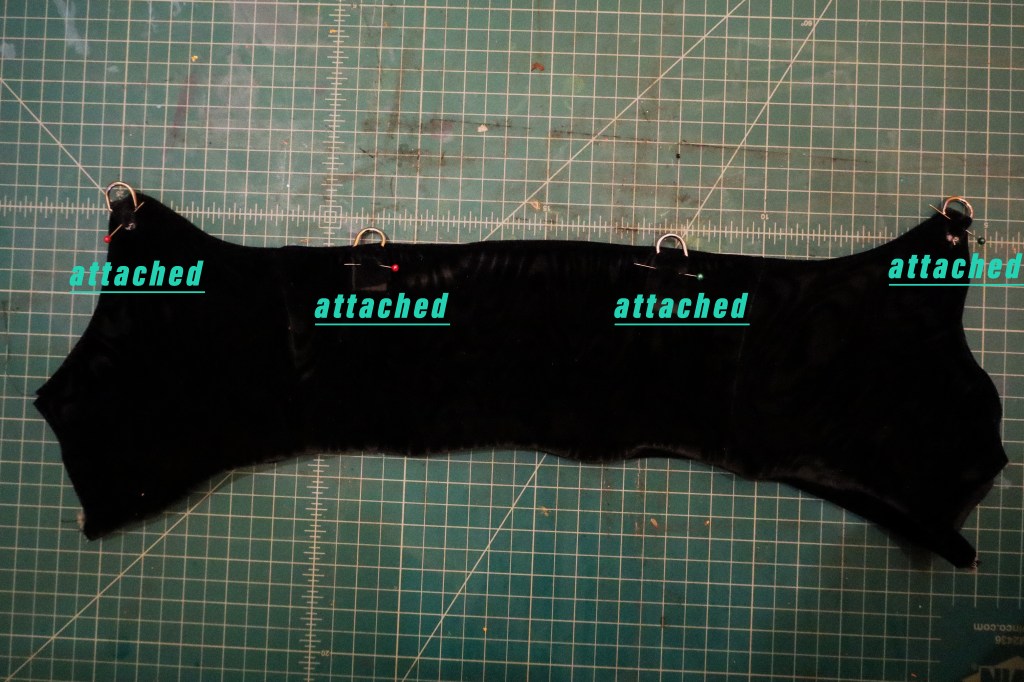
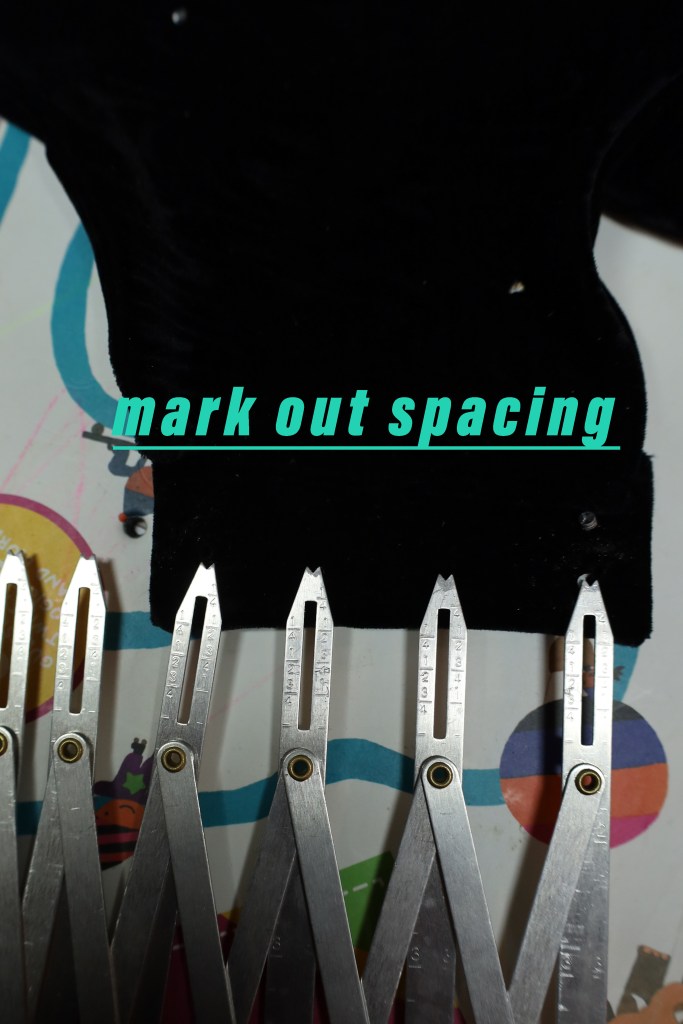
Step 6 :

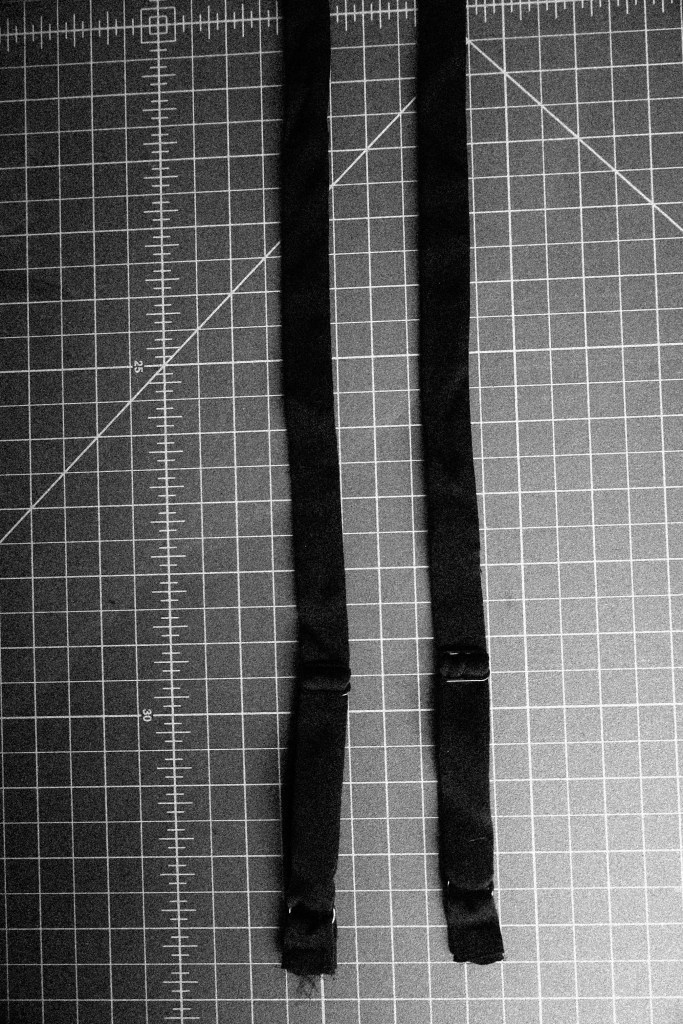
Attach straps. I used a premade strap found in the fabric district. But you can make your own using : Elastic , rings and sliders. found at : https://www.sewsassy.com

Step : 7

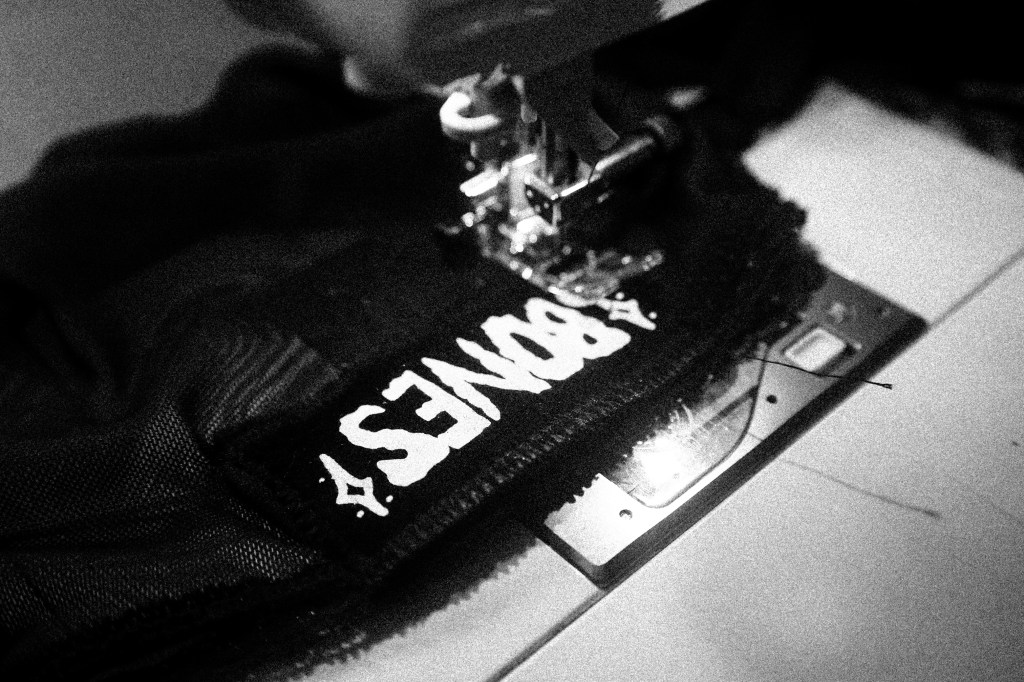
Add the finishing touches . I added my label and bow at center front


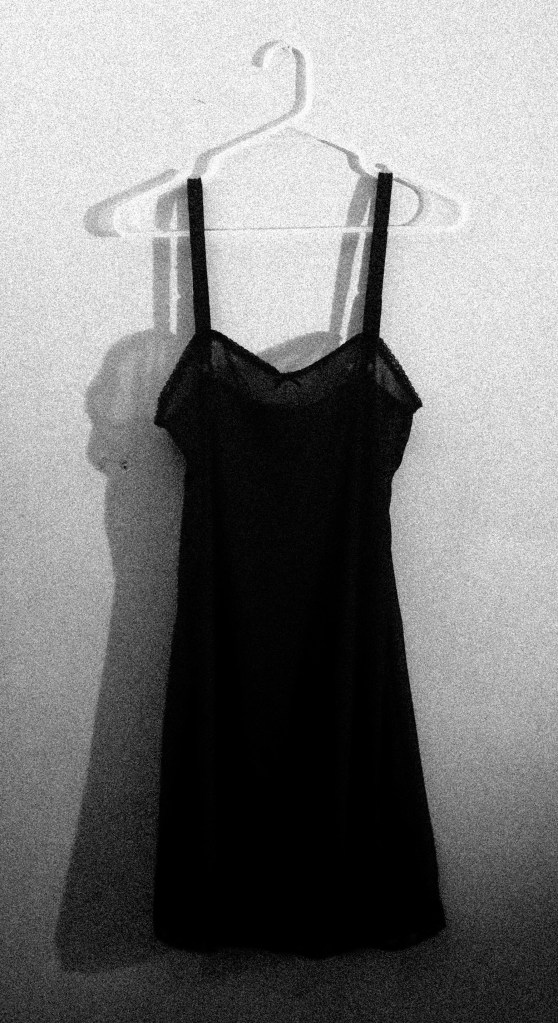
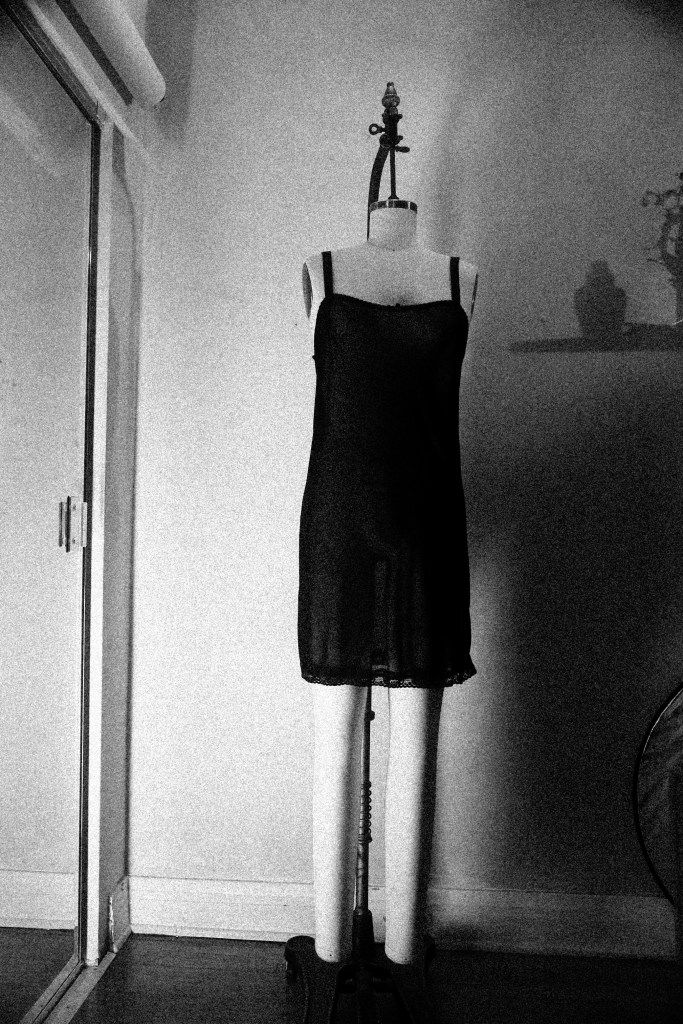
Final thoughts on this dress :

The fit is VERY loose. It doesn’t give a lot of shape to your curves. but it’s a good dress to relax or even add in pins to tighten up and make your own diy undo .

Grommet Busted Top : Pattern+Sewing

I created this top inspired by a top I already owned and this very simple can be sewn up in about an hour ( Depending on your experience )

I used up the scraps from my previous sewing projects since this little top requires very little fabric.

Supples Needed:


S E W I N G :

-Cut out all pieces : front – back – grommet strip

-Use a piece of scrap denim for interfacing for grommet stip. Will help support your grommets in stretchy fabric and will help from falling out .

-Pin and sew front to back x do the same for the lining

-Fold the grommet strip. Layer the self fabric with the denim lining (wrong side facing) Will be turned sides together after sewn

– Serge the sides and top for grommet strip ( see the white thread in photo )

-Pin Right sides together

-Serge the top and bottom edges of the top leaving the center front and strap handles open .

-*** I had to go over my overlock stitches with a zig zag stitch since I didn’t adjust my serger for the stretch fabric and was pulling out stitches ***

-Turn Right side out

-Use d Rings for strap holder . I used 1/2 inch d rings .

-I cut a 1/2 inch wide scrap fabric for the back . ( Sorry for the blurry photo )

-Pin in Place and sew

-Pin the grommet strip and sew right sides together

-Turn to right side and top stitch to secure the thick seams.

-I added my label . But this is how it should look now. Getting ready to add the grommets

-This is the tools for my grommets . I then will measure out the spacings and install them in .

-Add the straps and you’re done ! I used a corded shoe lace


Sewing 2358 Kwik Sew

Sewing Garterbelt Lingerie Set from Kwik sew 2358 : Digital Version found ( here for purchase )

  1. Print pattern pieces; scaled at 100% ( Actual Size )
  2. Tiled and glued together .
  3. Cut out size S for my size.

Materials Used for making VIEW B

  • 1/4 yard of power mesh ( Medium Weight Fabric)
  • 1/4 yard stretch lace
  • 2 inch wide stretch lace ( For Bra Cup)
  • 1/2 inch wide stretch lace
  • 4 garter grips
  • 1/2 inch plush bra strap
  • (6) 1/2 inch bra sliders
  • (2) 3/4 inch bra ring
  • (5) Black Satin Bow
  • Hook and eye tape

Step 1 :

  • Cut out all pieces
  • Pin overlay center to front piece

Step 2 :

Use Zig zag stitch and stitch in place going over whole lace pieces , top front , sides , bottom center

Step 3 :

Place 1/2 inch wide stretch lace overlapping lace overlay and stitch in place.

Step 4:

Assemble bra cups . Use 2 inch wide lace for bra cup top

  • use an overlock serger ; sew together . Then sew a 1/4 inch straight stitch on same cup seam .
  • turn over , top stitch

Step 5:

Pin cup seam into front cup bodice front ; Overlock serge ; then top stitch down

Step 6:

Overlock serge side seams

Optional Steps:

  • Cut away mesh underlay
  • Cut center back piece in half and put in hook and eye tape.

Step 7:

Finish up edges using 1/2 inch lace elastic

Step 8 :

  • Make Garter straps : Cut at 9 inches. Use 1/2 inch sliders and garter grips
  • Make Bra Straps : Cut 12 inch for ring strap Cut 7 inches for sider strap . Assemble

Step : 9

  • Sew on garter straps
  • Pin and sew on bra straps
  • Add black bows to center front and garters

Finish !


SEWING ALONG : MAXI SKIRT


This maxi skirt designed to be used with stretch fabric . This pattern is beginner friendly and only has 2 pattern pieces. 

Knowledge with using knit fabric is a plus. I recommend using a serger for sewing the side seams and setting your sewing machine to zigzag stitch for finish the hems. Personally I use a overstitch for sewing my knit hems which is a plus to have if you decide to sew with stretch fabric . Using wooly nylon thread in your bobbin and serger is ideal as is helps your fabric stretch without breaking any stitches. 

Seam allowance is included with 3/8 inch serger width. You may want to add your own seam allowance if you are using a sewing machine or fabric that doesn’t have as much stretch .